
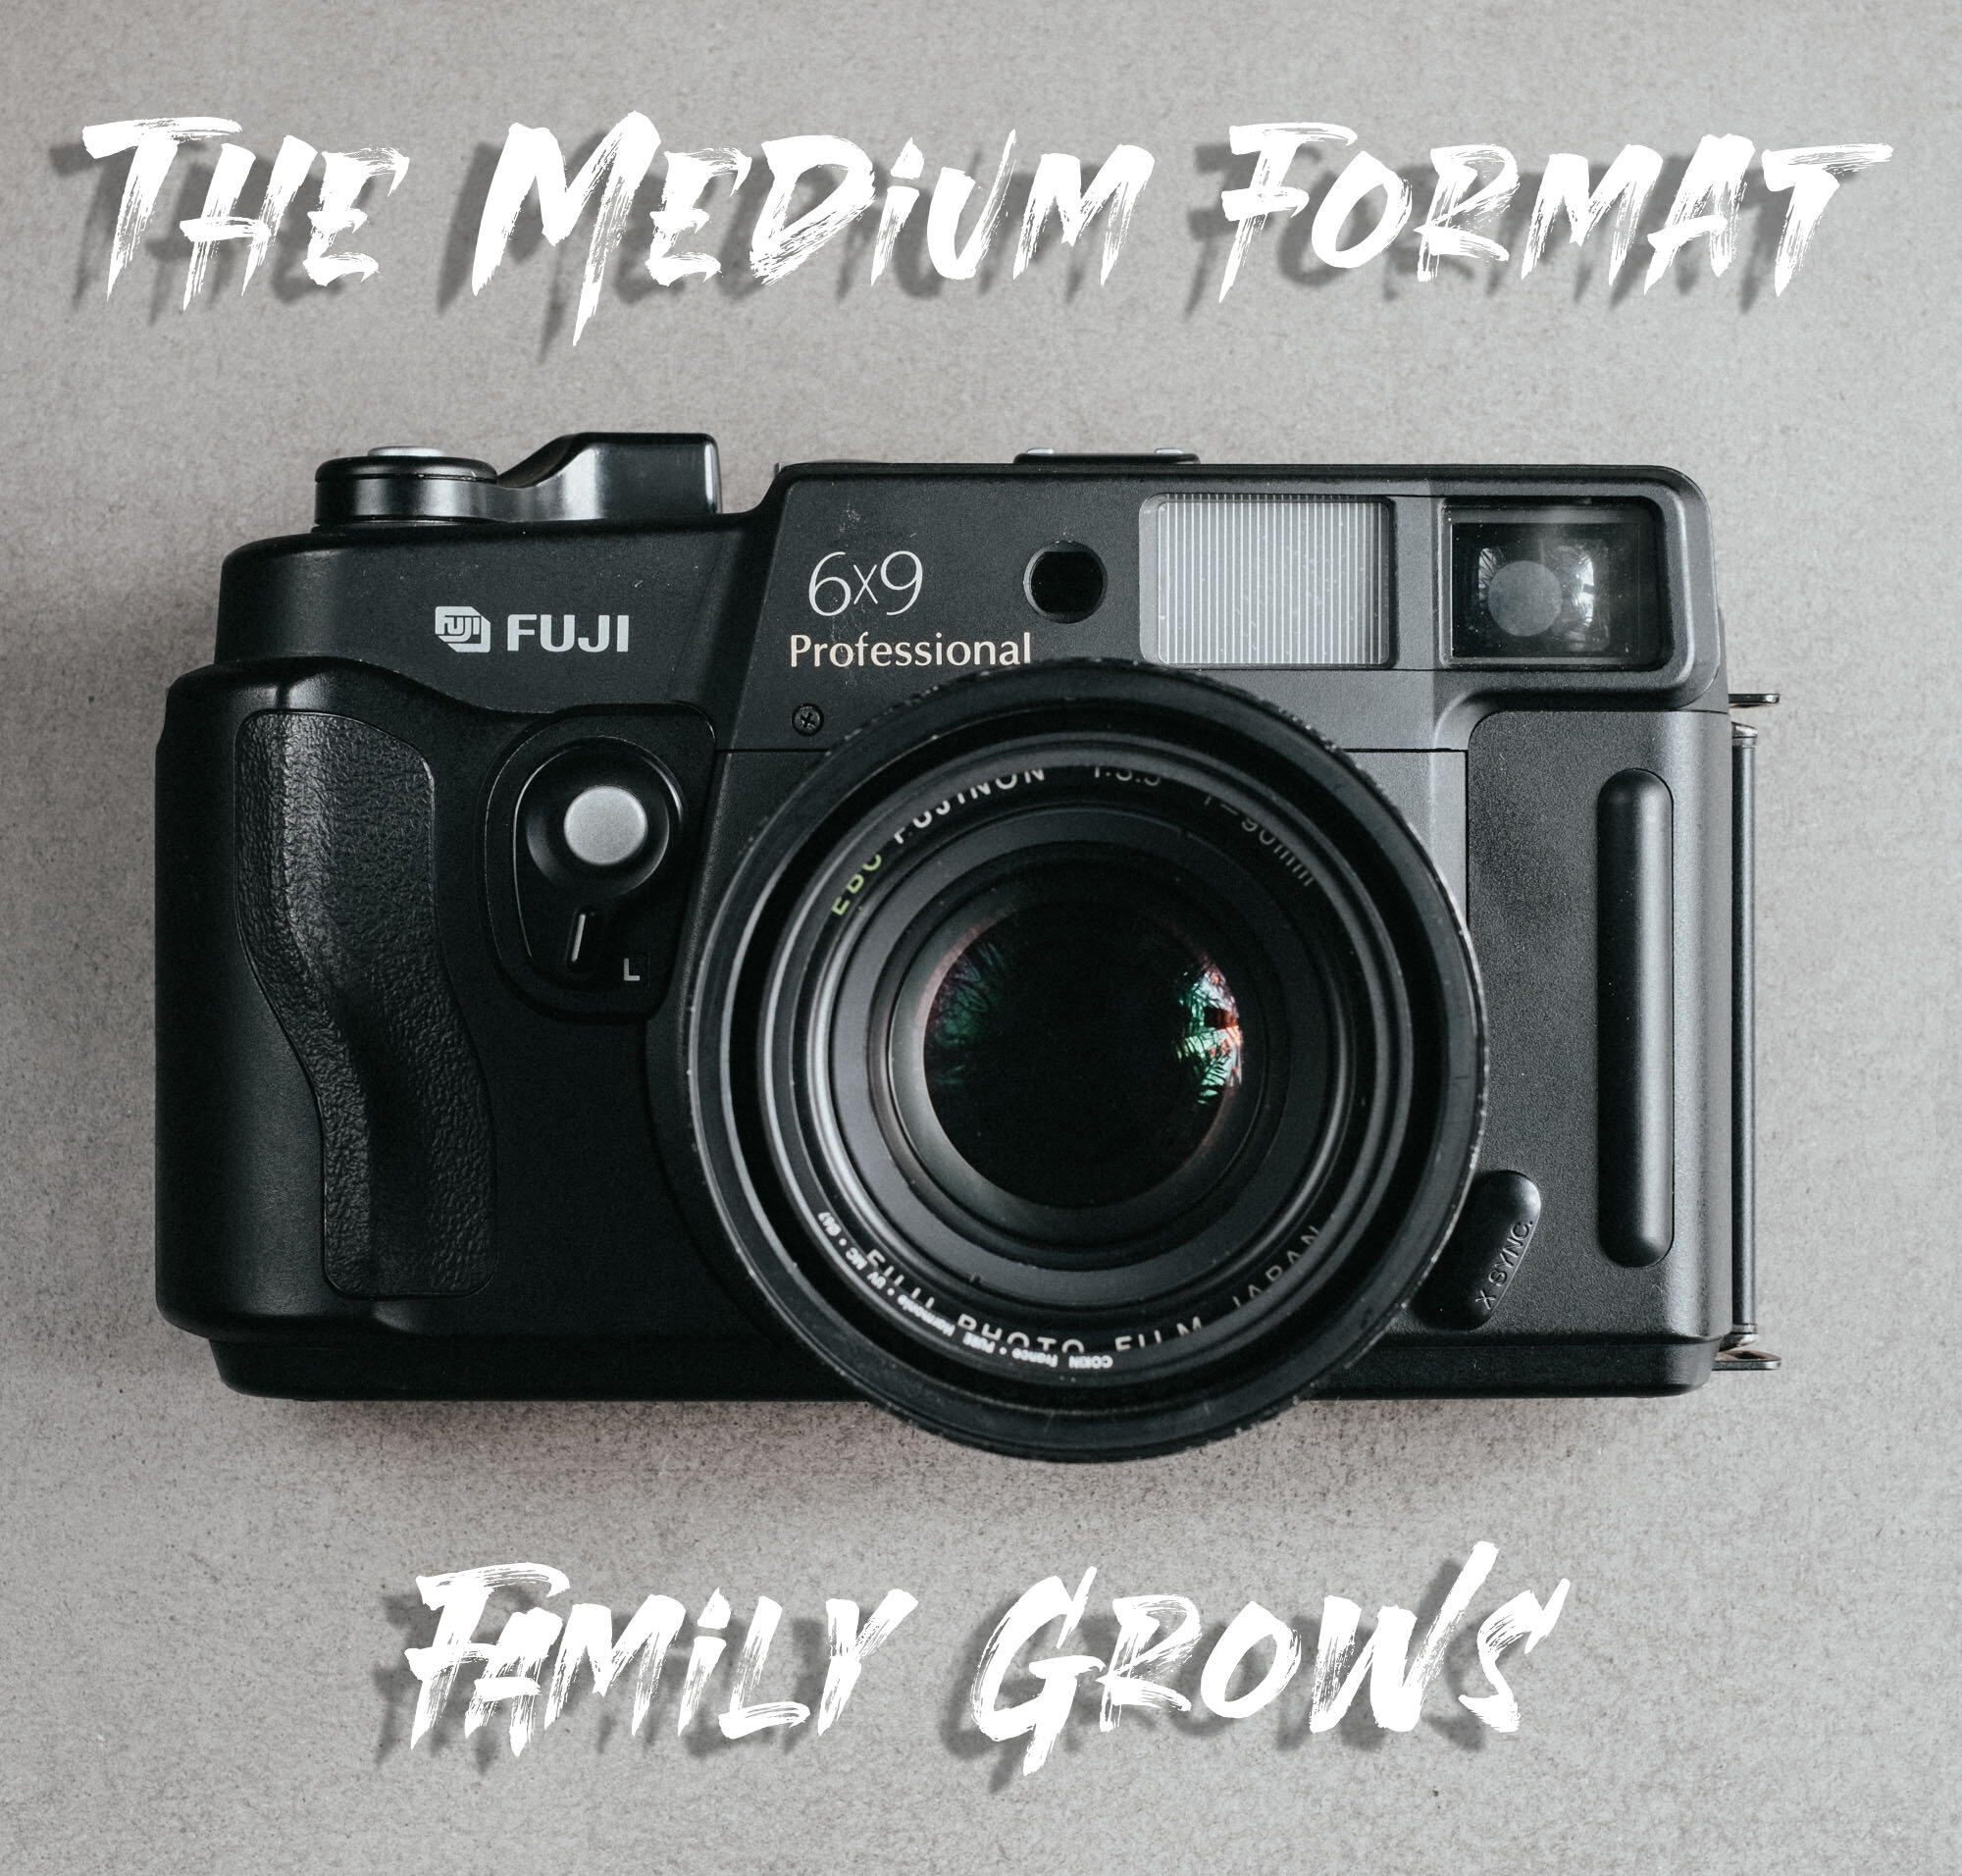
The Medium Format Family Grows
A quick review and thoughts of the Fuji GW690 III. As well as some of my favourite images made with it.
As mentioned in another blog entry “The World of Medium Format Film”, i managed to get into the medium format world through the Yashica Mat TLR that i found while thrift shopping at my local Salvation Army. This really got me wanting to get an SLR/Rangefinder style medium format camera that would make life easier to shoot with.
You would have seen in other posts about me mentioning the camera i ended up getting, i opted for the Fuji GW690III. I’ve had the Fuji since the 30th of June 2019, reason I’ve decided to finally write a post about it is because I’ve been making an effort to shoot it more. I came across this Youtuber Russell Rabanal who has a bunch of videos with the Fuji GW690III, he’s just so enthusiastic about the camera and how good it is. I have been close to selling this camera recently but he really lit the fire under the Fuji and sparked that interest in me wanting to shoot with it again.
History / Info
The Fuji GW690III was released in 1992 targeting the landscape photographer, i also read that it was marketed at school photographers due to the larger negative producing higher quality images giving more definition to people in larger group shots. If you’ve come across this camera before you have probably heard the nickname its been given, Texas Leica. Everything’s bigger in Texas (so I’m told), it’s basically a big Leica M6, the 6x9 negative is essentially a larger version of the 35mm negative which makes it easy to adapt to the format.
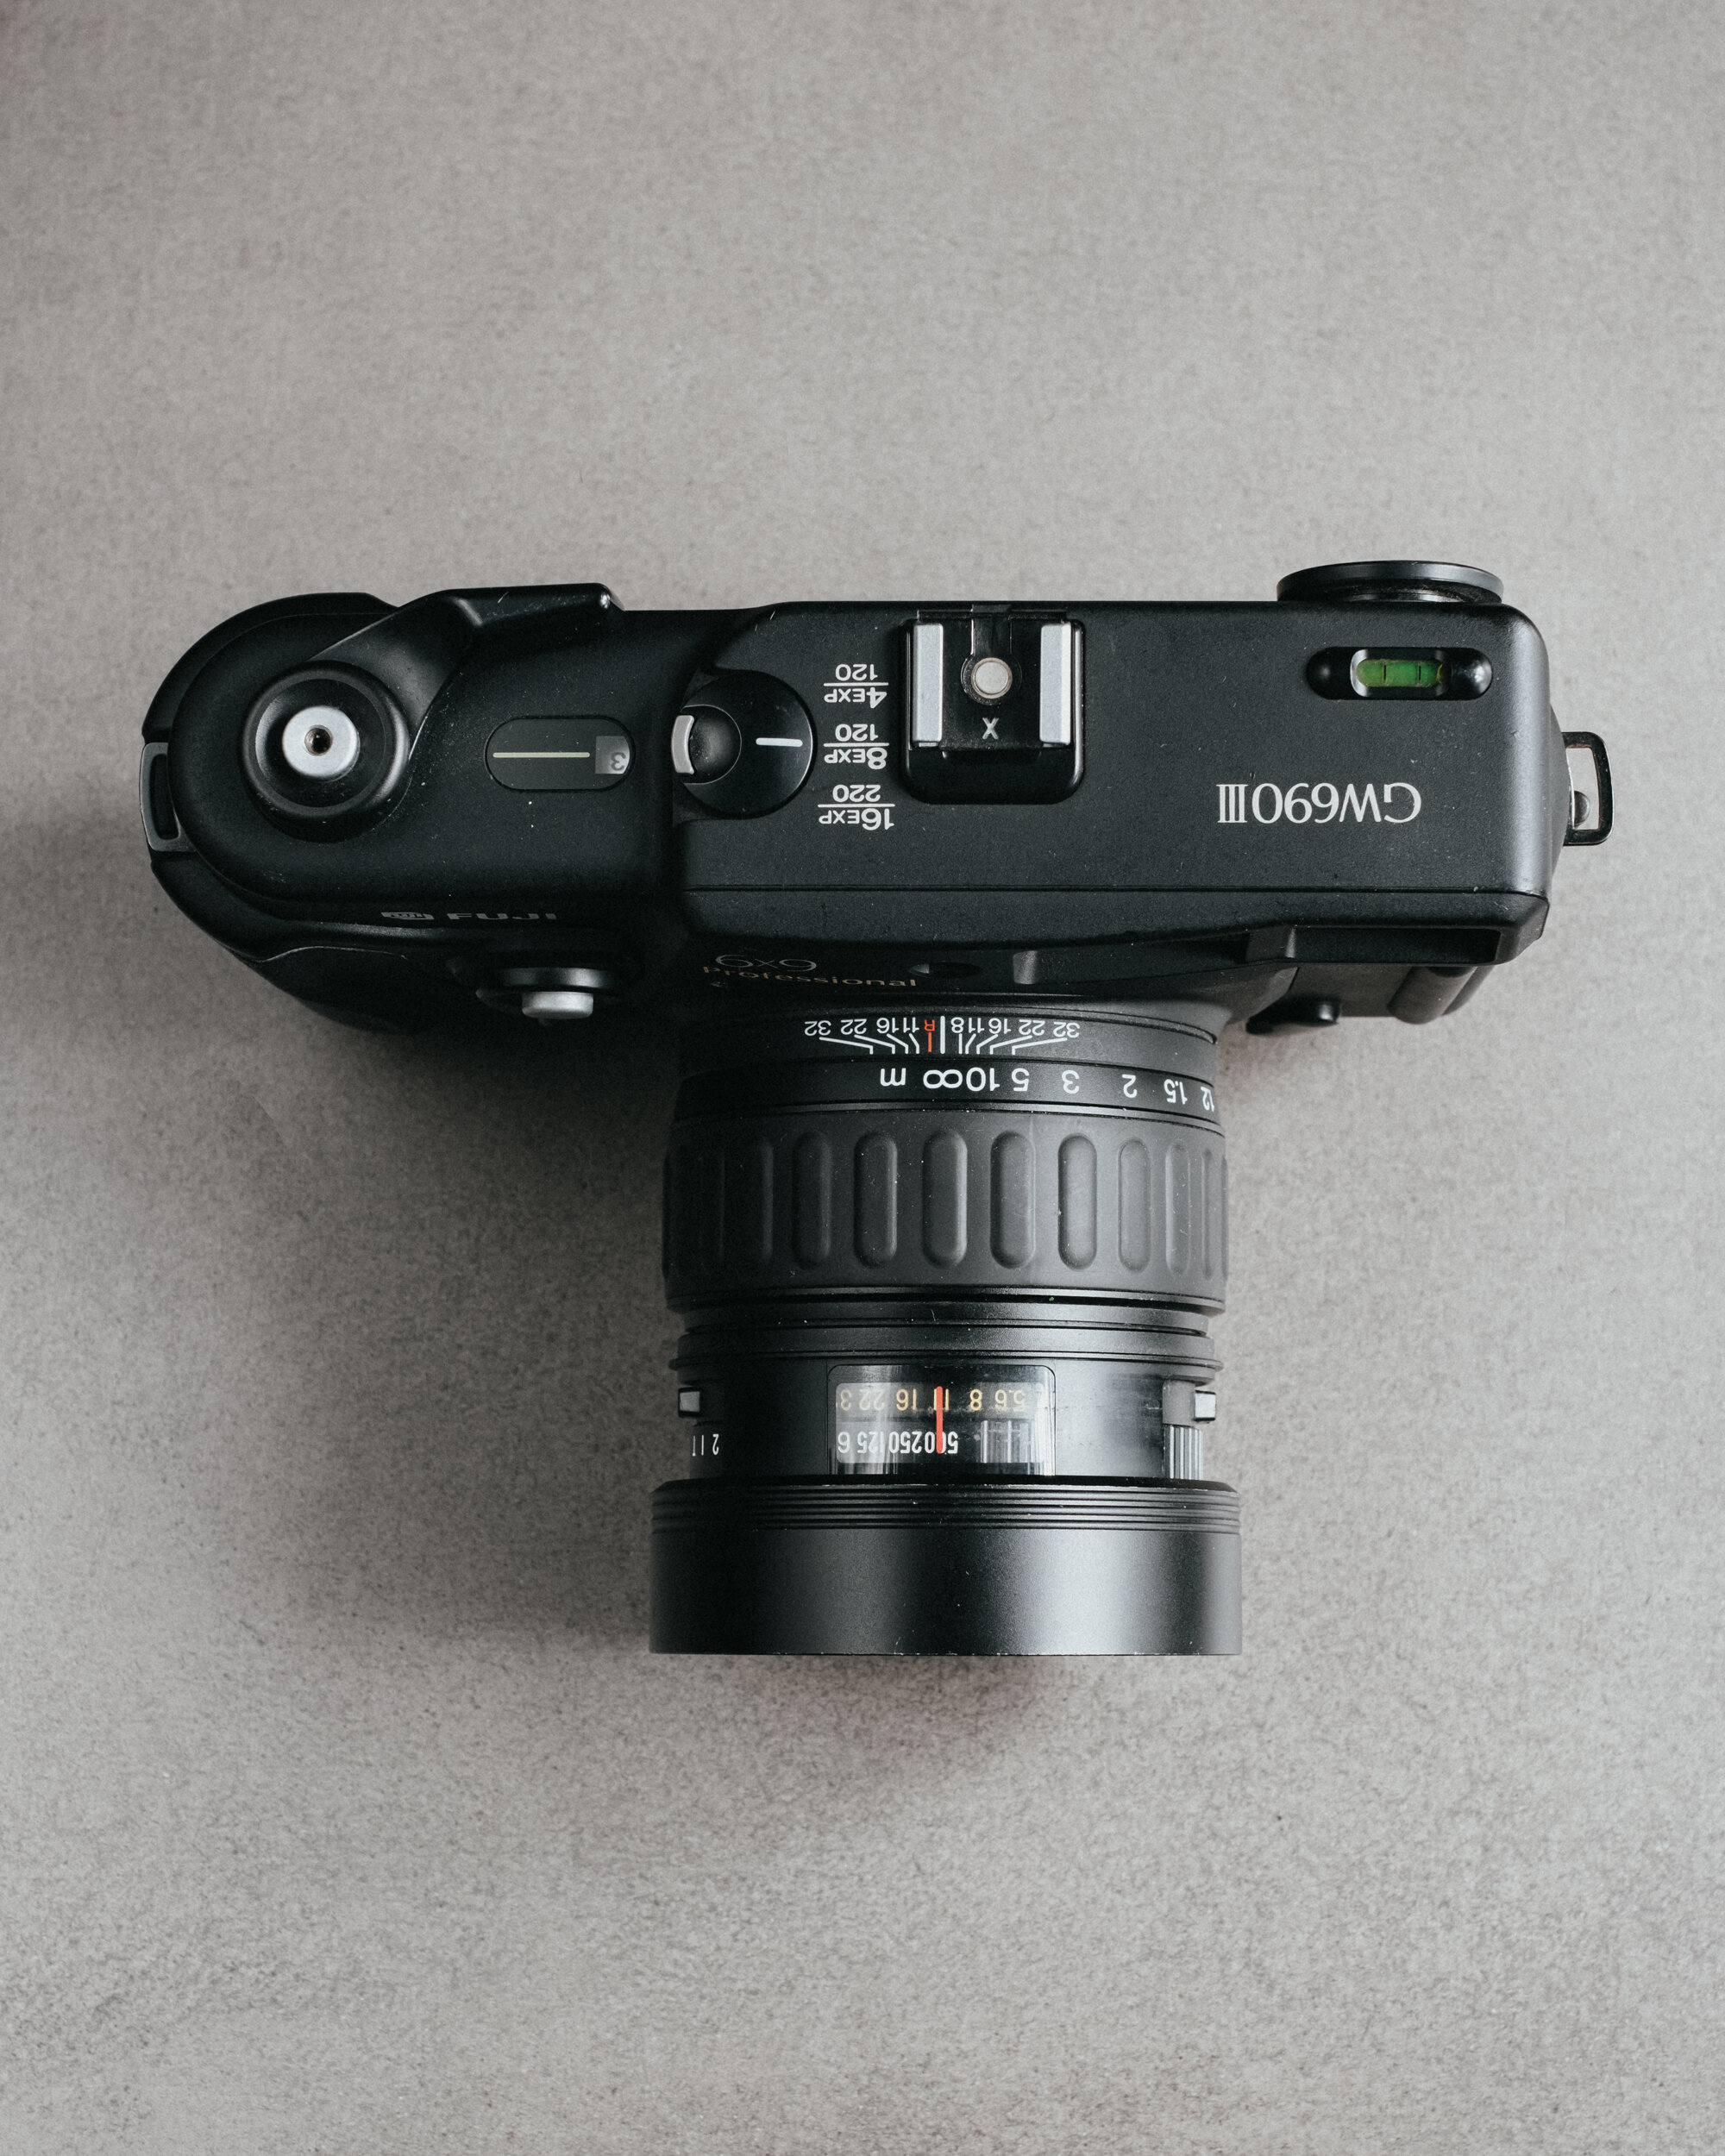
The Specifications
Image Size: 6x9 negatives on 120 (8 exposures), 220 (16 exposures)
Shutter Speeds: 1s – 1/500s plus T-mode. full-stop increments
Aperture: f/3,5 – f/32 half stop increments
Lens: Fixed Lens EBC Fujinon 90mm, F/3.5 (equivalent to 39~41mm on a 35mm camera) , Leaf shutter.
Dimensions: H 119 mm x W 201 mm x D 132 mm
Weight: 1510g


About the Camera
There isn’t much to the camera, the shutter and aperture dials are on the lens itself which also has a built in hood. Of course the focus ring is also on the lens, but besides that there is a spirit level on the top plate, a dial to choose between 120 or 220 film, 2 shutter release buttons (front one has a lock), a shot counter and a hot shoe mount. What makes it so simple is the fact that it’s completely mechanical, no electronics or light meter. This is good and bad, good in that you’re not dependant on old electronics or batteries but bad in that you need to carry a light meter around with you (be it your phone or actual light meter).
The Body
The body is plastic which was probably done to reduce the weight of the camera, otherwise it would have weighed at least 5kgs or more if it was a metal body and panels. Even though its plastic it does still feel solid in the hand, although if your into that super high quality sounding/feeling stuff like Leica etc then the sound of the shutter release, winding the film and opening/closing the back door wont appeal to you :-D.
The Good
The main reasons you buy this camera are for the insanely large format of the negatives it produces and the sharpness of the lens. To put the negative size into perspective its 5 times larger than 35mm size negatives. This is as close as you will come to large format film photography before having to buy a large format camera. The sharpness of the lens even at f3.5 is pretty amazing, I’m yet to use this camera on a tripod to take landscape/cityscape type images but even hand held is amazing.
Why I Chose it
The reason i ended up going for this camera over so many others, was purely due to cost. I would have loved an inter-changeable lens medium format camera like a Mamiya 6/7, or Pentax 67 but the cost of a decent one with a 35mm equivalent focal length lens was way out of my price range. I managed to get my one in mint condition for $750AUD, for what you get for that price i think is pretty amazing. It was hard to find something else similarly spec’d in the same price range.
Cons
There are a few, i wish it had interchangeable lenses. Would be nice to have wider and tighter focal length lenses to switch out. The lack of an internal light meter, having to take out my phone or use another light meter can be a pain at times although it does slow you down which is a good idea when you only get 8 shots from a 120 roll of film (cost per shot shoots up). Lastly my only other issue with the camera is its size, to be honest its the only reason why i hesitate to take it out as often as id like to otherwise i would shoot with it a lot more. I understand why its as big as it is, if it wasn’t it wouldn’t be taking 6x9 sized negatives.
If you like the 39~41mm focal length (35mm equivalent), don’t mind a large camera, want a seriously sharp lens and are looking for large high resolution negatives, the Fuji GW690III is for you.
Enough with the words, here are some of my favourites I’ve taken with it so far.


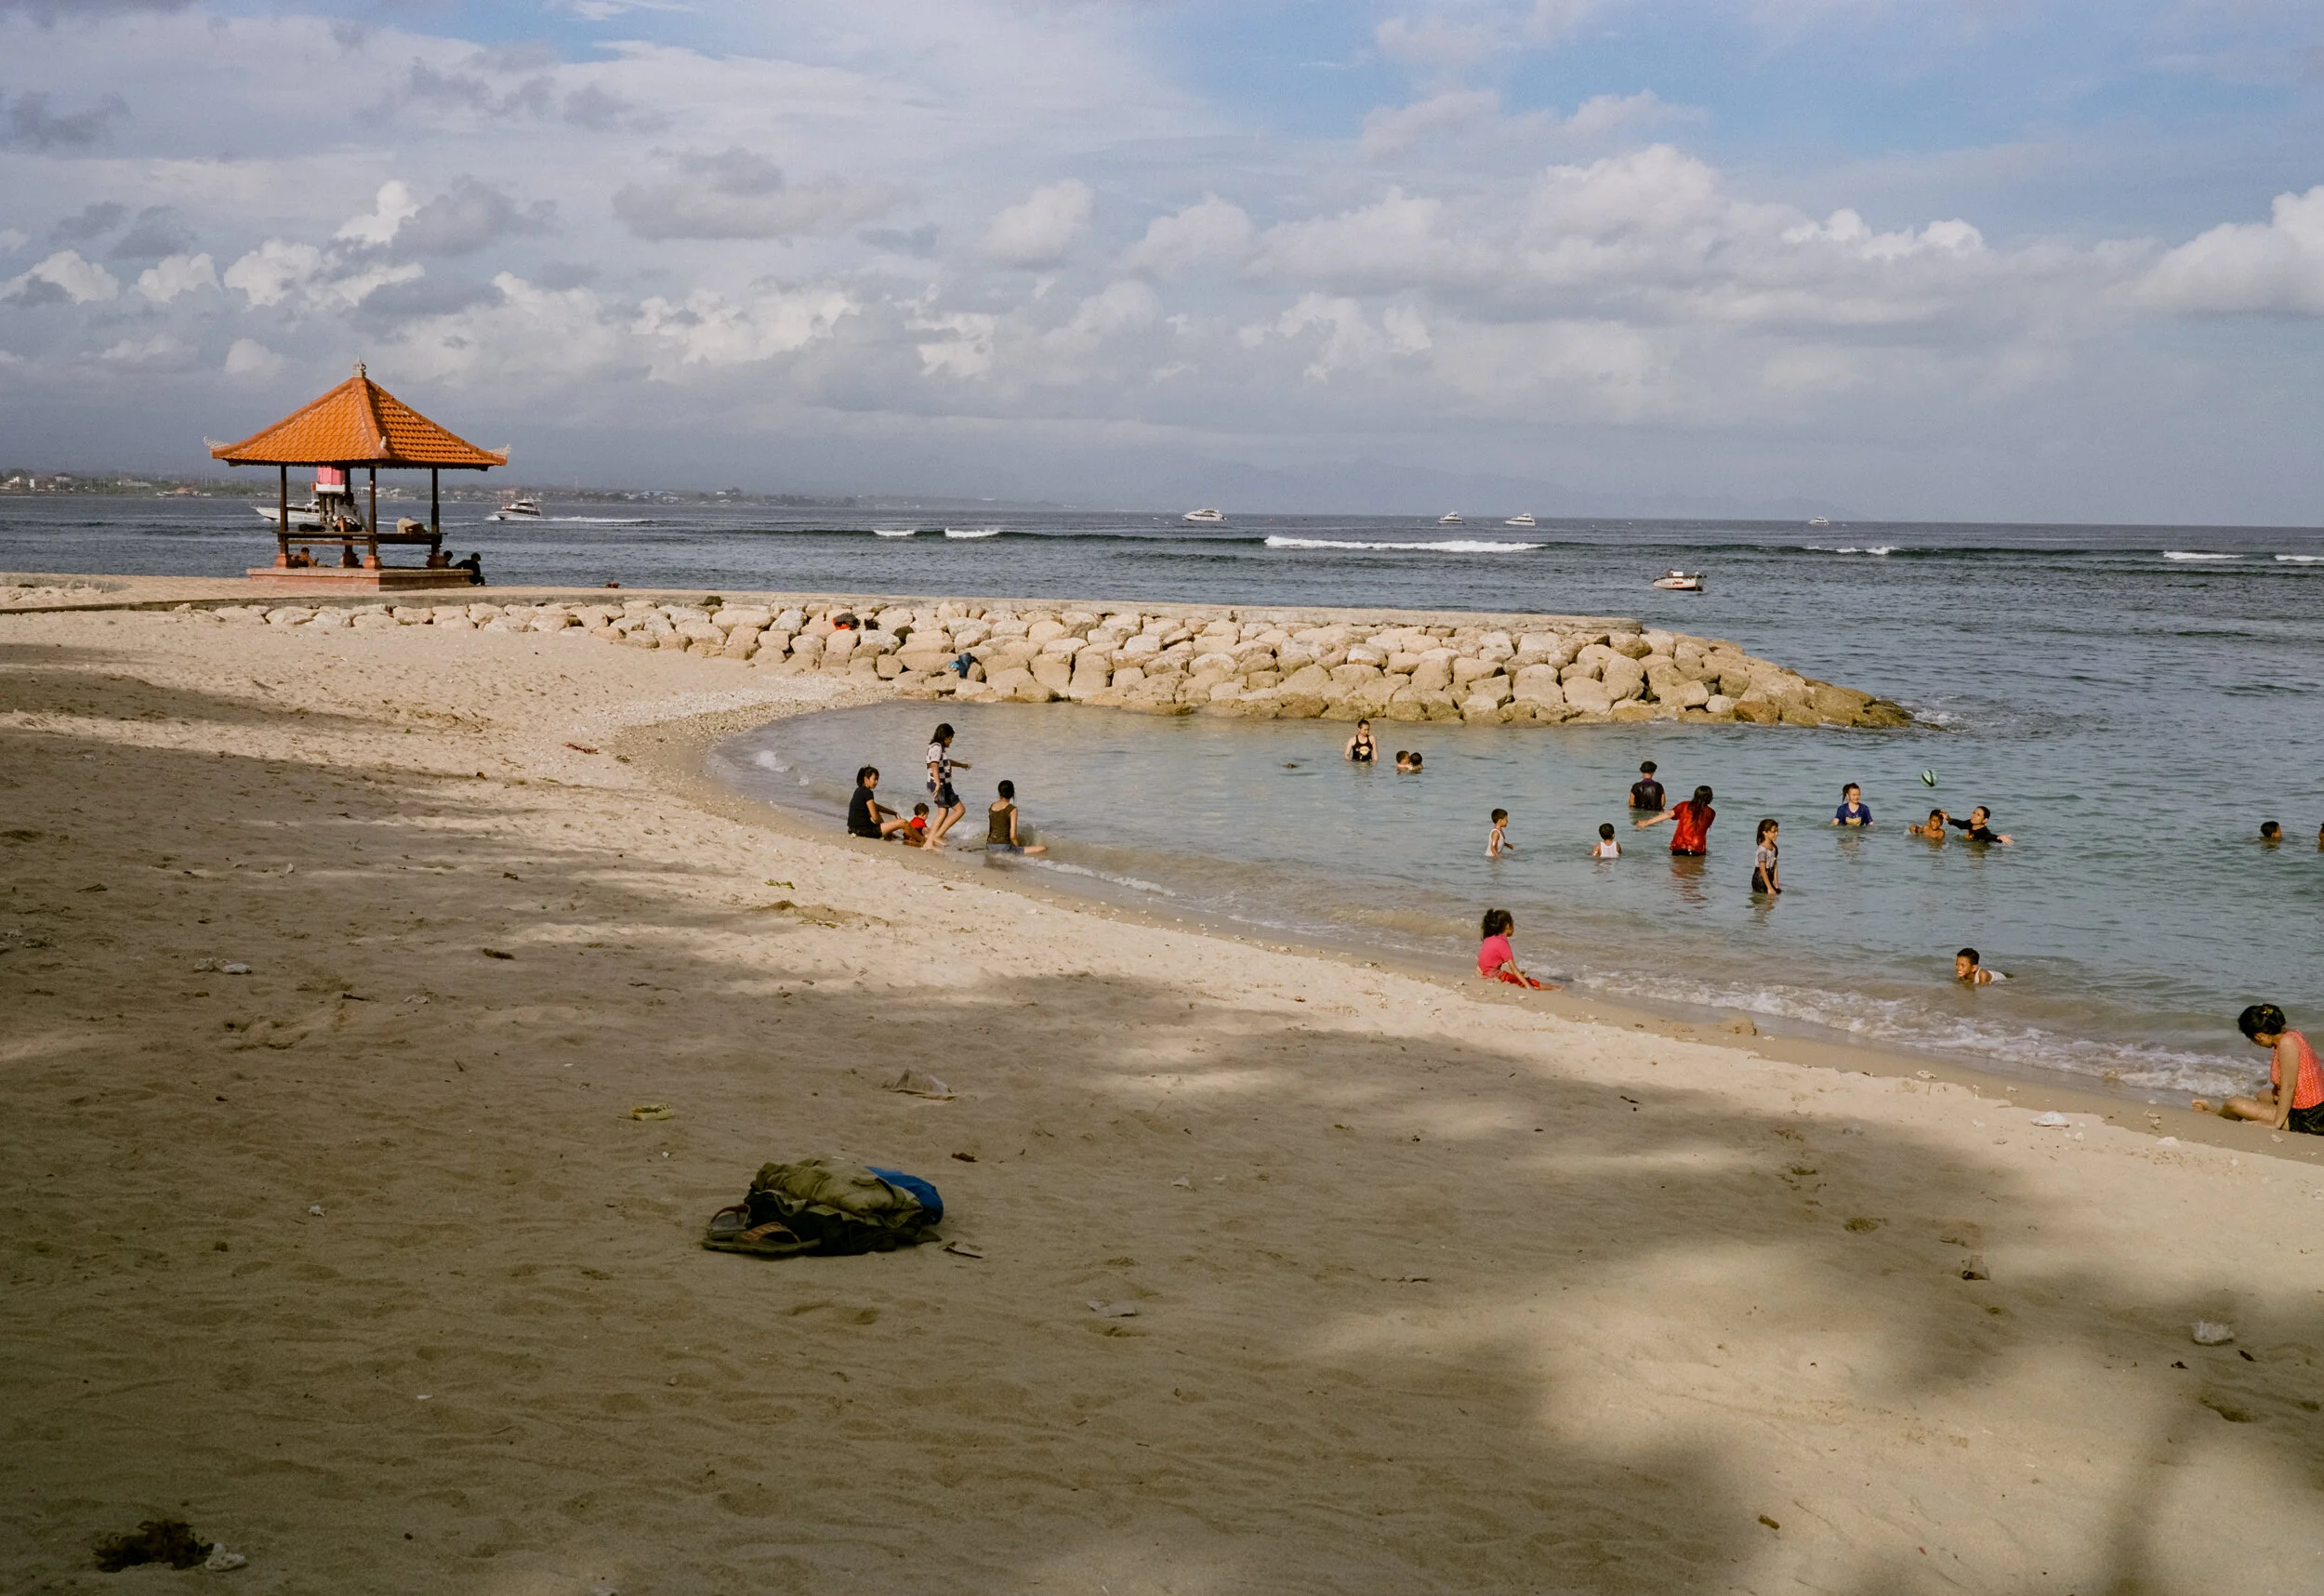
Bali and the Fuji GW690III
Getting some use out of the Fuji GW690 III, forcing myself to use this amazing camera that tends to sit on my shelf while in Bail.

I purchased my Fuji GW690III on the 22nd of June 2019, and since then i would have shot around 18 or so rolls. The rolls i have shot have been great, super impressed with the camera and the lens which is the 90mm f3.5 which is roughly around a 38mm in 35mm format.
I think the cost of the 120mm film and the developing of it has maybe stopped me from shooting it as much as i have 35mm film for example. I want to make more of an effort in 2020 to shoot it more. With that said at the start of 2020 we had a family holiday to Bali, something close and cheap so i decided to take my Fujifilm X-T2 and the Fuji GW690III. On this trip i also decided to try some Fujifilm Pro 400H for the first time and also took some trusty Kodak Tri-X 400, Portra 400 & 800.
Recently been liking the Fuji stock and will probably continue with it for a little longer. Here are some of the photos from the Bali trip earlier in January 2020.
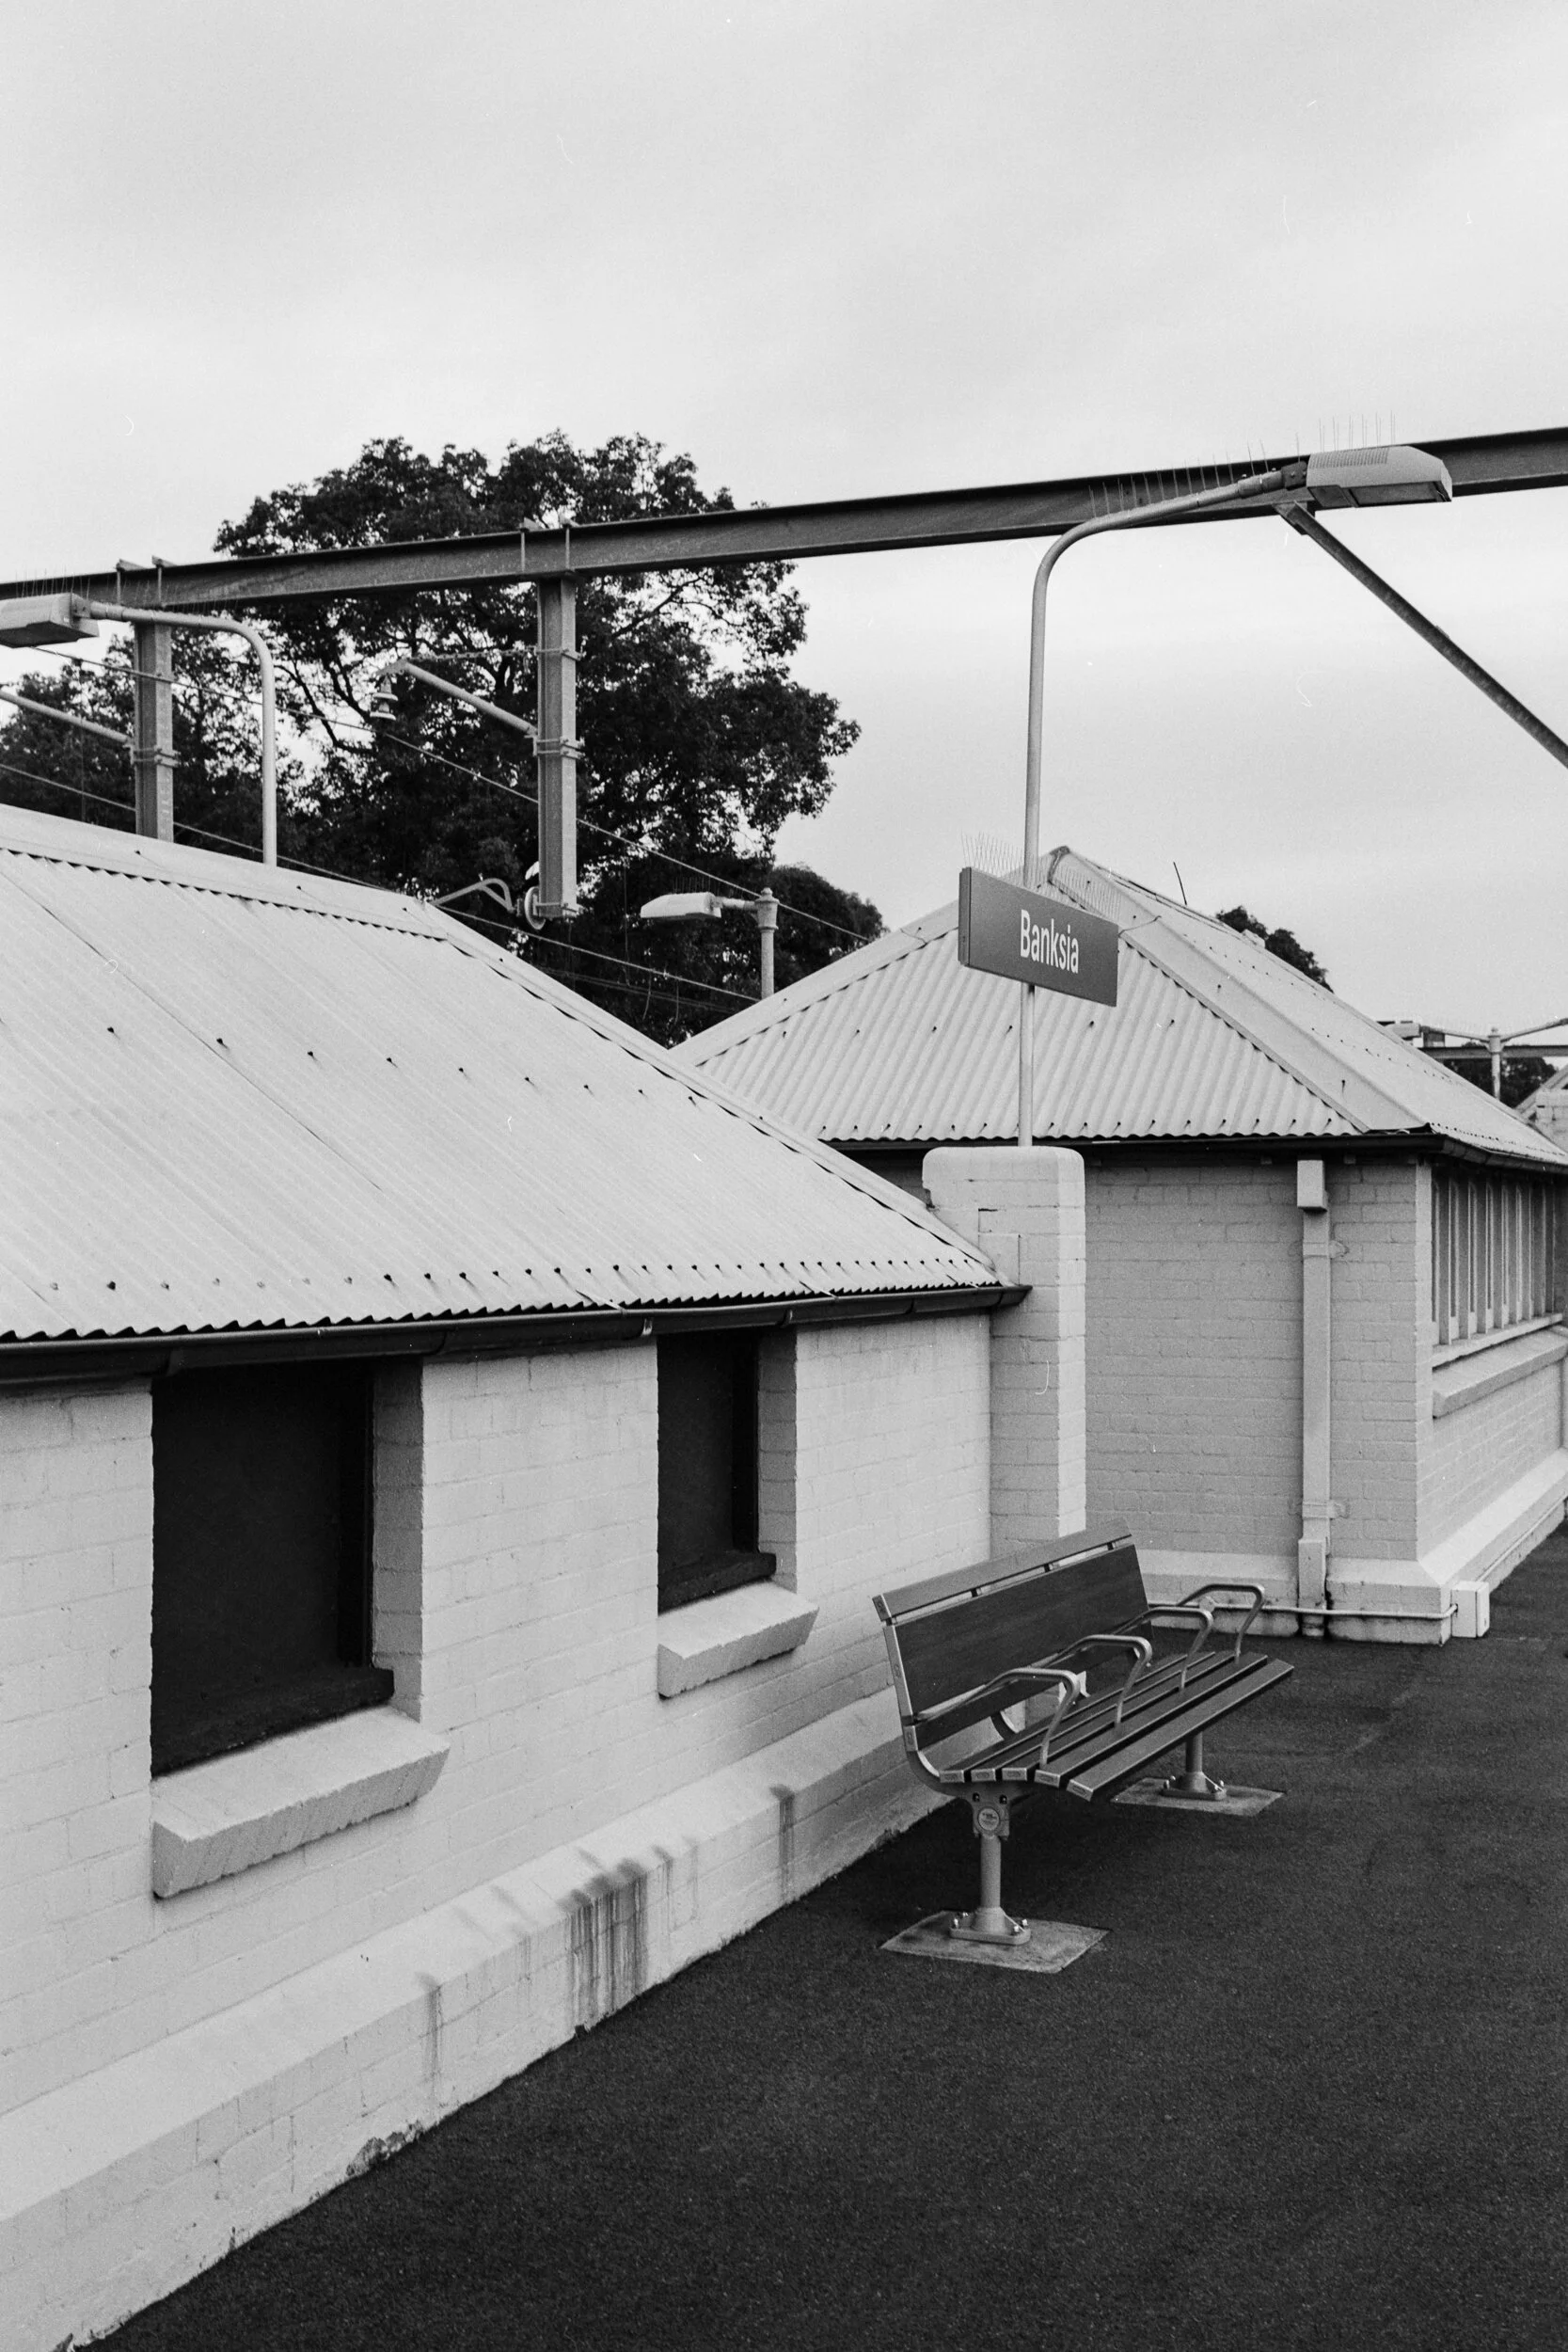
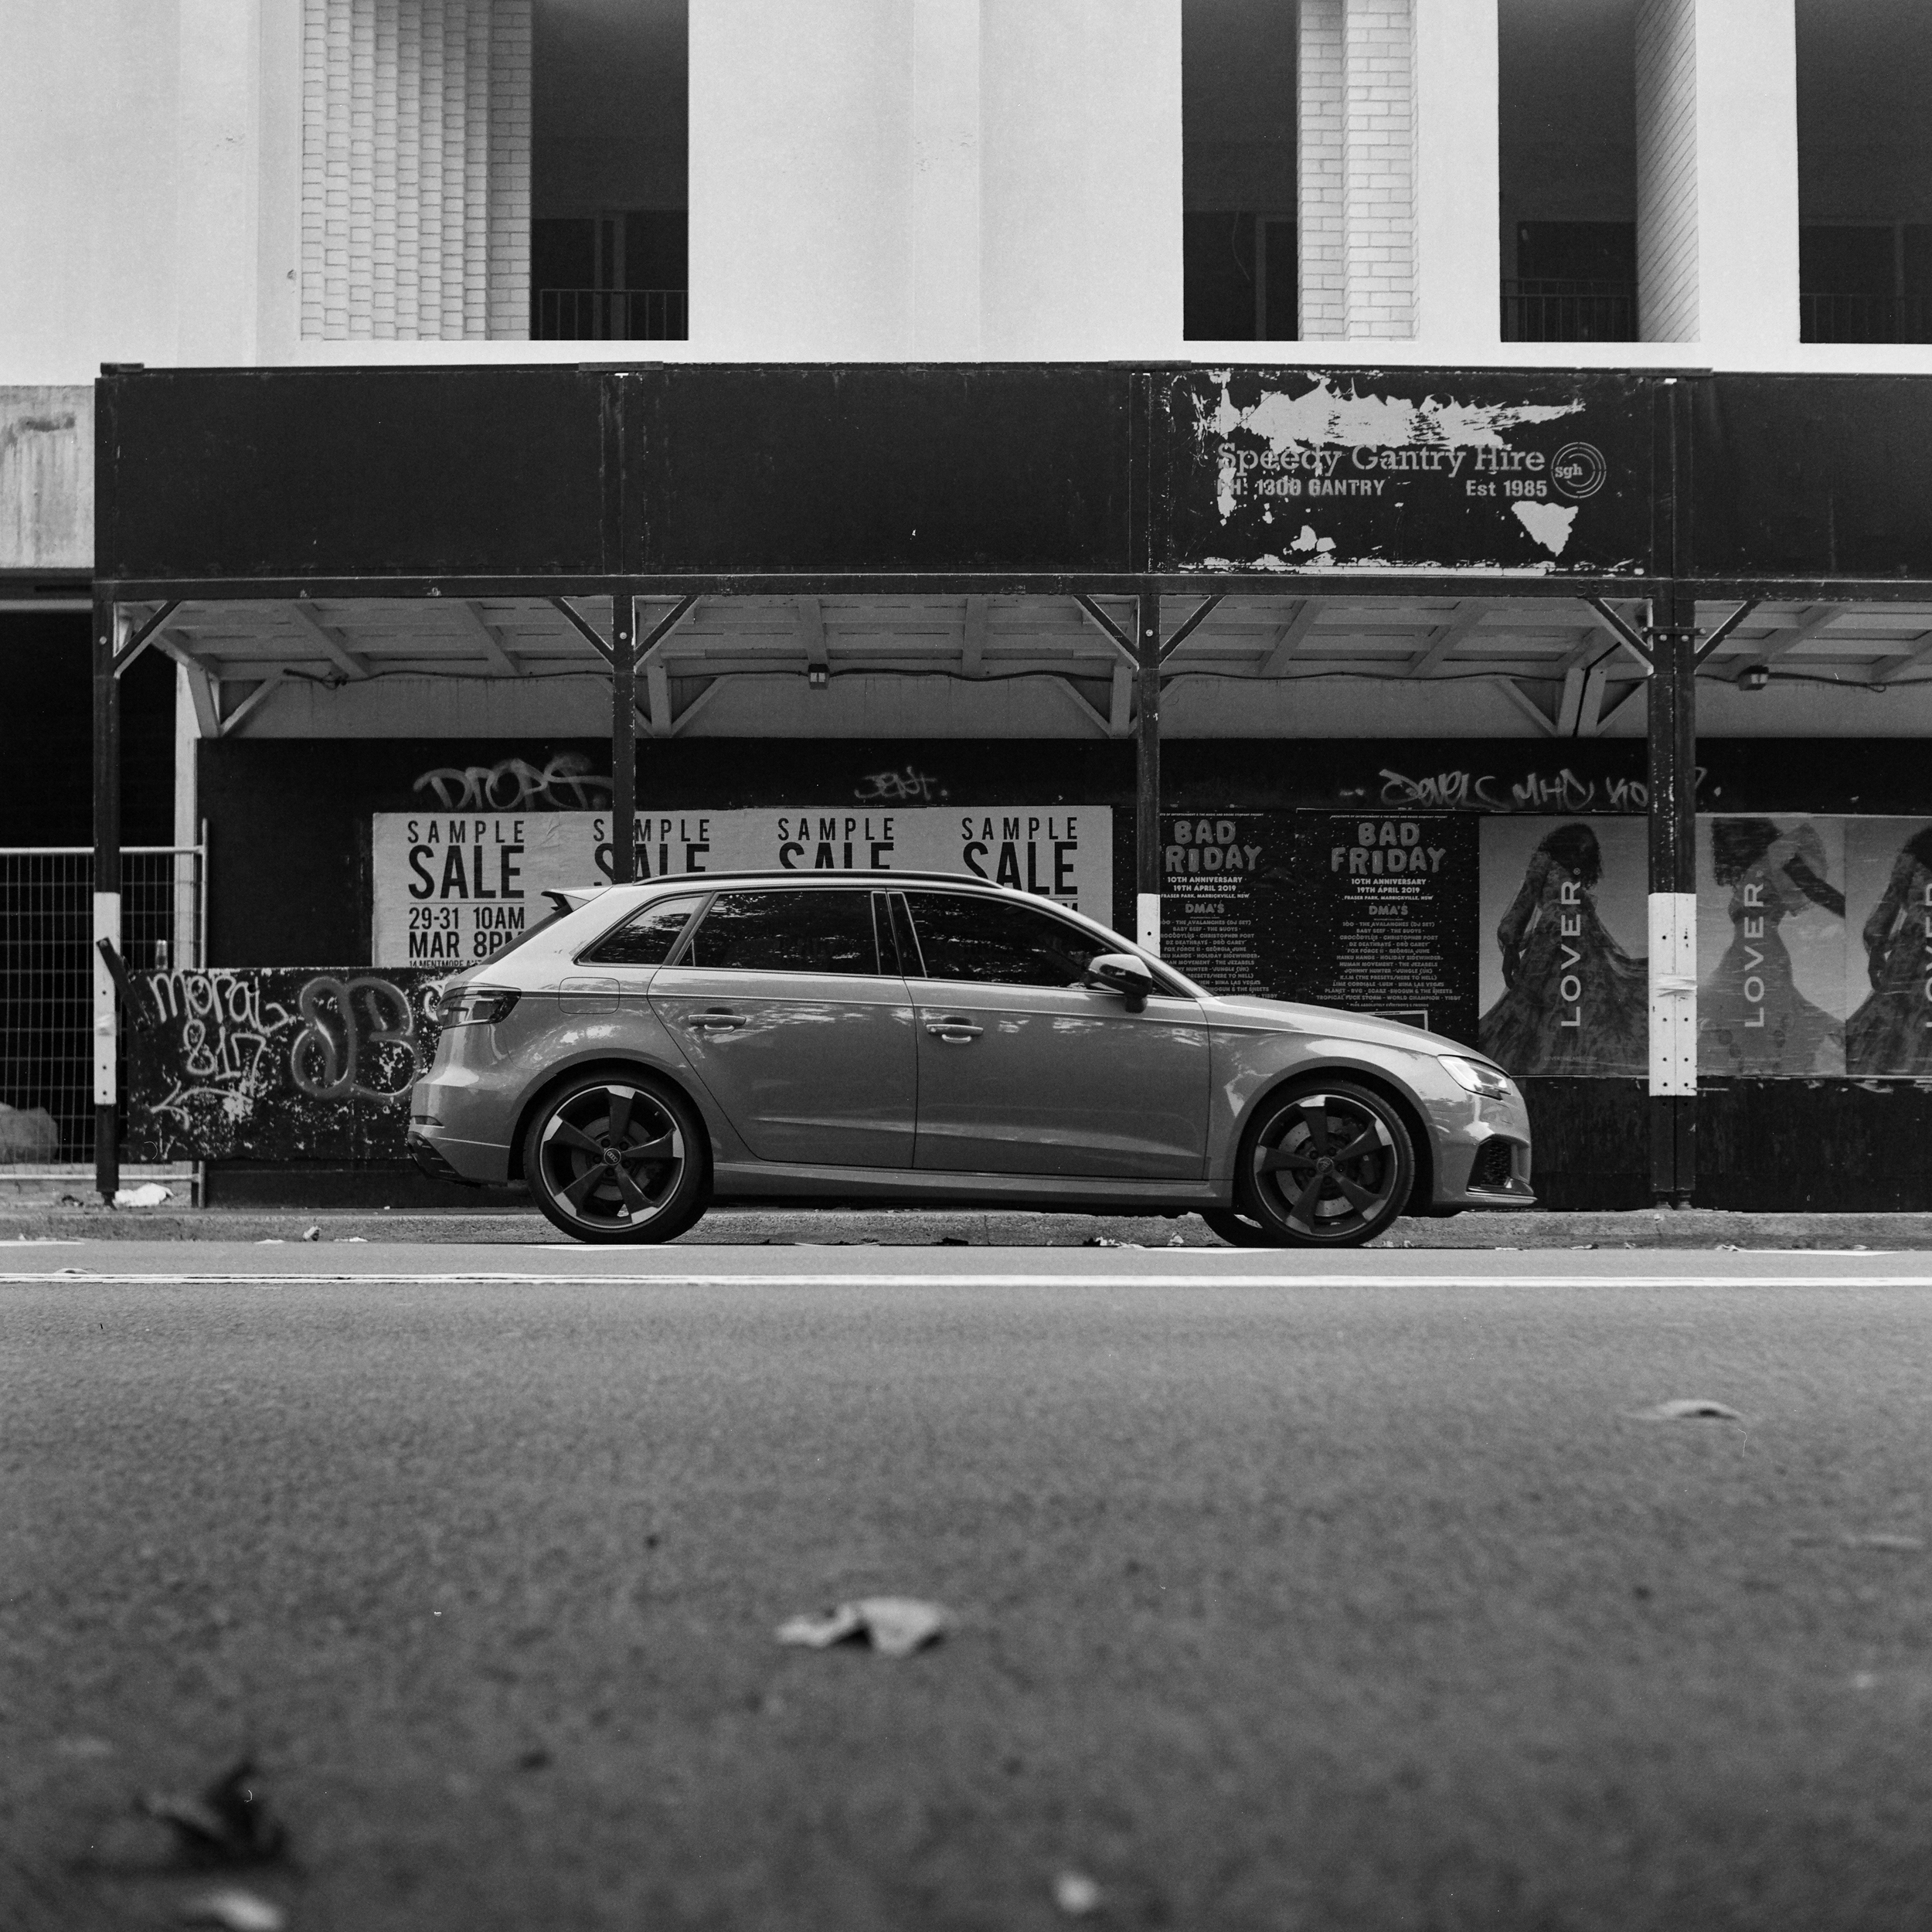
Fuji GW690II + Kodak Tri-X 400
Definitely my favourite black and white film on both 35mm and 120mm film. I like the extra contrast you get from it over Tmax. Will continue to be my black and white film for a while.


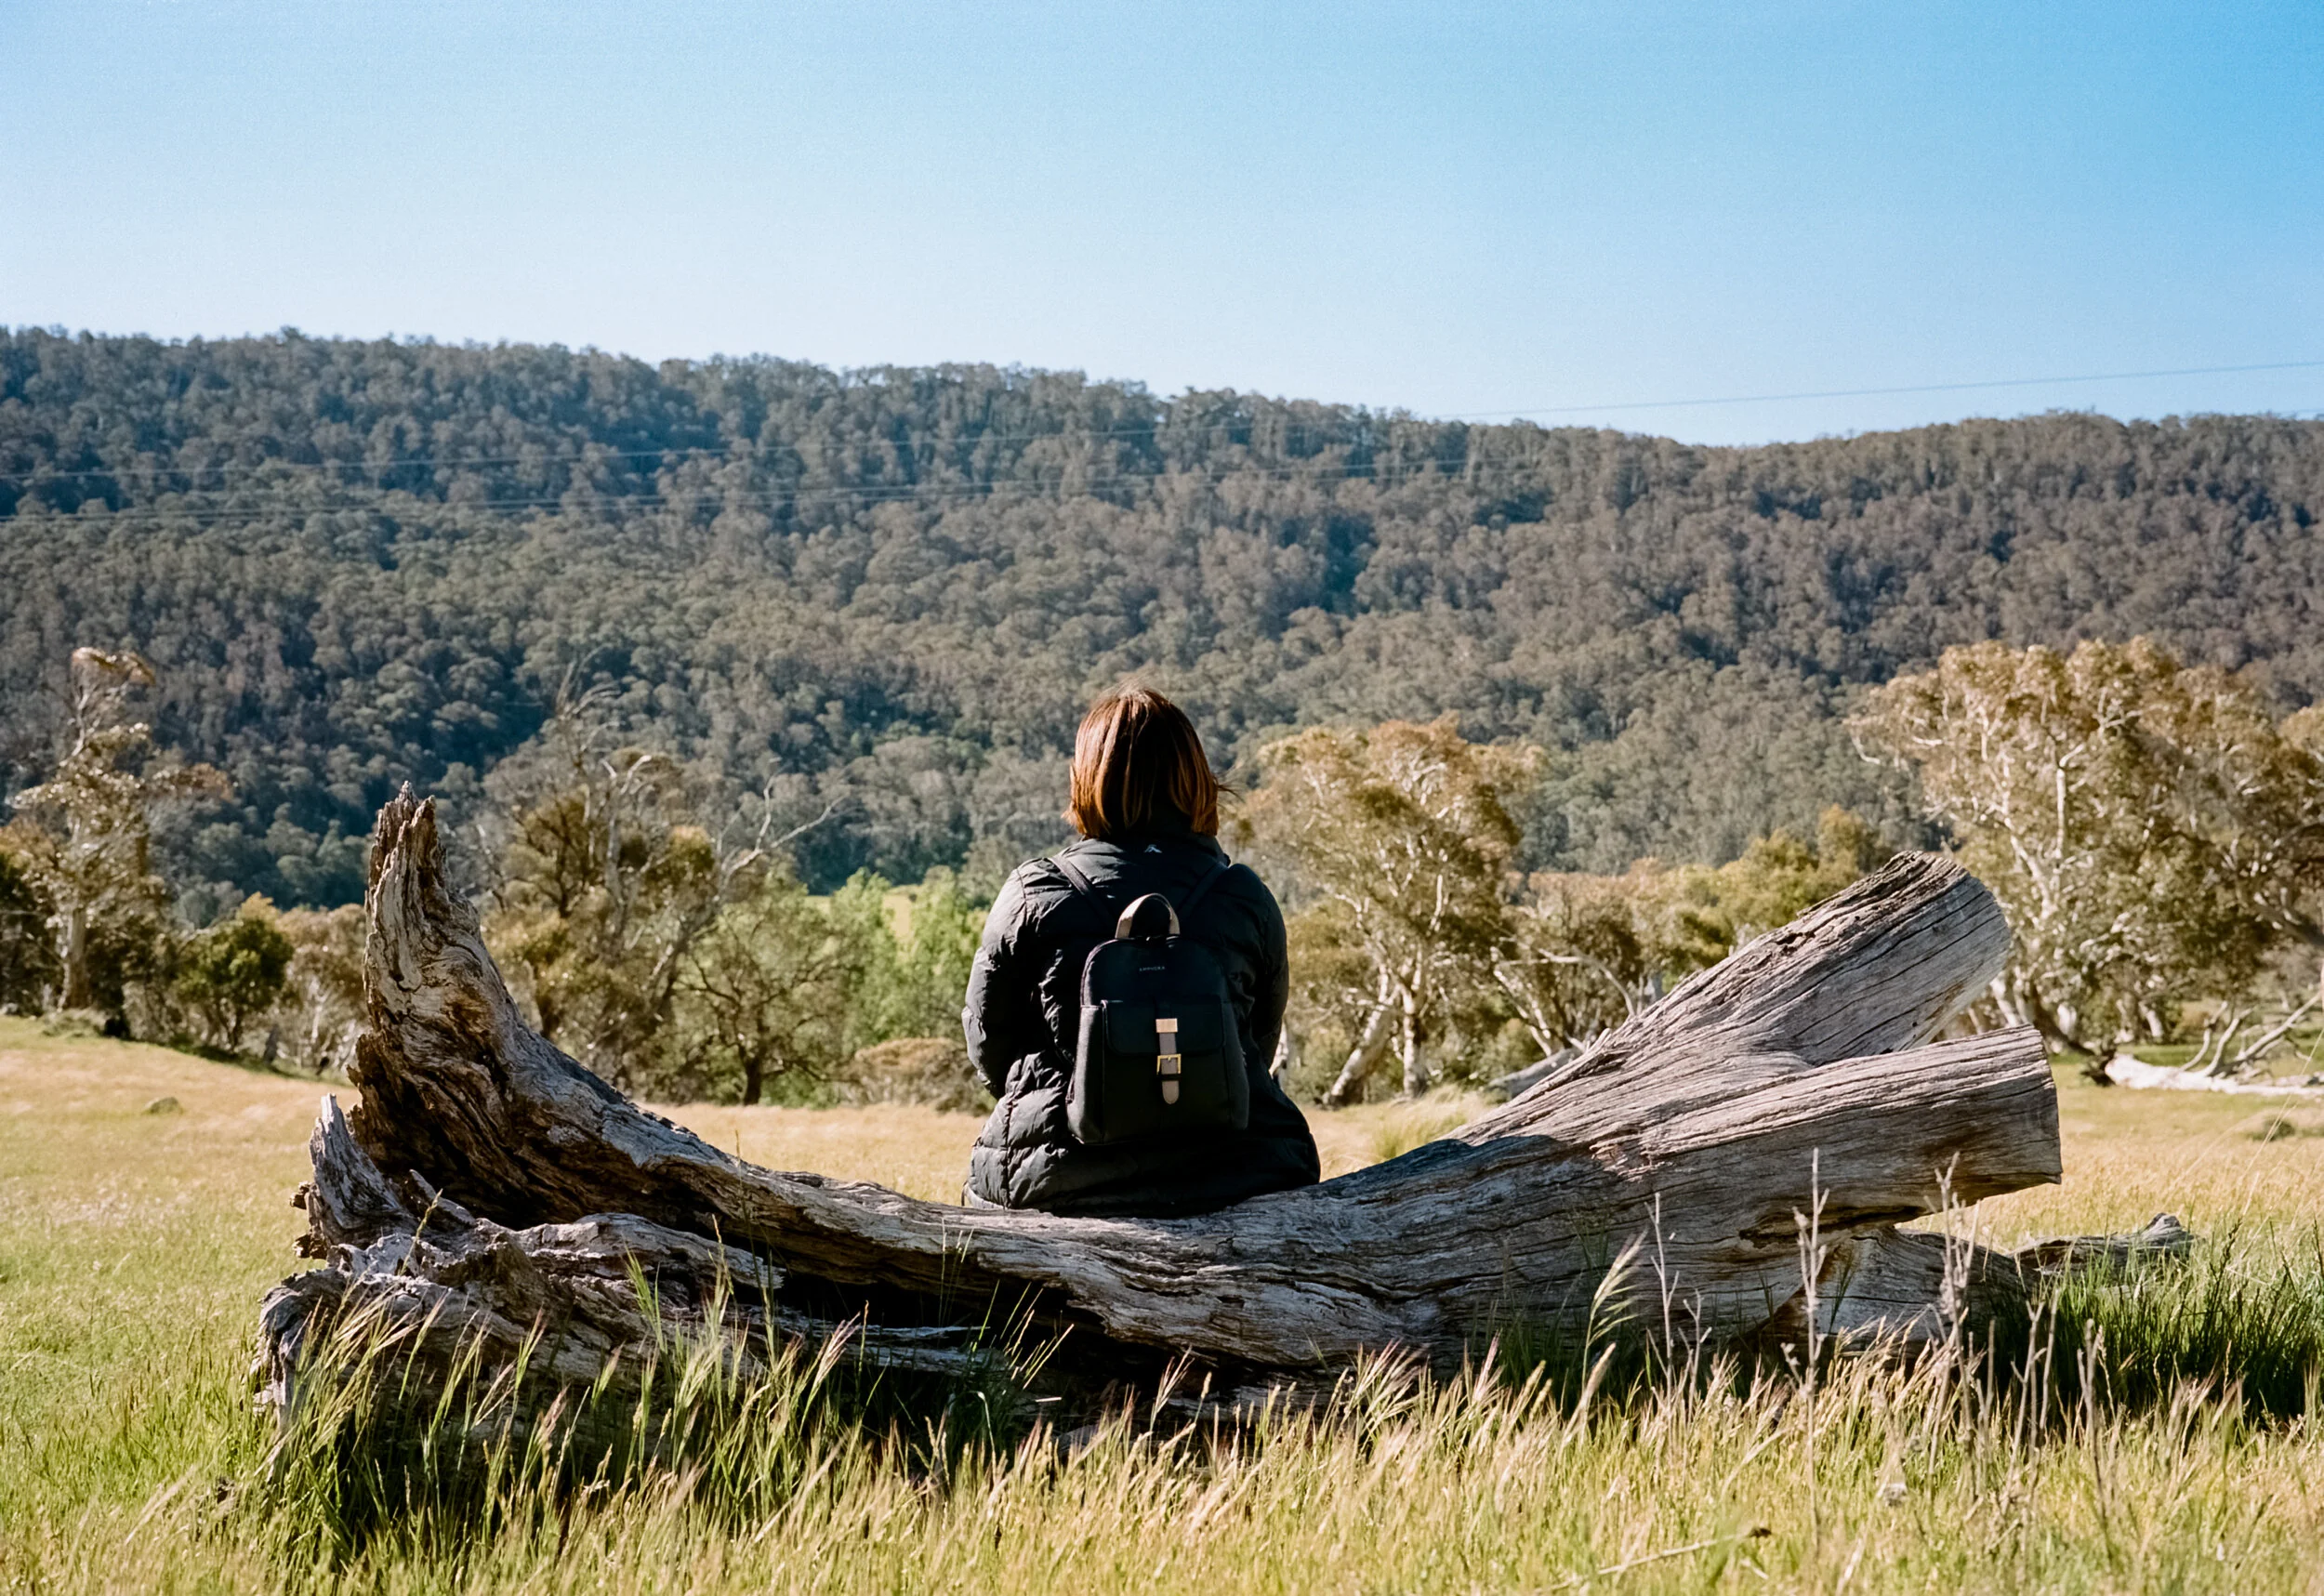
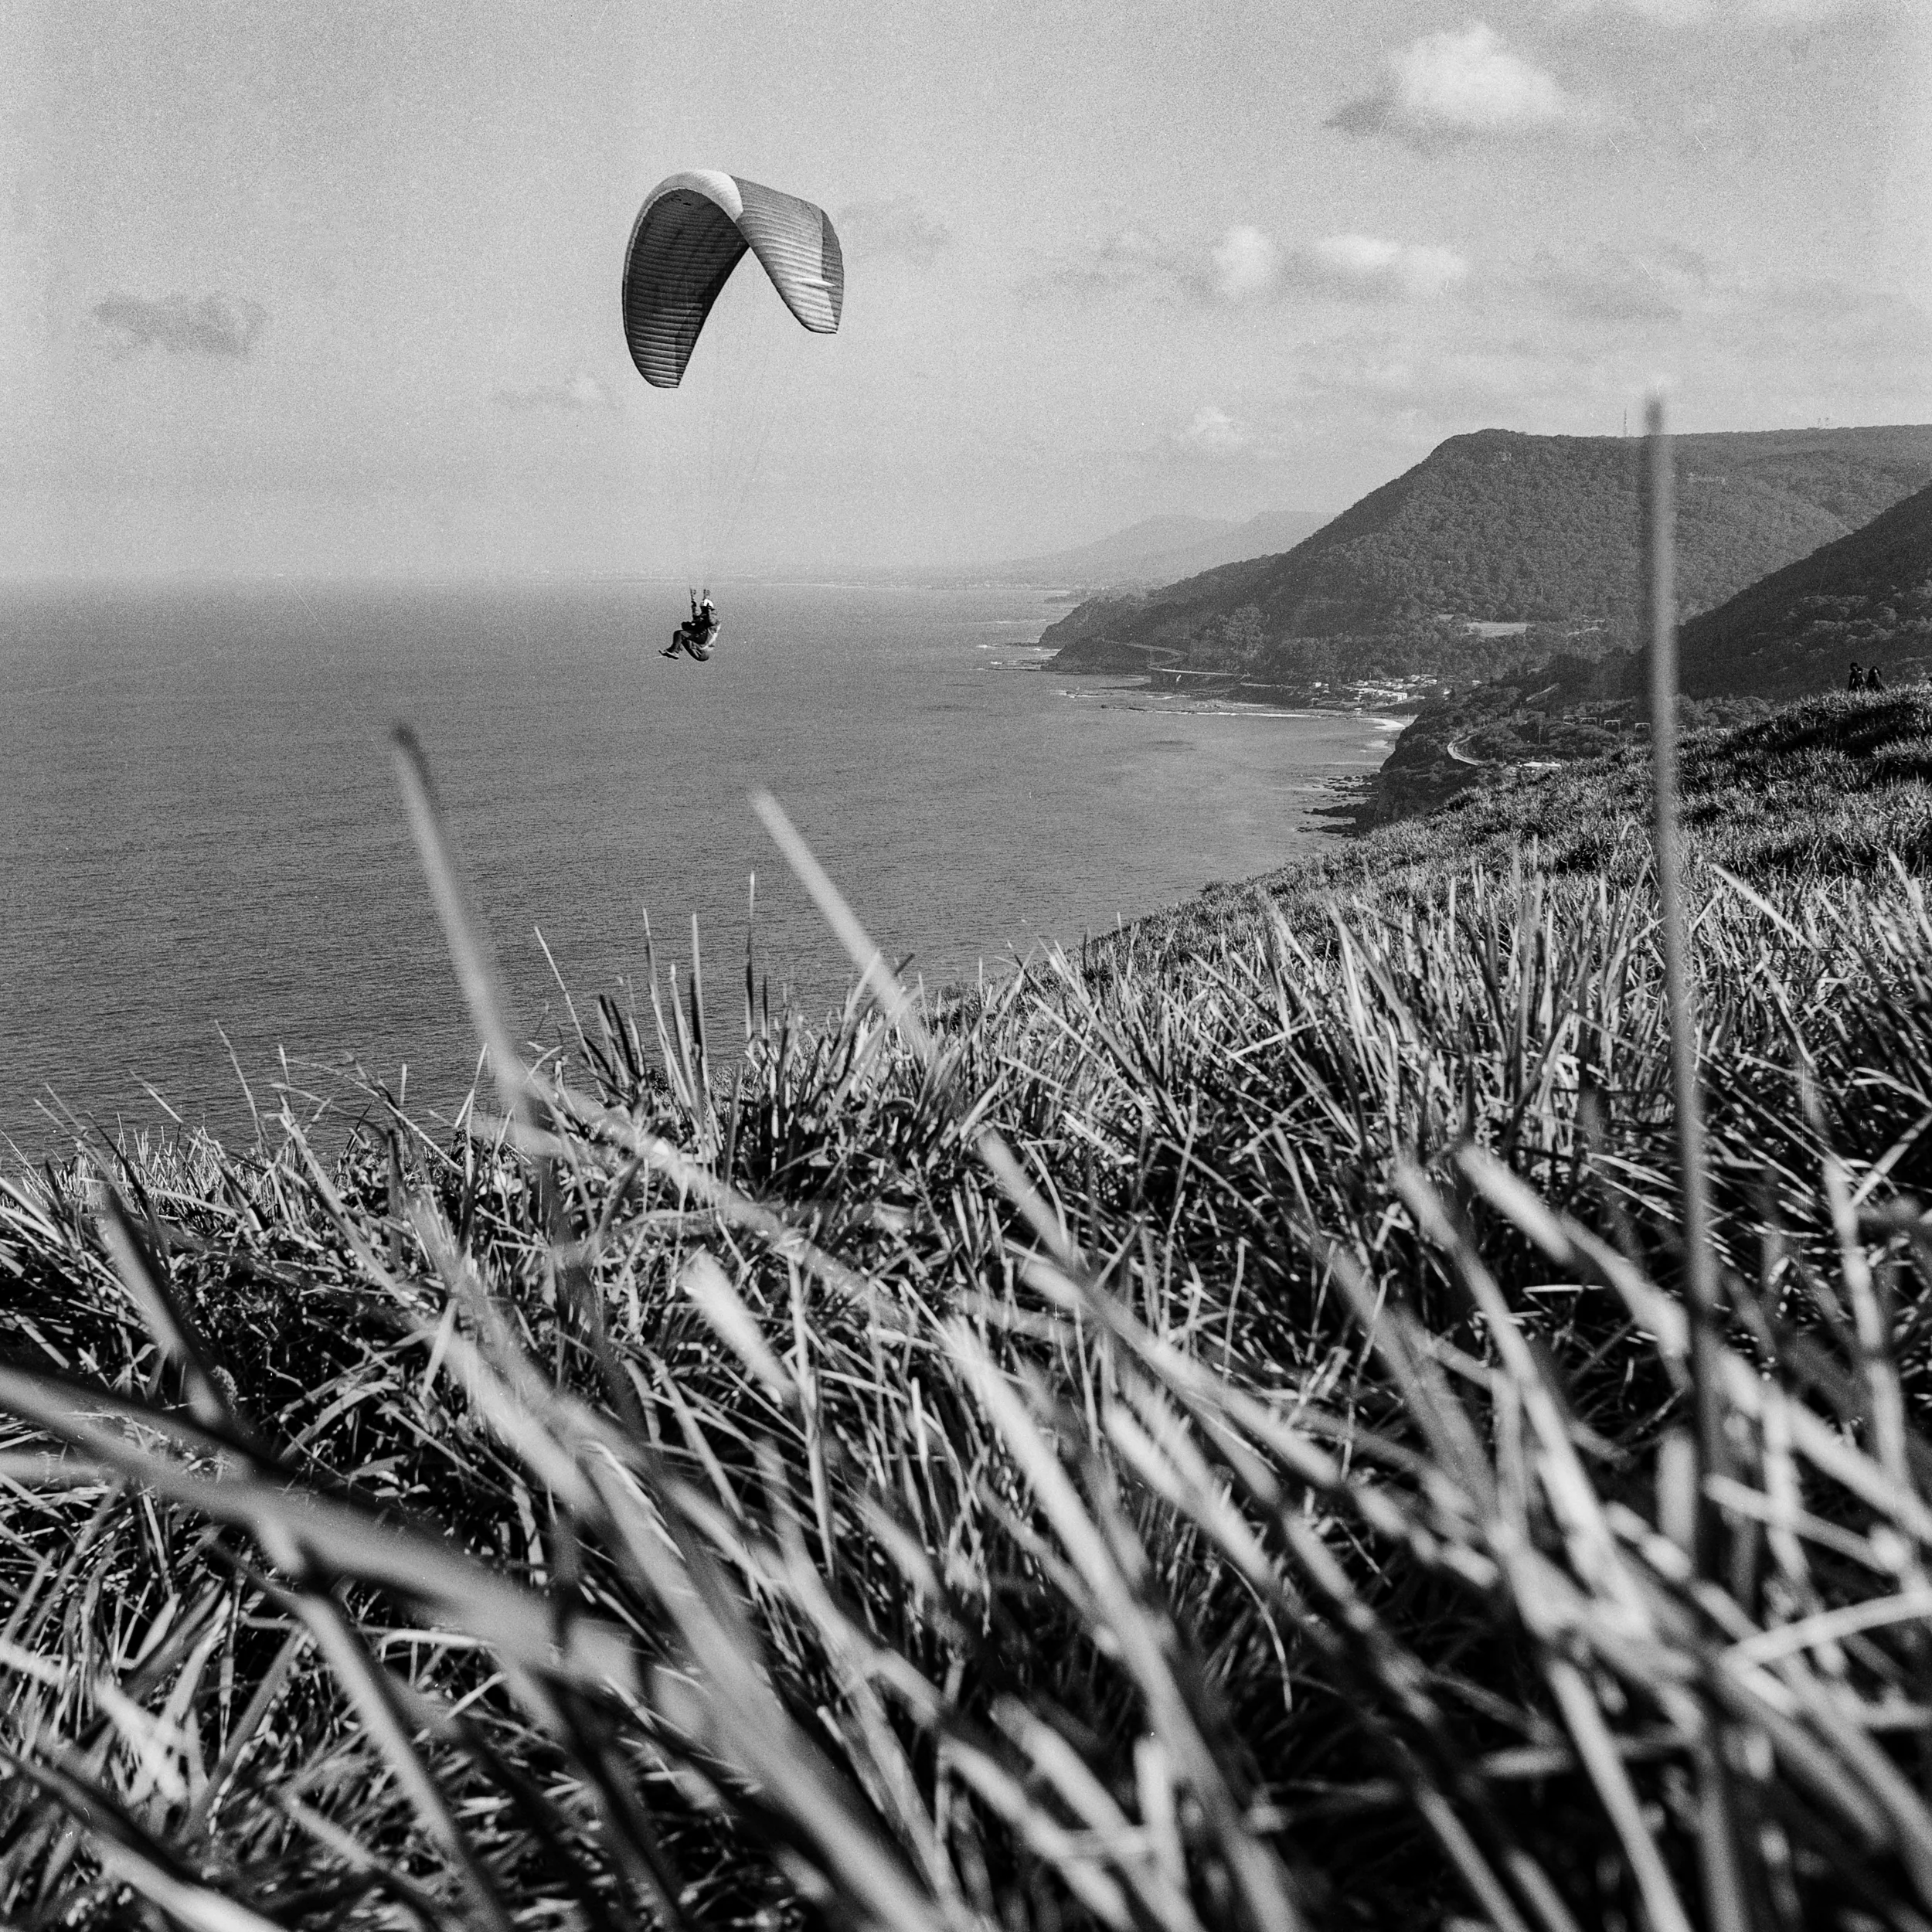
Fuji GW690III - Fujifilm Pro 400H
I really like the colours of Fujfilm stocks at the moment, the blue’s and greens are really calling me. Really like this film and will be shooting some more with it to try and get some more consistent results.


Fuji GW690III - Kodak Portra 800
There arent many 800 speed 120mm film stocks to choose from, there is Cinestill but thats super hard to get your hands (yet to try), Portra 800 makes up 5 of the 18 rolls ive shot on the Fuji, and really like the results.


The World of Medium Format Film
Lucky find, the film camera collection grows a little. Shots with the Yashica Mat.
I never thought I’d make it into the 120mm world. I considered it but never really thought I’d actually end up getting a medium format film camera, well that’s changed.
Not sure if I’ve mentioned it on this blog but since getting back into film I’ve also gotten into thrift shopping in the hope of finding more film cameras.
Once a month (sometimes twice) ill head down to my local Salvation Army store to see what they have. Most of the time there isn’t anything worth while but occasionally I’ll find something. My first worth while find was a Minolta XG-1 with Rokkor 40mm f2 lens which my son now uses and it produces some nice images.
Lets get on with the find this post is really about, that would be when I came across a Yashica Mat TLR. When I first saw it I knew what type of camera it was and had a rough idea around how it worked but was a little reluctant to purchase it.


So I called an attendant around to open the cabinet to take a closer look at it. Close up the leather was peeling on almost every panel, it needed a clean and the shutter button felt a little sticky. Things I kind of expect from a camera this old that hadn’t ever been restored. I opened it up and had a look around and seemed to be in good condition, lenses seemed clean, view finder was good, shutter speeds seemed to be accurate when firing and the film advance winder did its job.
I jumped on eBay and had a quick look to see what they go for and saw they were around the $280-350 AUD for a working example. Considering it was $80 I took a gamble and bought it.
When I brought it home I gave it a quick clean and ripped off the old peeling leather and cleaned off as much of the glue residue as possible. I then jumped online and purchased my first roll of 120mm film from Walkens House of Film which was a roll of Kodak TMax 400. I figured I’d have a better chance at getting something half decent from some black and white film first. Here are some of the images from that first roll.


Once i knew that the camera worked i ordered a replacement leather set for the camera off of eBay to give it a fresh look. The pictures of the actual camera at the start of the post are it with the new leather panels.
For those that don’t know much about the Yashica Mat its a 6x6 square format twin lens camera which has one lens to look through and the 2nd lens is the one that exposes the film. It also has a waist level view finder which is mirrored, so when composing and making micro adjustments your always moving the wrong way (takes some getting used to). It has two 80mm fixed lenses that range from f3.5 to f22 and a max shutter speed of 1/500, ISO is limited to 400. These Yashica TLR cameras were manufactured from 1957 up until around the 1980s, they went through different specs and names but essentially had the same layout. My particular model doesn’t come with a built in light meter so having to use my phone with an app. Having to meter with an external device and the fact that it’s a waist level view finder, your forced to slow down even more so than I would with my manual focus Contax S2b with build in light meter. This is a good segue onto what it’s like to shoot with the Yashica Mat.
I find focusing to be hard with the standard screen it comes with, I tend to focus back and forth past my focal point and gradually shorten the distance until I hit that focal point (well I think I’ve hit it). This can take me 30 seconds or so as I’m second guessing myself as to whether I’m actually on my desired focus point, it doesn’t help that the view finder isn’t the brightest out there. Once I hit focus I then compose, this definitely takes longer than it should because of the mirrored view in the view finder were moving left is actually right. I really don’t think I’ll ever get used to this to be honest.
I make it sound like it’s a nightmare to use this camera, but it’s not. Yes it’s a slower process but with practice like most things I’ll get faster at using it. I definitely think it makes getting nice results back so much more rewarding as you had to work for it.
Of course if your going to be shooting anything that requires you to be moving from scene to scene quickly and getting those shots out, this probably isn’t the camera for it.
I’ve been shooting stuff with it that’s been slow paced with no time restraints, so I’ve been enjoying learning the qwerks of the camera.
As you can imagine I have only touched the surface of medium format and look forward to getting into it a lot more, with the potential of getting another medium format camera in the future (watch this space).
I havent put many rolls through this camera yet, maybe 3-4 but here are some of my faves so far.


Thanks for visiting.