
Argentina & Chile Holiday
After many many years from not being back and roughly 30 years since seeing my dad i finally make it back to Argentina. Along with the kids meeting my family for the first time. Also getting to spend some time in Chile exploring the south.

It had roughly been 2 to 3 years since we had travelled overseas due to you know what. So we decided we should take a trip when school finishes at the end of 2022, Seb would have finished high school at that stage and Lucas would have finished for the year. Conveniently both work for my wife and I shuts down at the end of the year for roughly a week and a half.
So the question was where do we go?
So i initially thought Japan again (can never over do Japan), but because it will likely be our last trip overseas with Seb due to the fact that a 17 year old generally doesnt want to do anything with their parents for any amount of extended time i thought why not take a trip to South America and introduce my side of the family to my kids who they have never met and to my father who non of them have ever met. Then also head over to see my wifes family.
So it was decided, we spend 9 or so days in Argentina and the rest in Chile were we can also do some sight seeing.
Before we get on with the trip we need to talk about the camera gear i was taking with me of course, this is more about the photography than my poor story telling skills.
I wanted to keep it reasonably light so i took my Contax S2b with my Carl Zeiss Distagon 35mm F2.8 on the film side of things and my new to you Fujifilm X-Pro3 (purchased Nov 2021). With my X-Pro3 i took my Fujifilm 27mm f2.8, 35mm f1.4, 16mm f1.4 and 56mm f1.2. Although the lens that was on the camera the most was my 27mm f2.8 pancake, it just made the camera so much more compact. This also confirms that i prefer the 35mm full frame focal length (23mm on an APSC sensor), i think its the perfect all round lens for travel. I found the 27mm a tad too cropped in and i figure the 23mm f1.4 will get added to my lens arsenal very soon. But the 27mm was the closest to that focal length in my lens bag which is likely why it sat on the camera for most of the trip.
Fujifilm X-Pro3 with the 27mm f2.8 while on a river crossing in Castro
Without going too deep into the X-Pro3, one of the things ive loved is the recipes you can create with the various simulations. Of course if you have a Fujifilm you need to go to fujixweekly and get started with some recipes. Since i got the body ive been playing with 2 recipes from fujixweekly which is the Kodak Tri-X (very close to the real thing) and a Nostalgia recipe which i came across on Youtube with iamtongue tweaked version of a fujixweekly recipe. Ive been playing with these recipes for the last 6 months and made slight tweaks and reached a point that im happy with.
All the images youll see in this blog entry are jpg’s made with these recipes, slight tweaks like contrast and brightness in post but thats about it.
Here are my tweaked recipes:
Kodak Tri-X 400
- Film Simulation: Acros + G filter
- Grain Effect: Strong Large
- Color Chrome Effect: Strong
- Color Chrome FX Blue: Off
- White Balance: Daylight - R:9, B:-9
- Dynamic Range: DR100
- D Rand Priority: Off
- Tone Curve: H:0, S:+2
- Sharpness: -1
- Noise Reduction: -4
- Clarity: +4
- Exposure Compensation: +1
- ISO: 1600+
Nostalgia
- Film Simulation: Classic Chrome
- Grain Effect: Strong Large
- Color Chrome Effect: Strong
- Color Chrome FX Blue: Strong
- White Balance: Auto - R:2, B:-5
- Dynamic Range: DR200
- D Rand Priority: Off
- Tone Curve: H:-1, S:-1
- Color: +2
- Sharpness: -1
- Noise Reduction: -4
- Clarity: +2
- Exposure Compensation: +1
- ISO: 1600+
Back to the trip, we flew into Santiago from Sydney as there is no direct flight to Buenos Aires with Qantas, and from there we flew to Buenos Aires.
Heading to Buenos Aires from Santiago
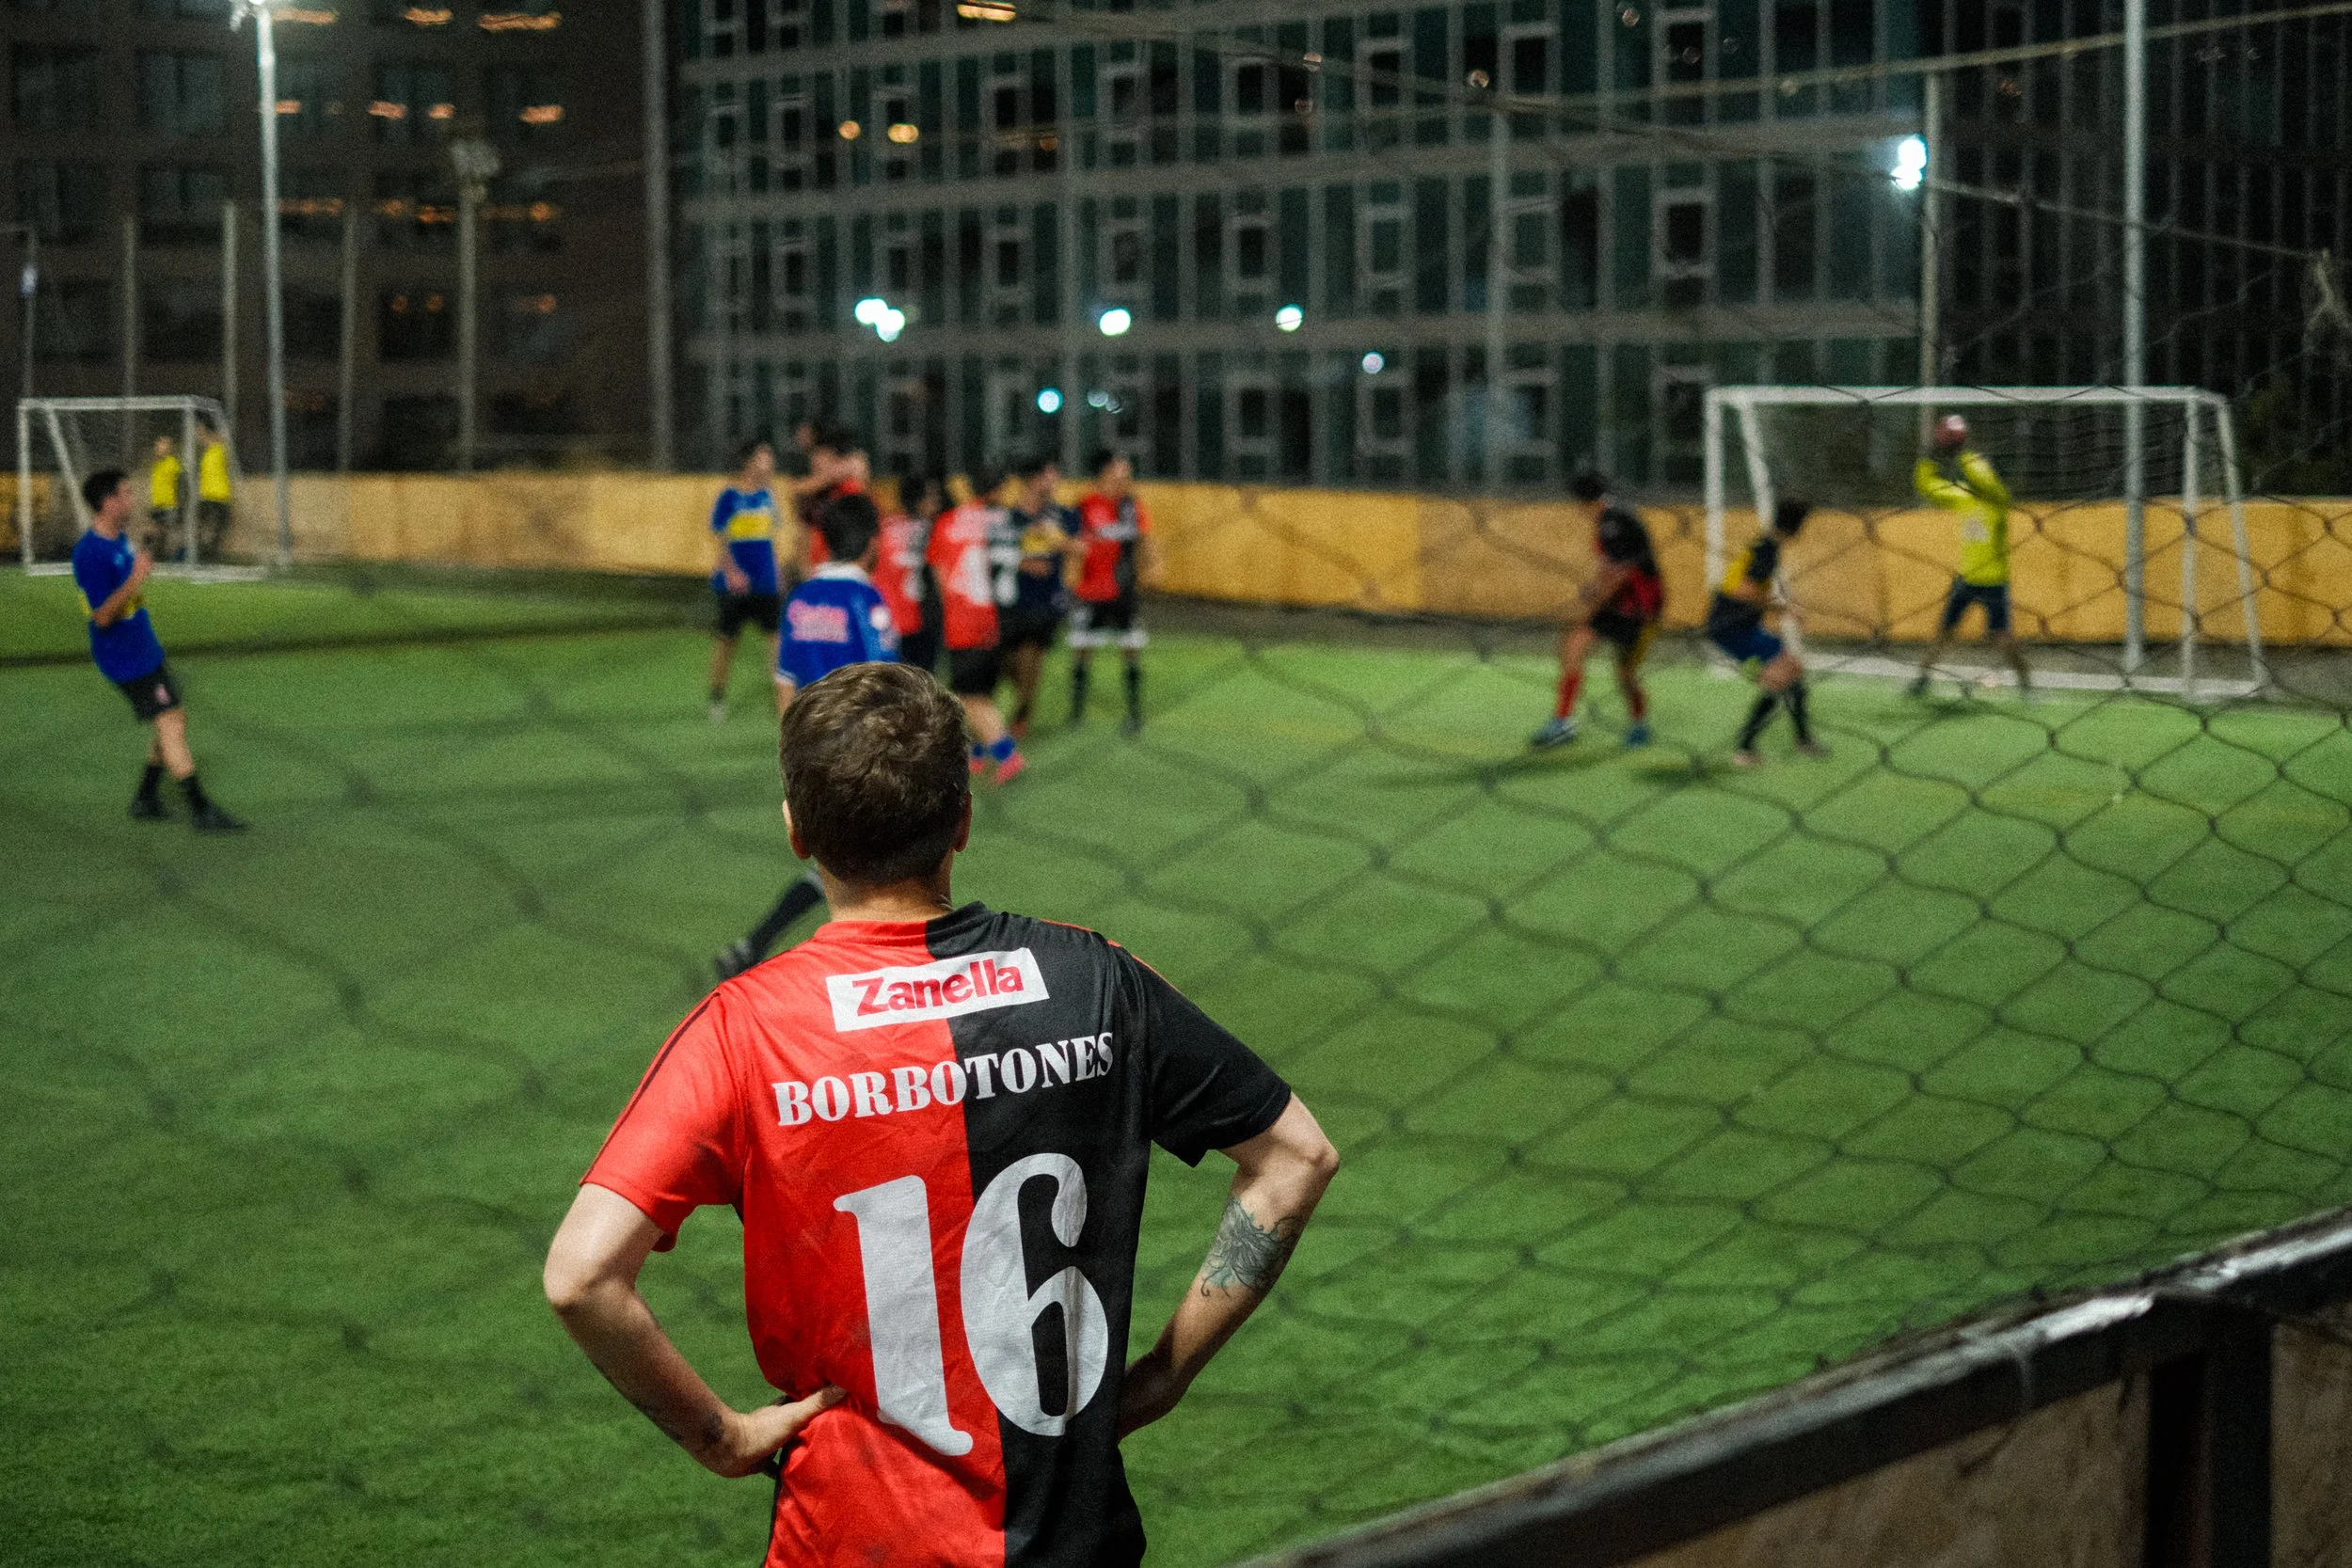
Now this wasnt long after Argentina won the World Cup and the Argentinian team was due to arrive in Argentina. Lucky for us we arrived in Buenos Aires the day after the team arrived, otherwise it would have been chaos trying to get anywhere.
Sample jersey released after Argentina won the World Cup (not for sale unfortunately).
Jetlag hits hard for those of us traveling to South America from Australia as your meant to be sleeping when your awake and awake when your meant to be sleeping. The first morning in Buenos Aires was an early start.
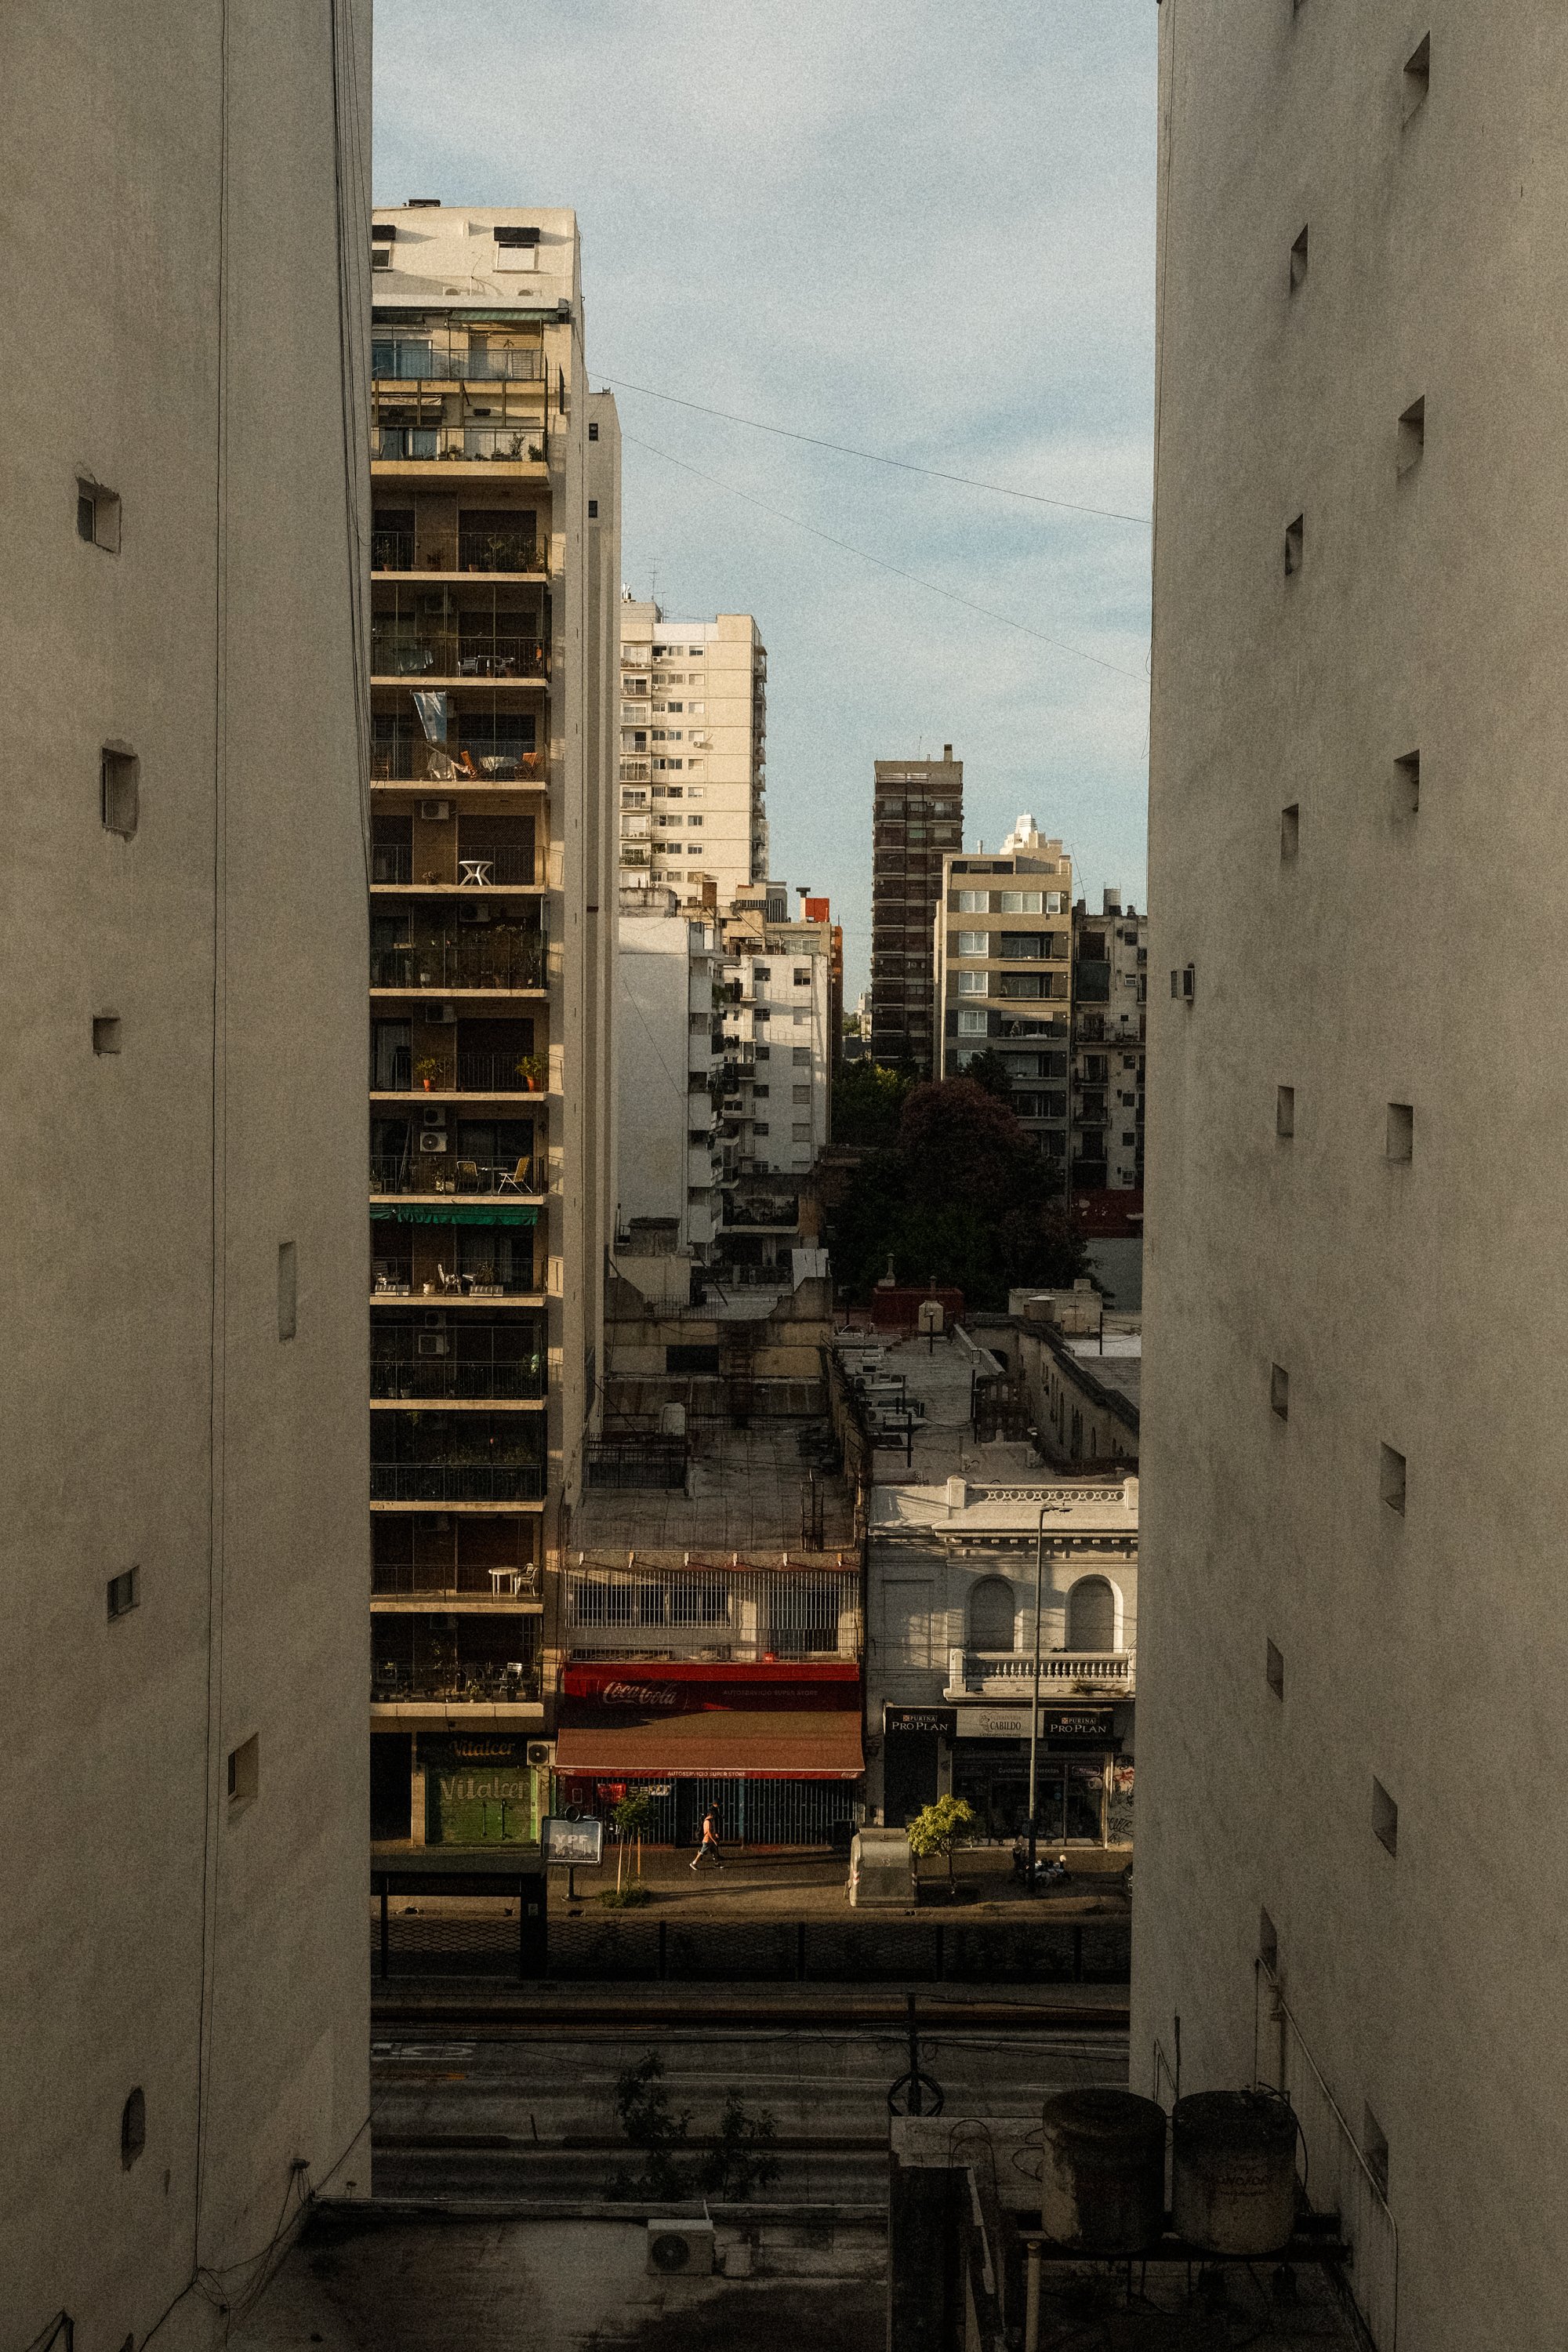
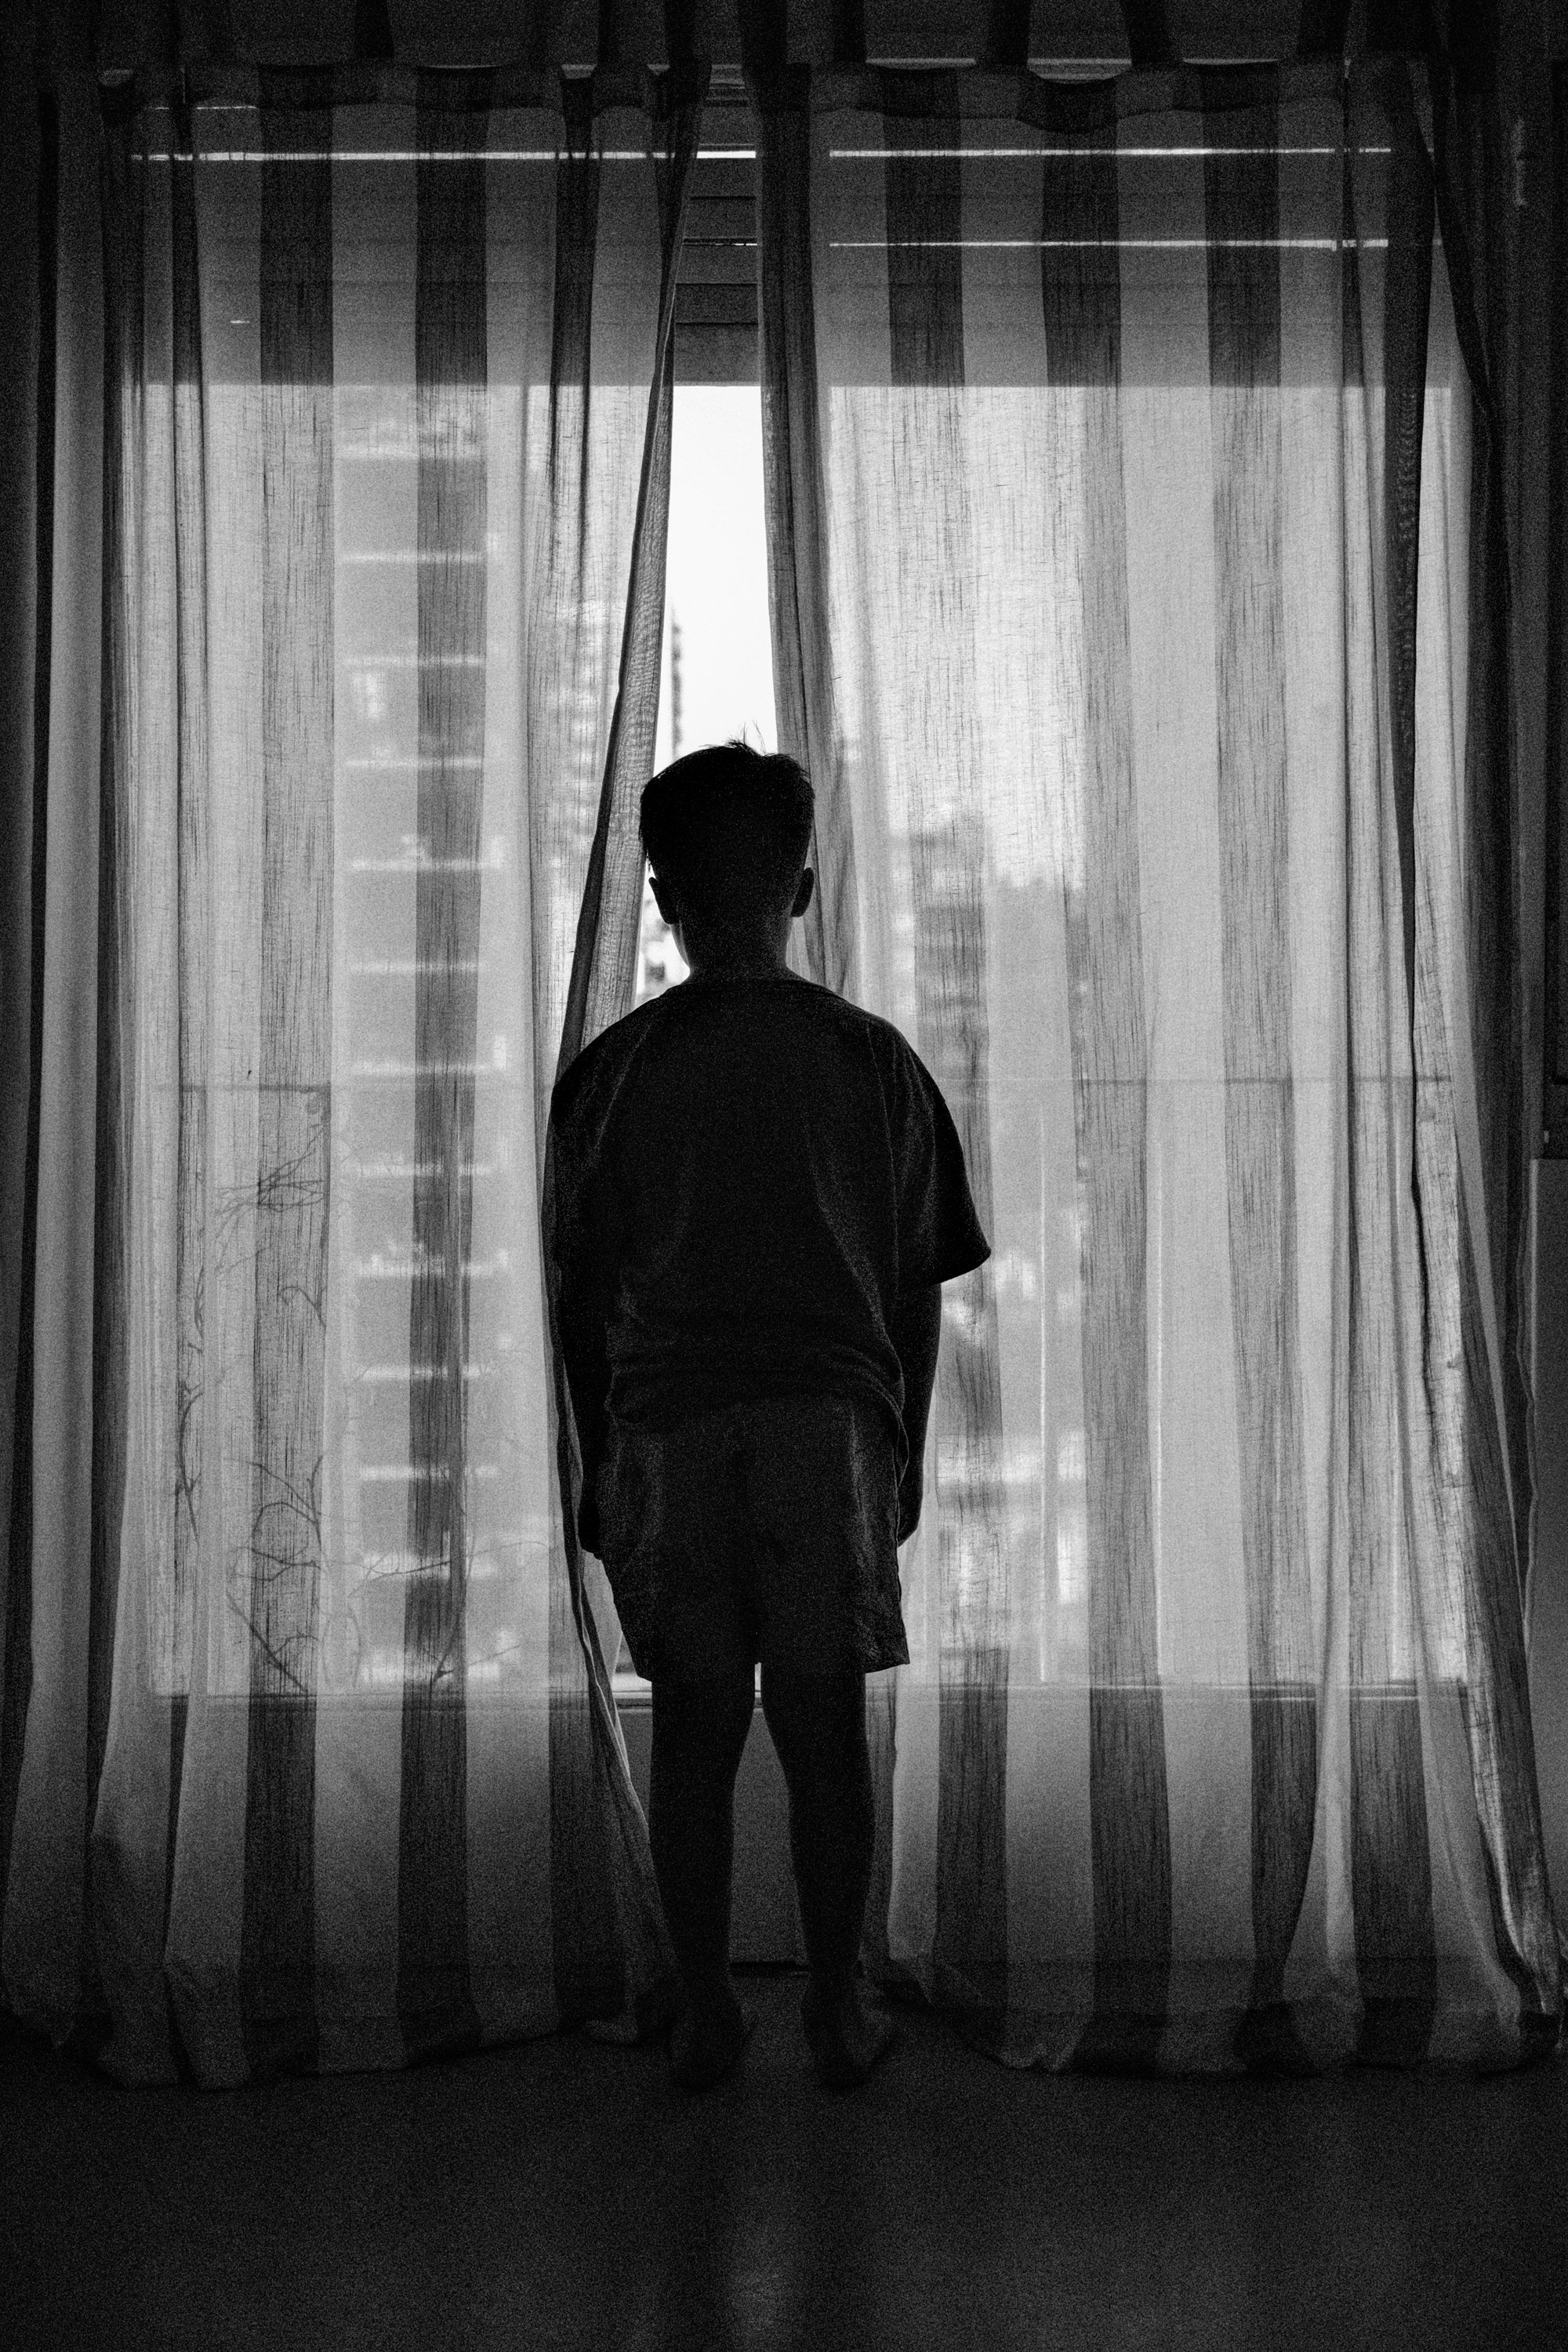
As you can imagine after not seeing my family in Argentina for 17 years and some for 30, i spent most of my time catching up with them and not doing much sight seeing. Here is a mix of some of my fave pics from Argentina. In all honesty i should have taken way more pictures in Argentina but i let everyones comments get to me thinking i was going to get my camera stolen around every corner. In the end i physced myself out and didnt end up taking it with me many places.


Chile was where we could explore a bit more, here are some of my favourite randoms in Santiago after we arrived from Buenos Aires.


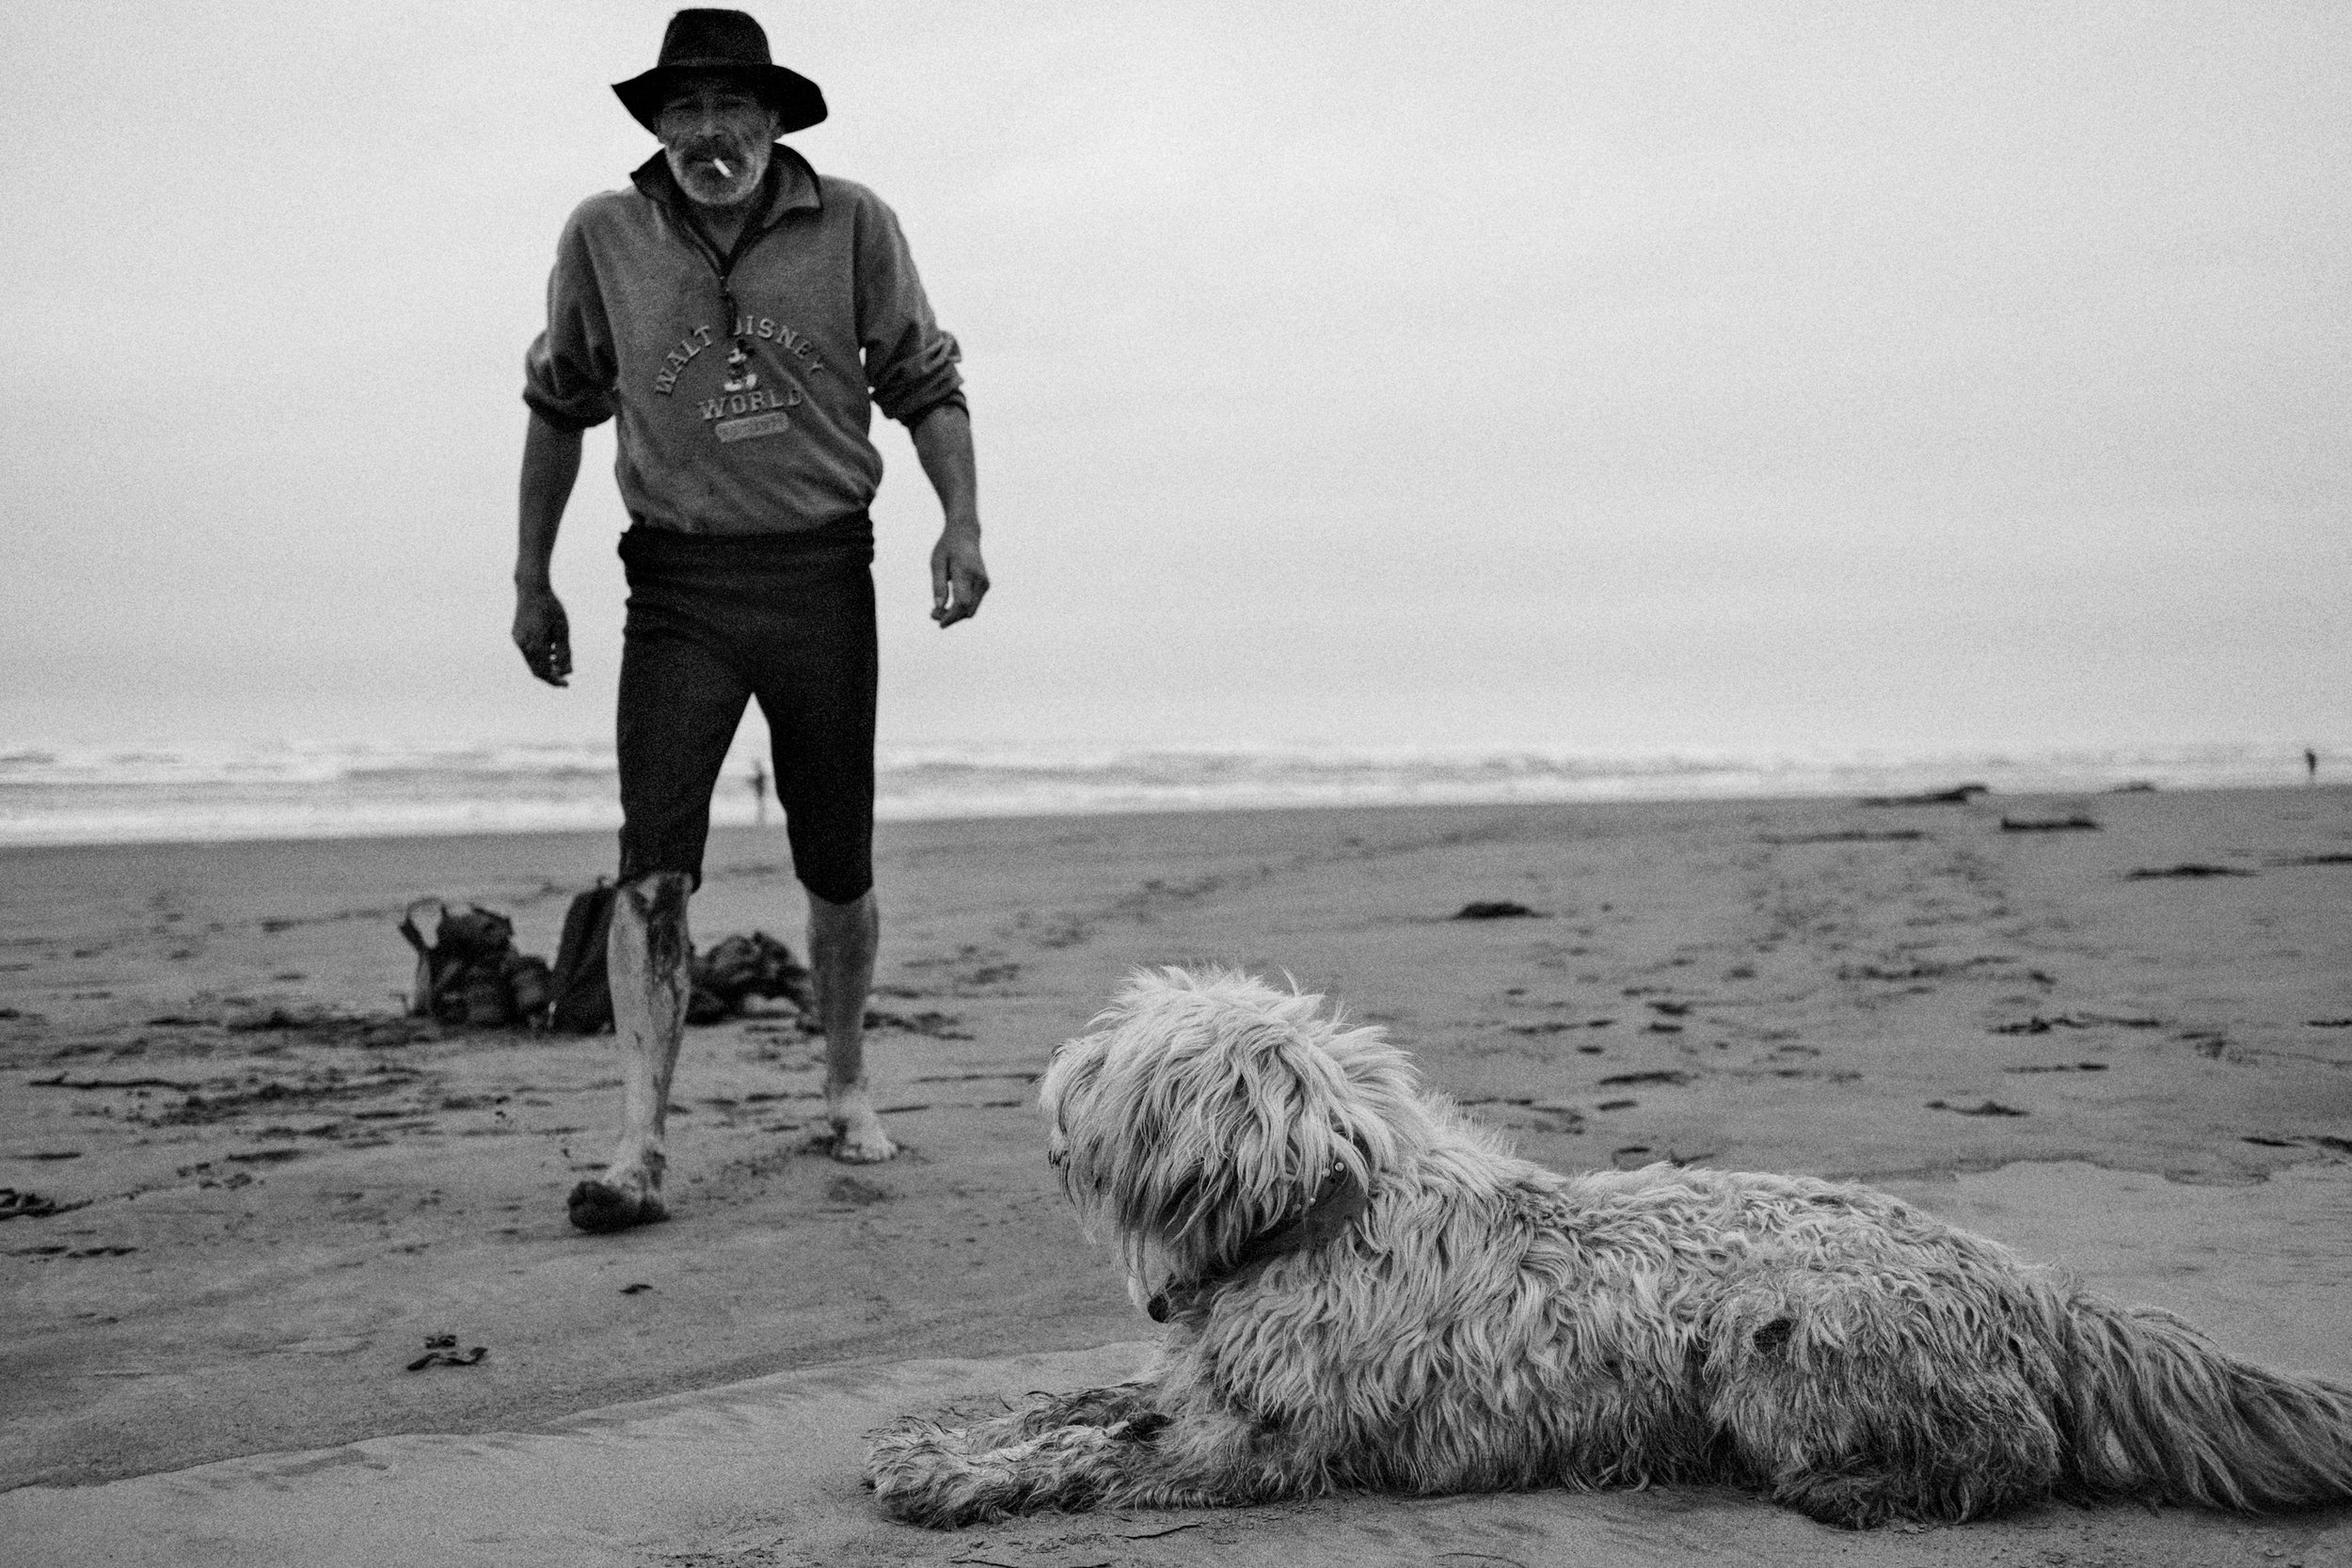
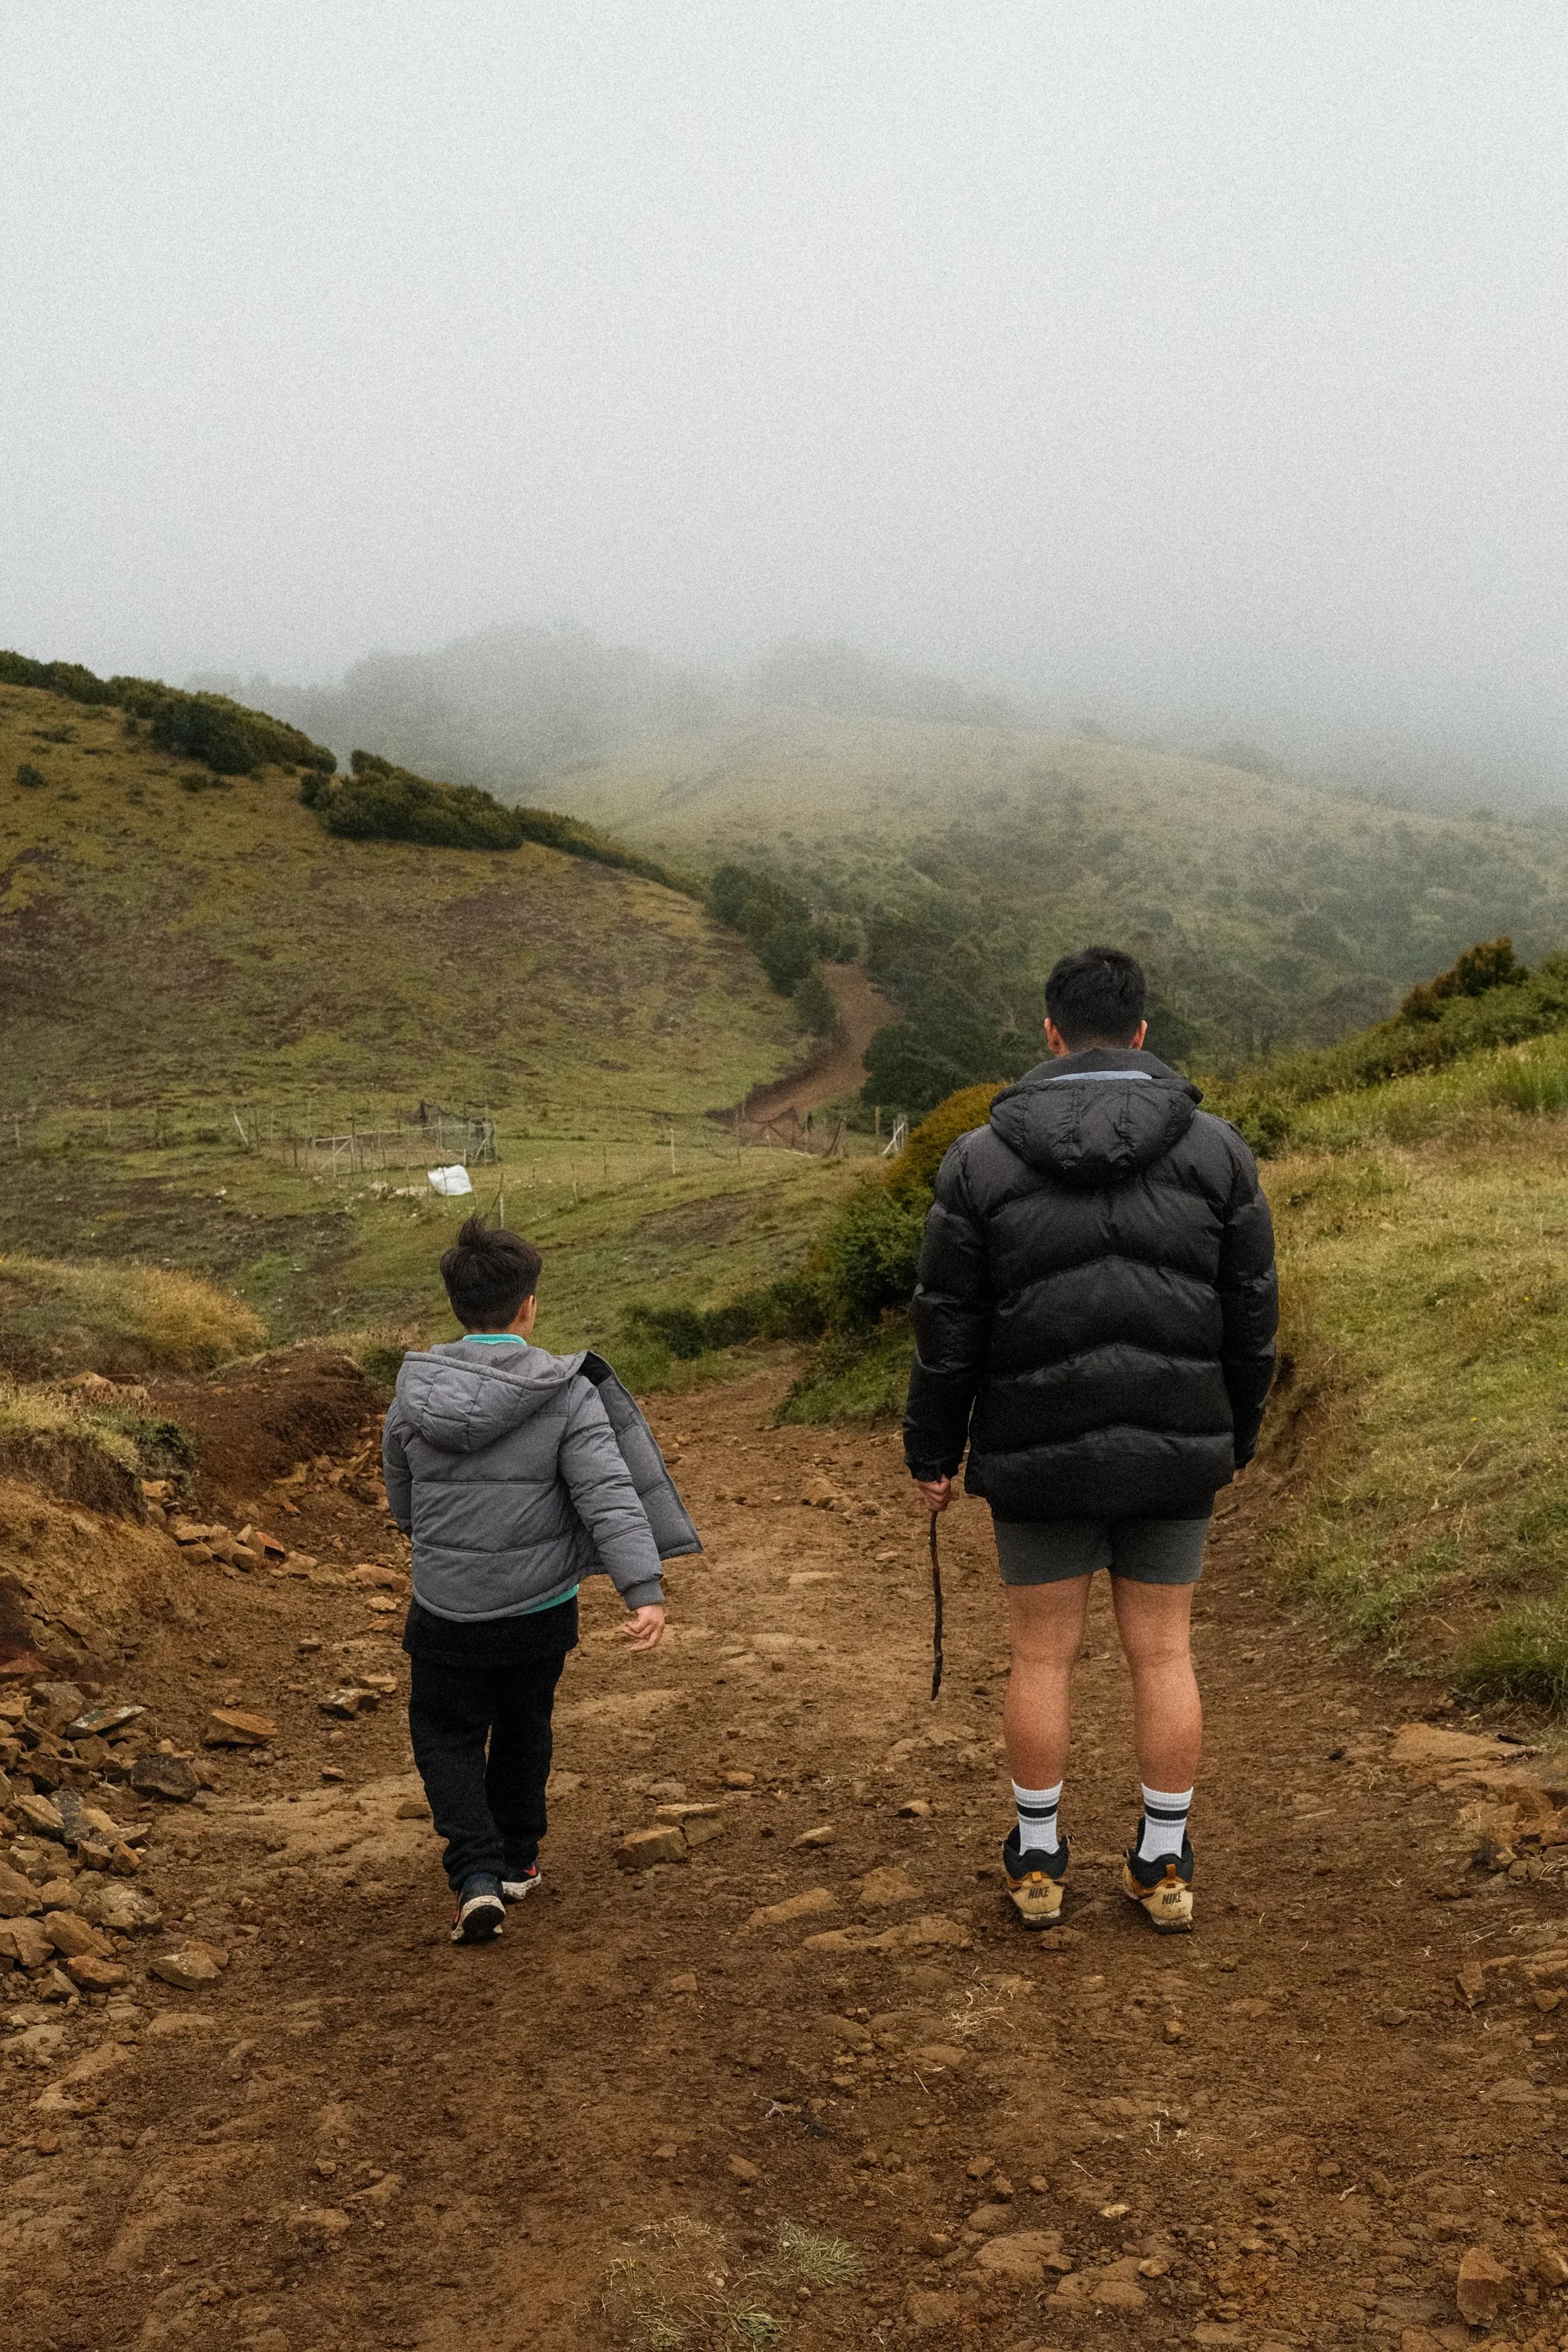
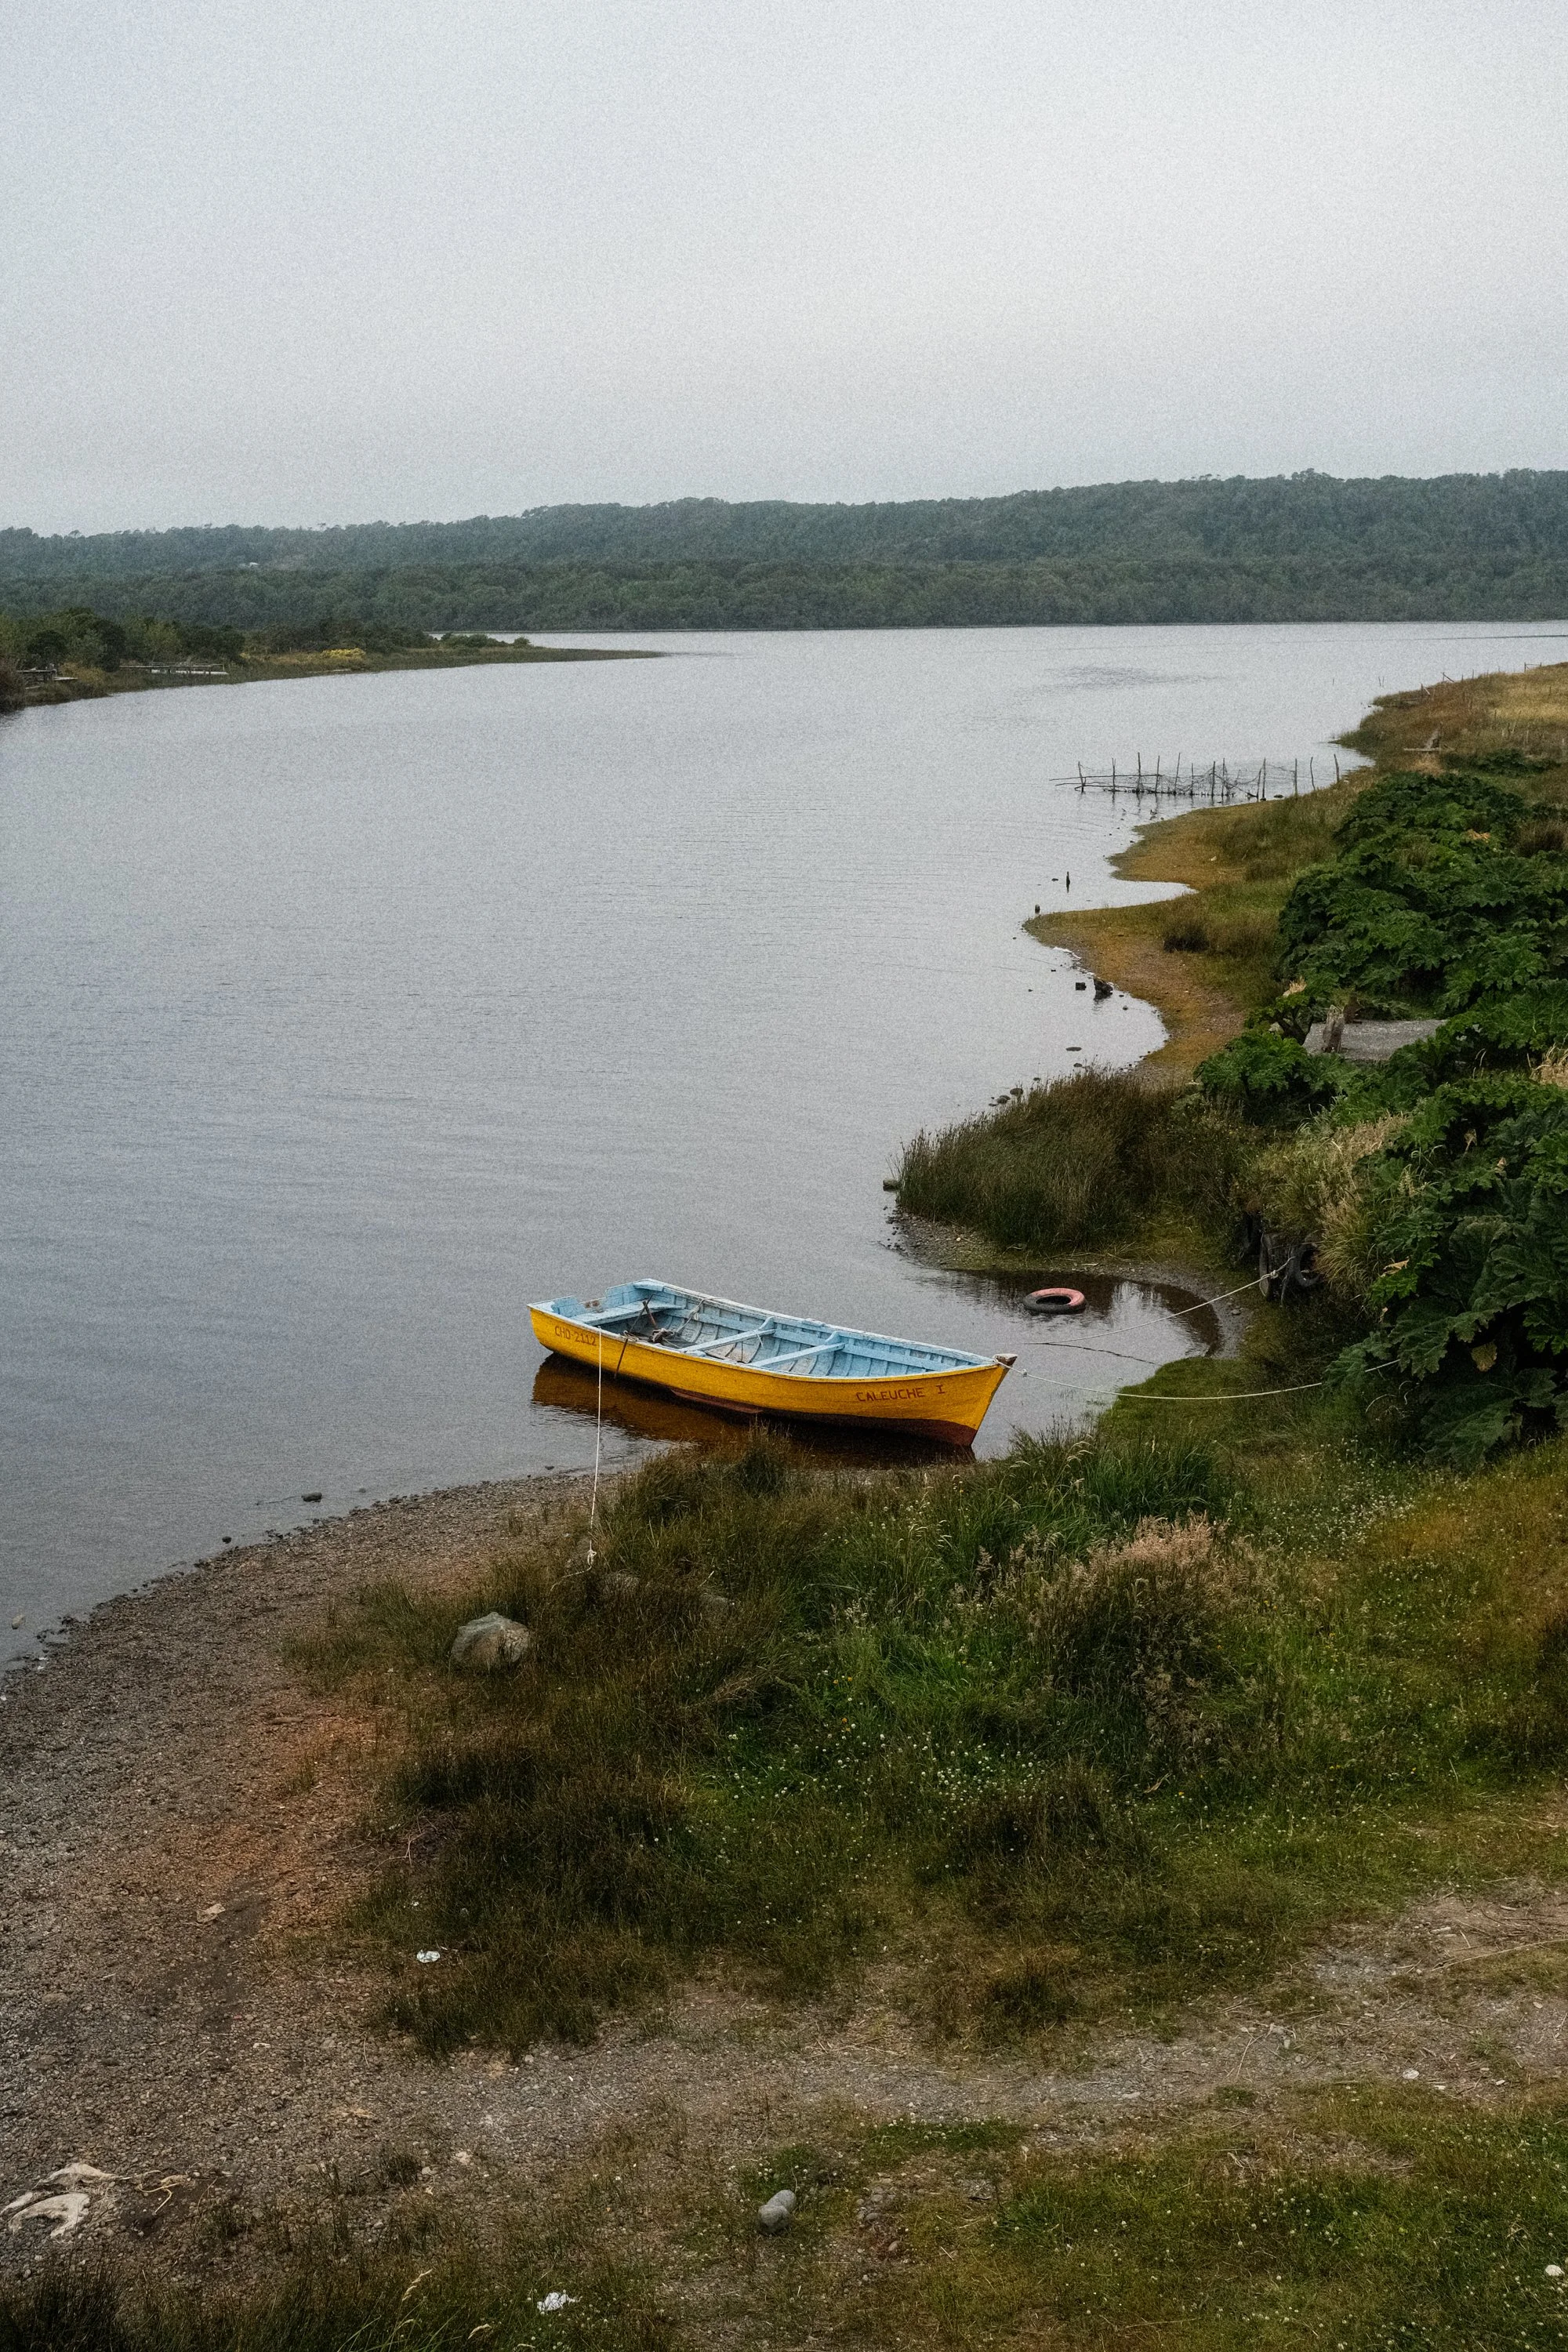
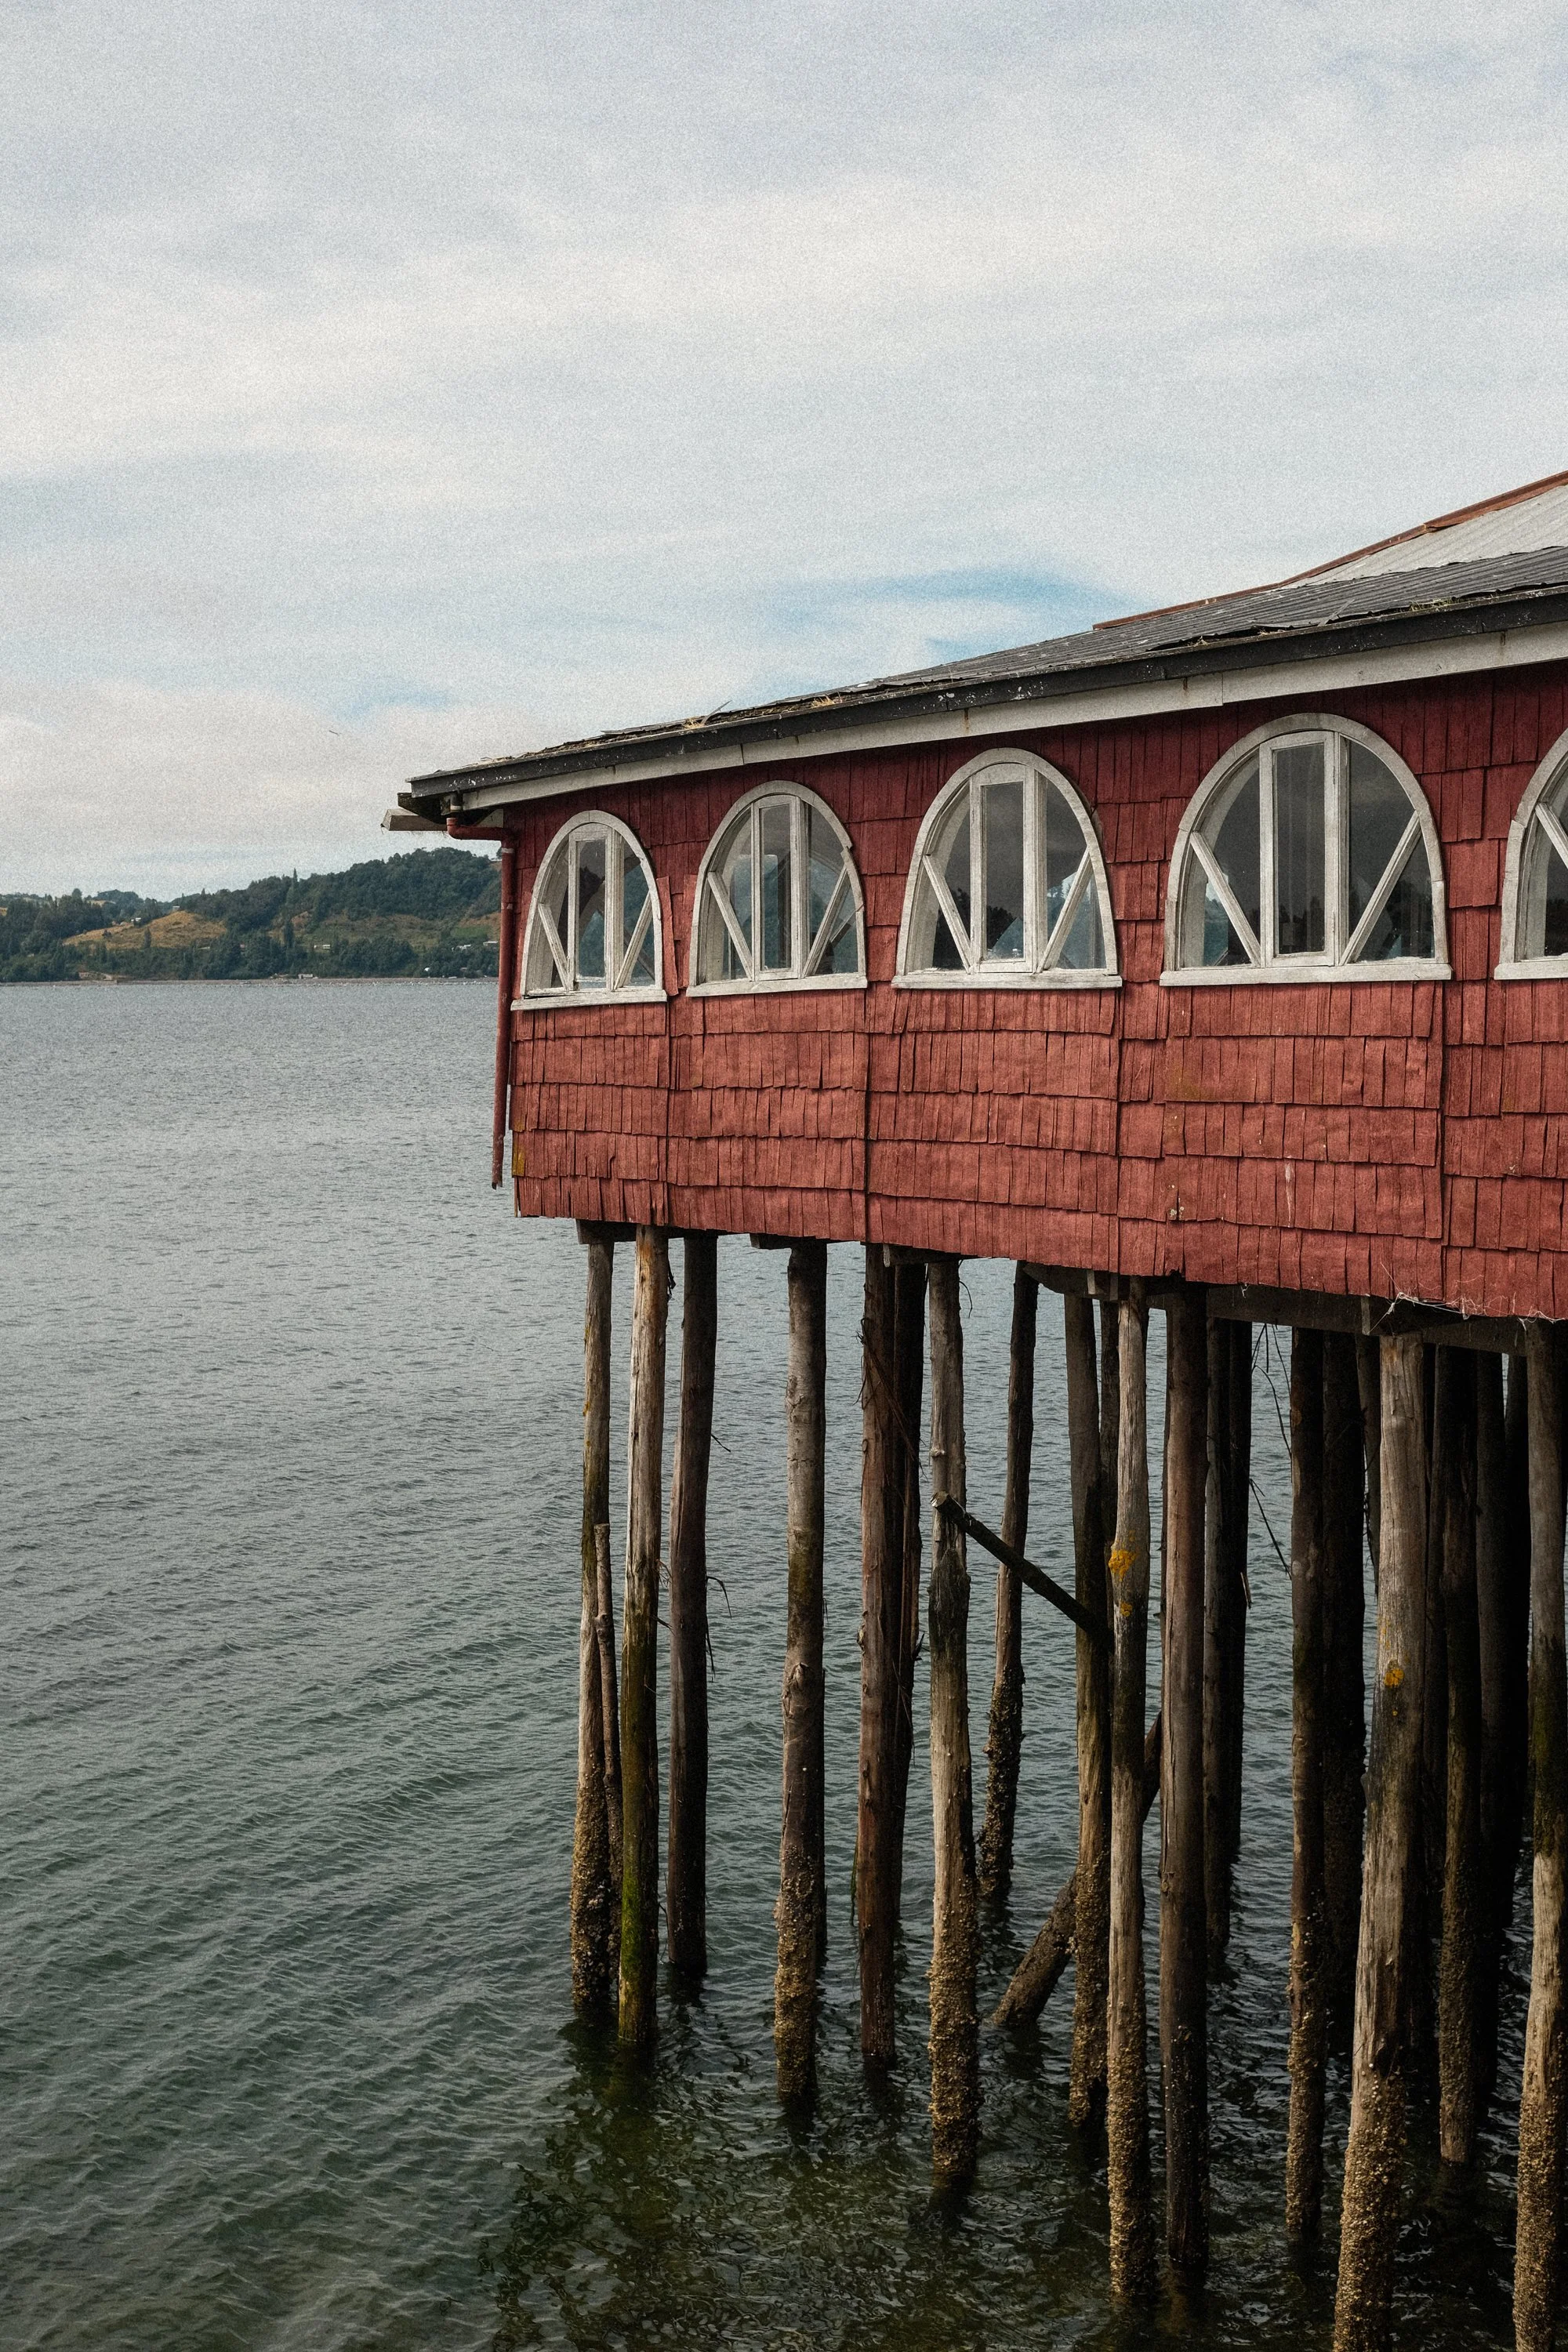
The next part of the trip we head down to the south of Chile, this starts off with us taking a flight to Puerto Montt very early in the morning and then drive 4 hours to Cucoa. During the 6 days we spent in the south of Chile we explored various attractions in Castro, Cucoa, Quellon and Puerto Montt. Here are some of my faves from that part of the trip.


When we got back from the south of Chile we drove to Valparaiso to explore a bit, here are some of my faves from that day.


Here are some of my favourite randoms from around Santiago.


Cant be in Santiago and not go to Cerro San Cristobal to see Santiago, you need rain for it to clear up the views of all the smog but still nice to get up there.


Lastly here are some of the final randoms i enjoyed from Santiago.


I did mention that i took my film camera with me, i only shot 1 roll with it which was a roll of Kodak Portra 400. I havent been keeping my film in the fridge and i think it may have deteriated over time, or im just severly under exposing the images. Anyway enough excuses, here are my faves from that roll.


All in all it was a great trip, happy i got to see my family and my wifes family and was great to see the south of Chile.
Even more stoked on the Fujifilm X-Pro3 and absolutely loving the Nostalgia and Tri-X recipes. Will hopefully put together another blog post of my experience with the X-Pro3 so far and share some of my favourite images taken with it.
For some other pics from the trip check out my saved Instagram highlights and posts.
Thanks for visiting.
Recent Random Outdoor Adventures
Recent random outdoor adventures over 2021/2022 christmas period.
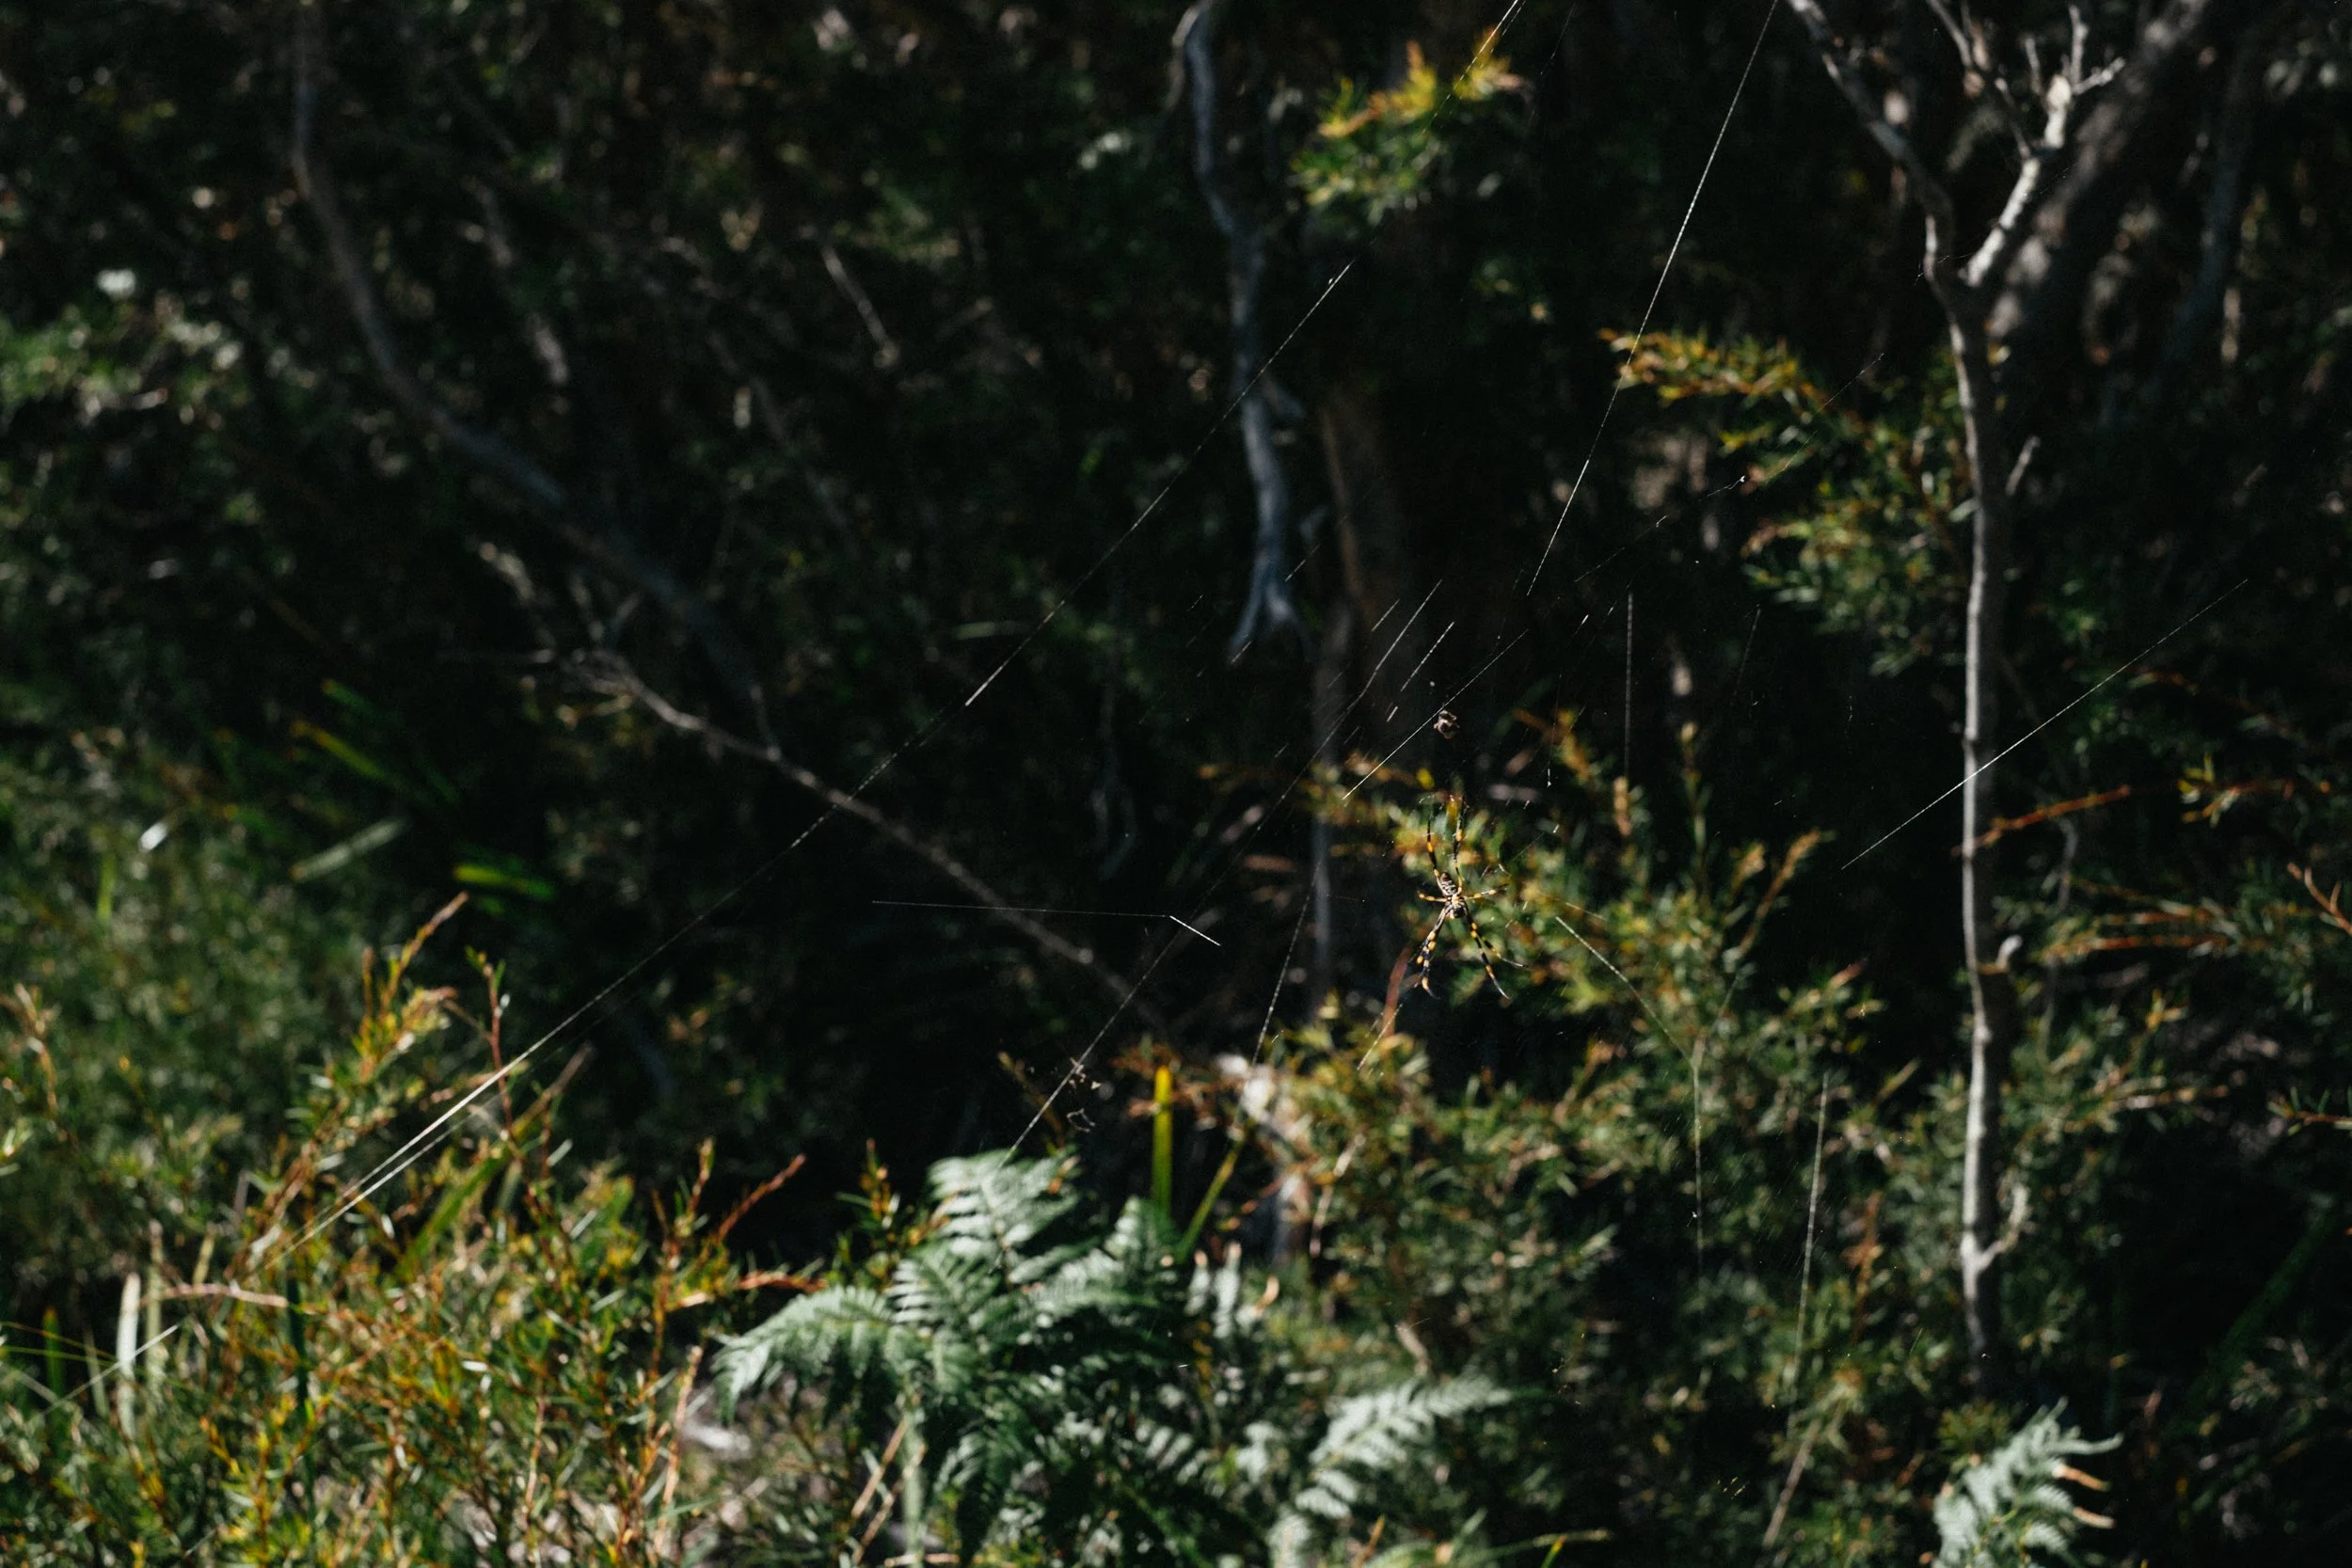
So towards the end of December 2021 and early January 2022 my family and some friends went out into nature for a couple of day adventures, of course i took my camera with me and took some happy snaps along the way.
December 2021 - Marley Beach Hike
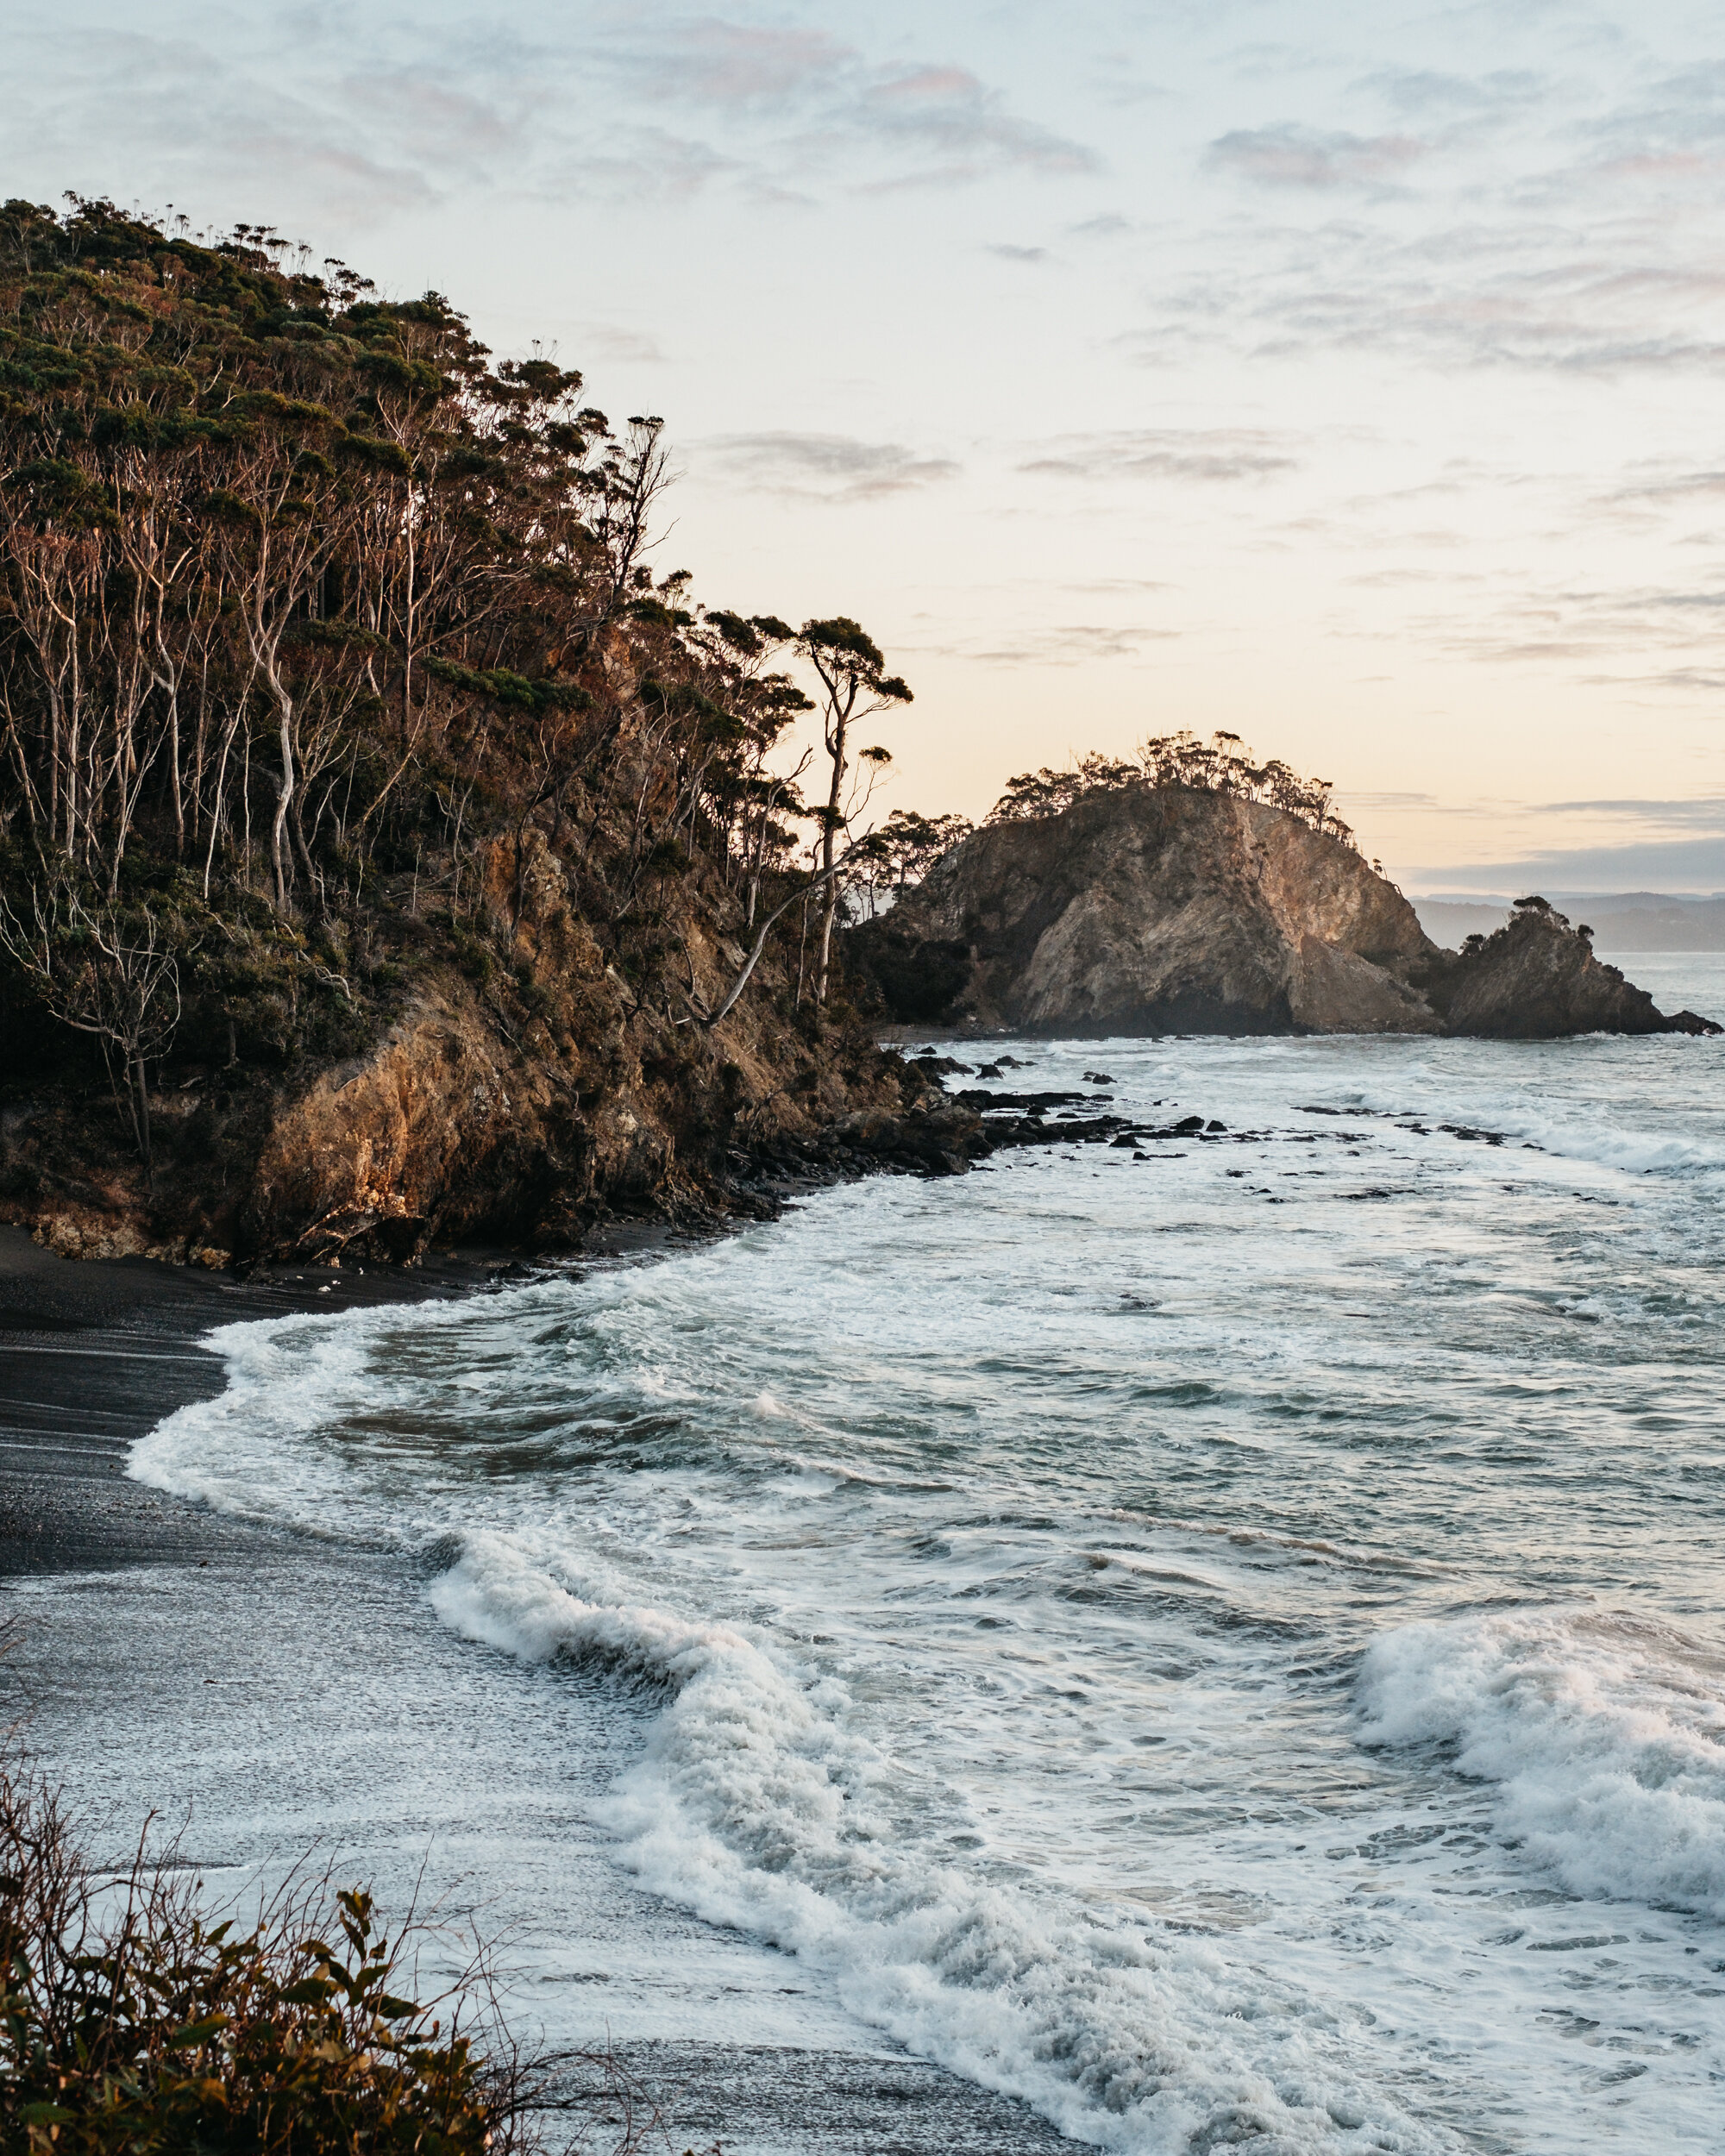
The national park is a pretty big place, so many places with many adventures to be had. We decided to take on the challenge to Marley Beach which is roughly a 1.5hrs one way hike to the beach from the road. Along the way you pass some really nice landscapes and ponds you could take a dip in before you reach the beach.
The beach itself is stunning and we were lucky enough to get a beautiful day to enjoy it. One thing to keep in mind is youll have another 1.5hr hike back to your car!
Here are some of the better snaps.


January 2022 - Fruit Picking
If your in Sydney and you want to go fruit picking your pretty much going to end up in Bilpin. Bilpin is generally known for its apples and cider, but there is a bunch of other fruit to pick there as well. Its not apple picking time in January so we ended up picking some Blood Plums, White and Yellow Netarines and Peaches. Not only was the fruit big but nice and juicy as well.
Here are some of the snaps from that day.


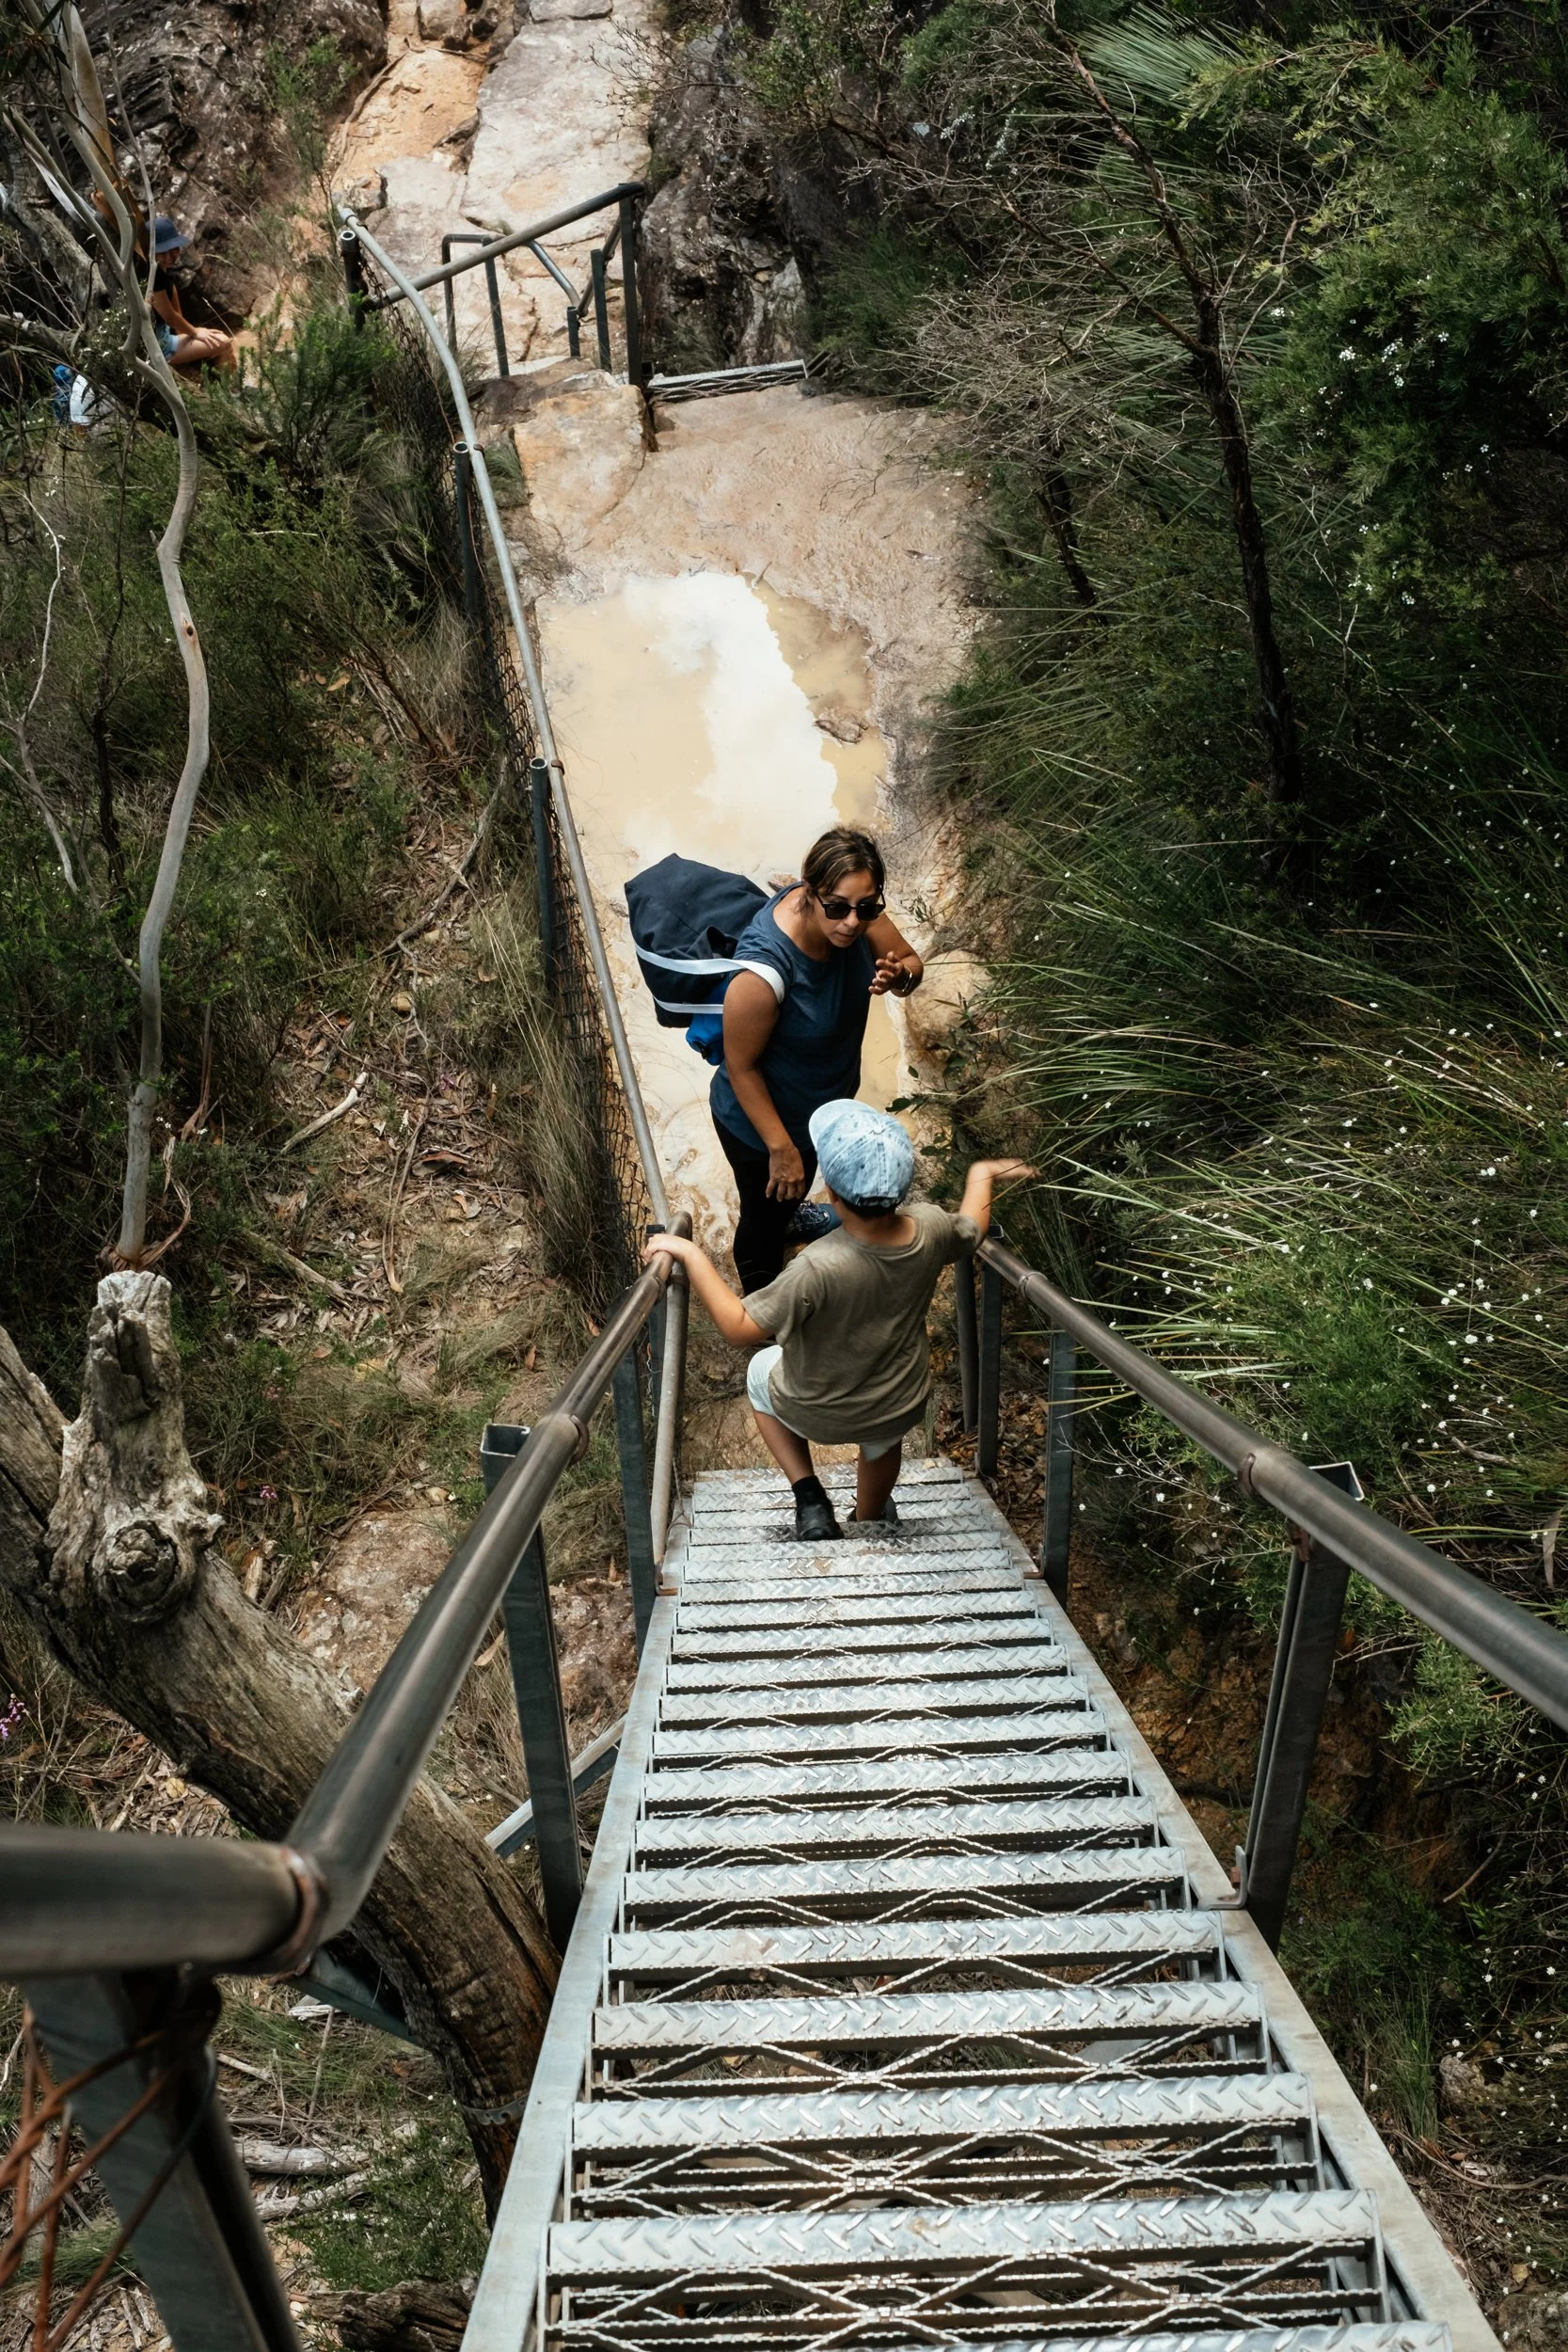
January 2022 -Minnehaha Waterfall
This was on the same day as the fruit picking as it wasnt too far from Bilpin, the Minnehaha Waterfall hike isnt as long as Marley Beach but its a much more treacherous hike with steep, slippery sections. As you will see from the snaps its a worth the hike. The water is cold but after hiking there in the humidity and heat youll welcome the colder water which will at the very least be refreshing. It can get busy so probably worth heading there before the crowds.
Here are the snaps from that hike.


My favourite images made in 2020
A list of my favourite images made throughout 2020.

2020 was a year that didn’t have me picking up my camera a lot compared to other years. Maybe it was a lack of motivation due to the circumstances we were all facing or some other reason that doesn’t really come to mind right now.
According to my Lightroom library i made 3806 images for the year 2020, that would be the least amount of images made since 2016 for me and roughly 6700 less than 2019 which by coincidence was the most amount of images made in a year at 10167.
With that said i think i made one of if not my most favourite image in 2020, but you’ll have to wait until the end of this blog to see what that image was ;-).
Looking back at 2020 i obviously didnt get to travel much but i did manage to get in a trip to Bali and Japan before the major restrictions started to set in, in March. Most of the images that make up the 3800 images are from those 2 trips. The rest are predominately made up of my kids futbol matches, some short trips around Sydney/NSW and birthdays.
Here are my favourite images made from 2020, they were made with my Digital (Fujifilm XT-2), 35mm (Contax S2b) and 120mm (Fuji GW690III) cameras.


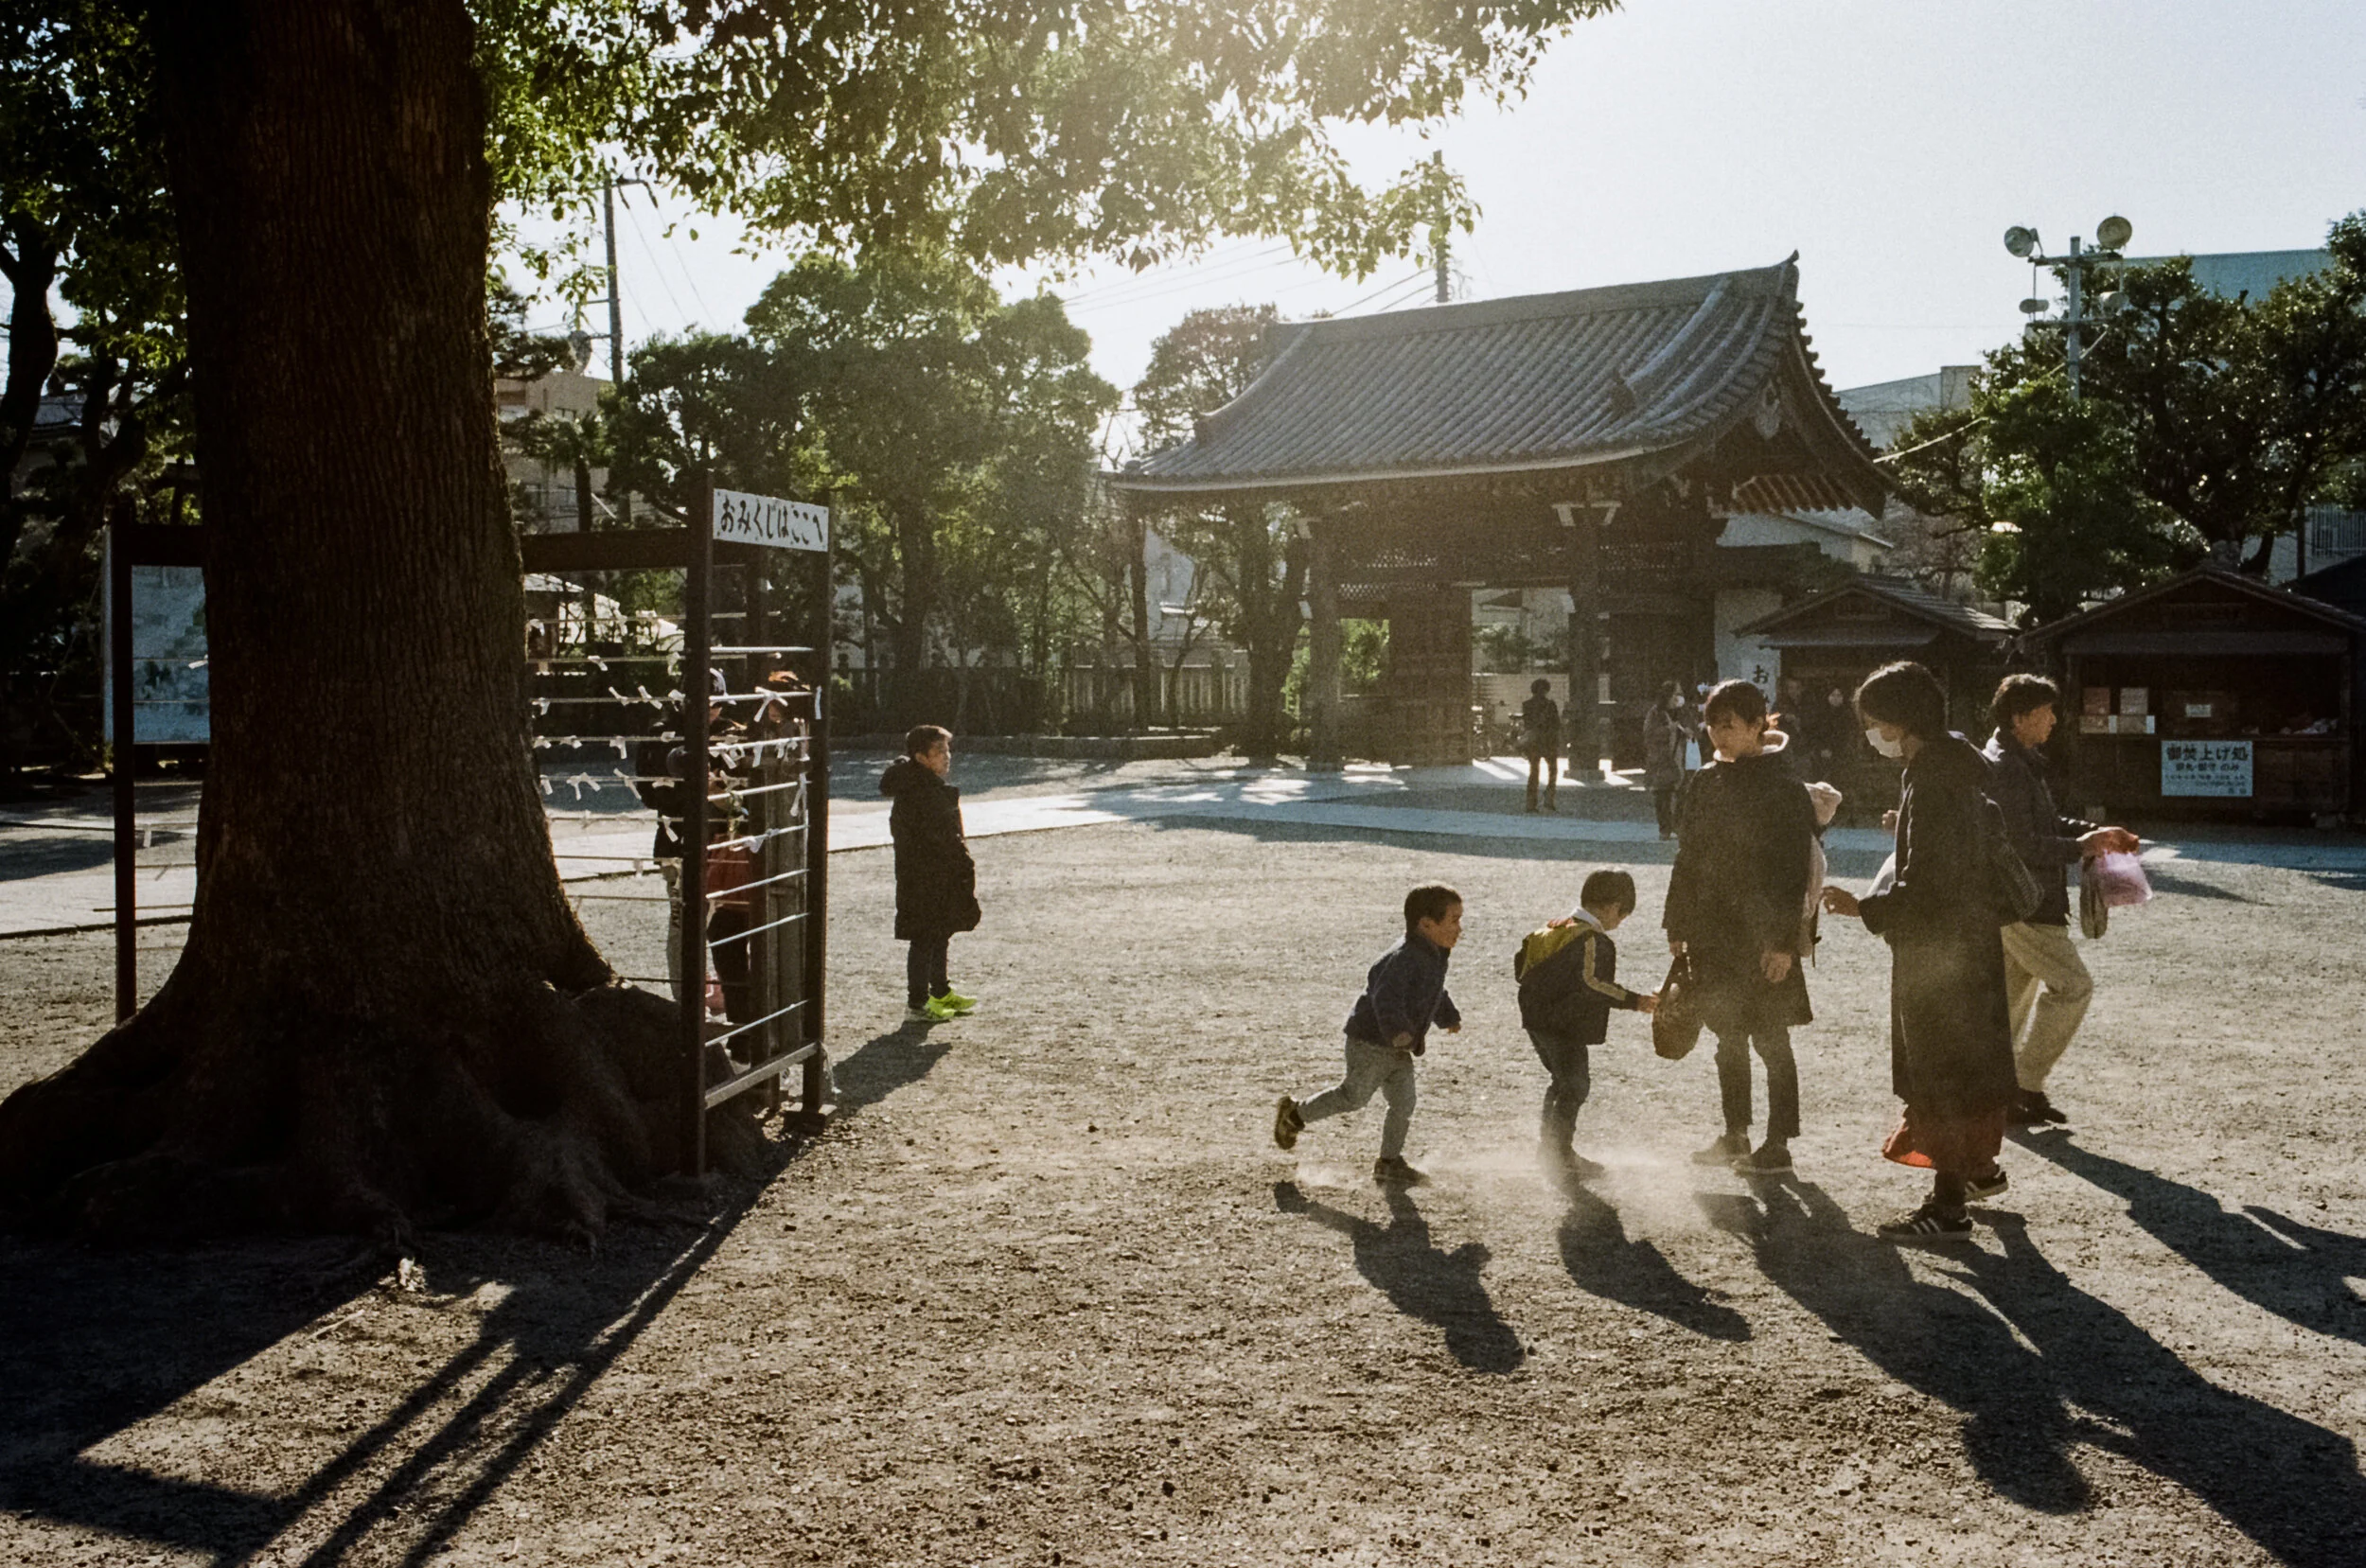


As i mentioned at the start of the blog, i think i made my all time favourite image. This was while on my 40th birthday trip to Japan in February of 2020.
My wife and I were wondering around Harajuku at the time, i think we were on our way back from the Film Camera Tokyo store wondering the back streets.
I had my trusty Contax S2b with the Carl Zeiss Distagon 35mm f2.8 and some Fujifilm Superia Xtra 400 loaded in at the time.
I saw this store front with cool pink neon lights and with super contrasting yellow interior lighting, i just thought it looked super cool and had to get a shot. I thought to myself, i want to get enough detail of the interior but as it was getting dark i didn’t want to use too low a shutter speed so that id get an image thats as sharp as possible.
Before i had too much time to think about it i saw these 2 girls in the corner of my eye who were shortly going to walk into my path, i remember thinking i have to get them in the shot but i want them to look a little blurred which ended up working well with the shutter speed i ended up using of 1/60th second.
It was low enough to not completely blur them out, removing any form of knowing what it was going past and at the same time allowing me to use an aperture that rendered enough detail in the store.
My only critic about the image is that i wish i was a little further back to have gotten them complete from head to toe and probably that i didn’t take any other images of the store besides that one shot.
I love everything about the shot from the way the film rendered the colours, the way the girls walking past are positioned, how cool the mannequins look in the store front and just the store itself.
This has been my wallpaper on my phone since early March :-D.

I hope you managed to make more images than i did over 2020, if not lets make a New Years resolution to at least top 2020 for the amount of images created.

World Time Attack Challenge 2019
Another year goes by another WTAC. What its like to experience a WTAC, one of the best time attack events you could go to anywhere in the world.

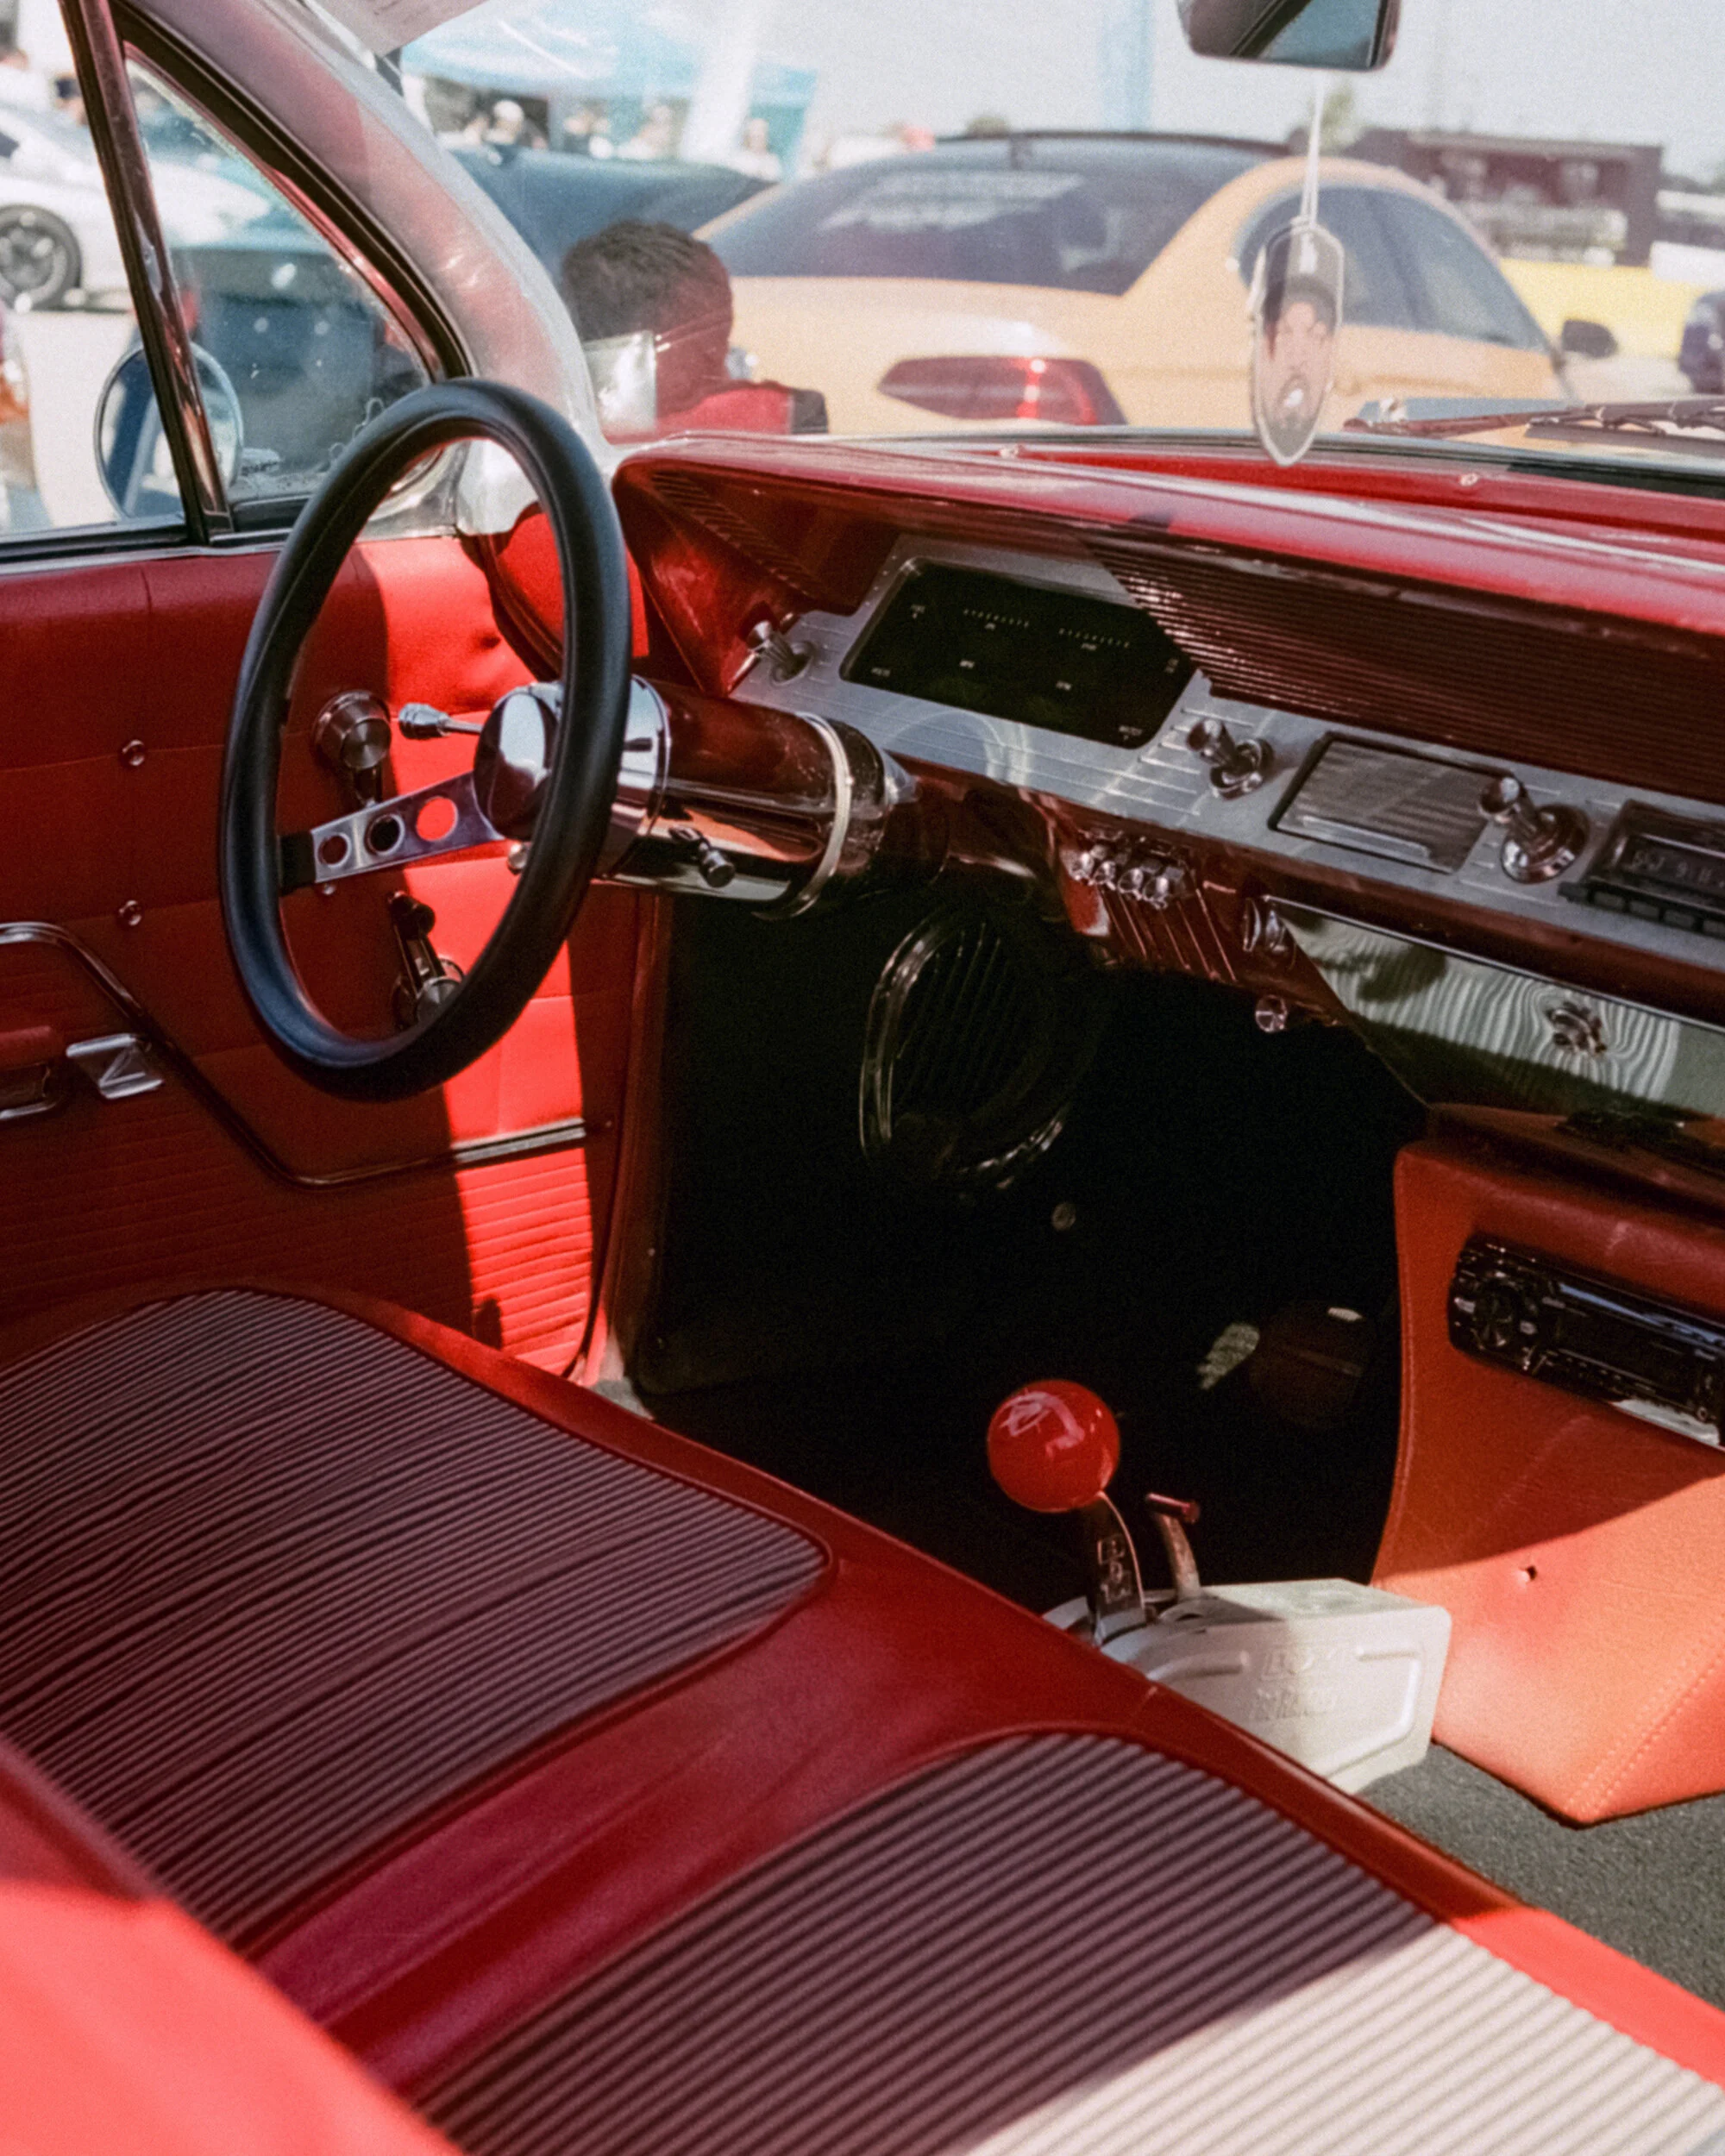
I’ve been a car guy for as long as i can remember, i think the first initiation into cars for most boys are hot wheels. Im 39 and i’m still buying them for my “kids”. What really got me into the car scene (and anime at the same time) was Initial D back in 2000. Didn’t take long for the Hachiroku to be my dream car, and now with the price of them it literally is a dream car as i don’t think i could ever justify spending 18-35k AUD on one.
This clearly sparked my curiosity for drifting and Japanese cars, which then got me into Best Motoring and Hot Version which is when i first came across Keiichi Tsuchiya. I would even watch them when there was no subtitles or voice overs.
Hot Version introduced me to Ken Nomura and his Blitz ER34. Long story short i bought my own ER34 4 door in 2007 and managed to see Ken drift he’s back in 2012 during a D1 Grand Prix event in Odaiba. These days i dont have the ER34 (which i miss) but rather a car i’ve wanted for a long time an MY15 Subaru Impreza WRX STI.


Up until this point i hadn’t been to many live Motorsport events, yes i had been to the Autosalon’s when they were around but that was mainly static cars. Only other thing was a couple of V8 Super Car events. In 2010 that all changed for me.
WTAC (World Time Attack Challenge) was initiated in 2010, and i can proudly say i’ve been to every event since. It’s the Motorsport event that i look forward to the most each year. The event gets better and bigger with each year as well.
If you don’t know anything about it, its basically 2 days of time attack racing which is split into various categories. So each driver is trying to put down the quickest lap over the 2 days. In between those heats are some drifting demos, drag races, show n shine and some bike demos amongst other things. You can see the full itinerary on the WTAC site.
What i love about WTAC is the fact i get to see a lot of the big names ive seen in so many of those Best Motoring and Hot Version videos in person like Keiichi Tsuchiya, Manabu Orido, Tarzan Yamada and Nobuteru Taniguchi. Along with some famous cars like the RE-Amemiya GT-300 RX-7, Mazda 767b and Skaife’s Nissan Skyline R32 GT-R.
Last year the winner was Barton Mawer in his Porsche 968 with a time of 1:19.8250, its crazy to think that the fastest a V8 Super Car can go around this track is a 1.29.8424, thats 10 seconds slower!

This years event was no exception, and didn’t disappoint. Congratulations to Barton Mawer in his Porsche 968 who again won the event with a 1:19.2770 besting his time from last year by 0.00.6000 or a second.
Check out some images from the show and shine:


Here are some of the images from the Time Attack:


I also decided to take my Contax S2b with me and a roll of expired Fujifilm Superia Reala 100 which i shot at ISO 25 just in case as i wasnt sure how old it was. Here are some of the shots from that roll (probably some of my faves from the event).


If you haven’t been to a WTAC event yet put it in your calendar for 2020, maybe even enter your car in the show and shine, what the hell why not the time attack?
Thanks for visiting.
* Title graphic done by Ari Lobos.

The World of Medium Format Film
Lucky find, the film camera collection grows a little. Shots with the Yashica Mat.
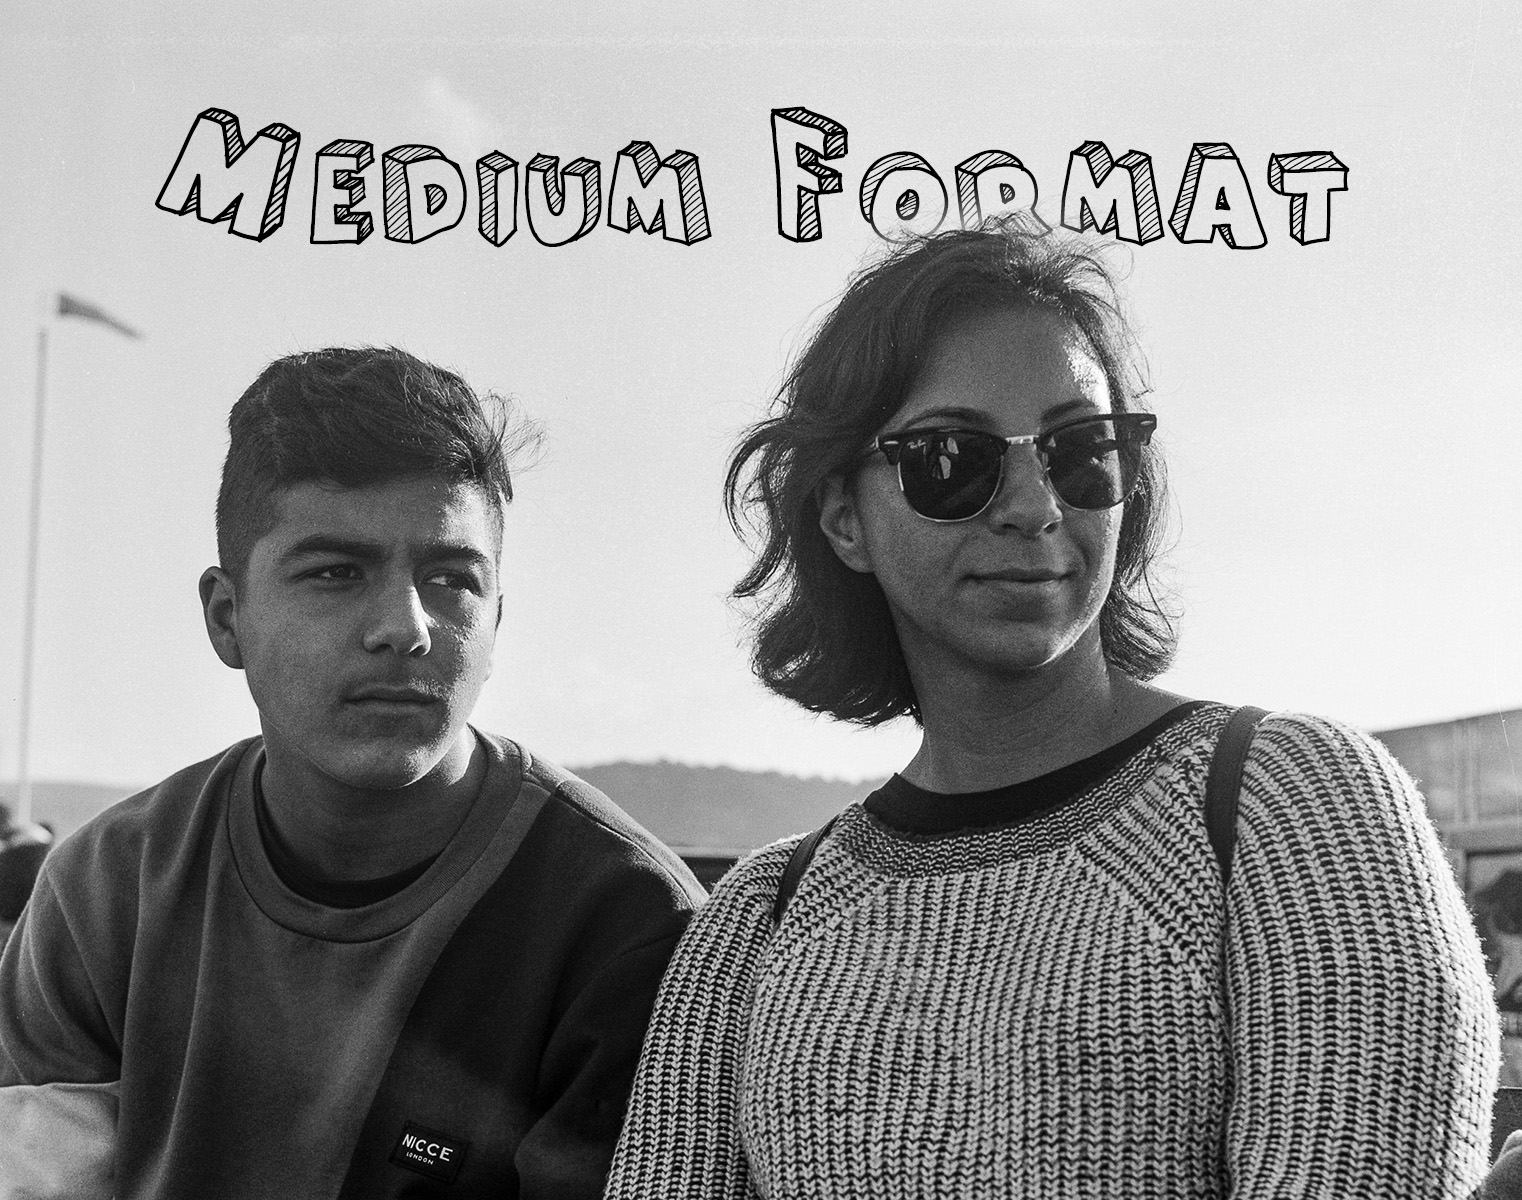
I never thought I’d make it into the 120mm world. I considered it but never really thought I’d actually end up getting a medium format film camera, well that’s changed.
Not sure if I’ve mentioned it on this blog but since getting back into film I’ve also gotten into thrift shopping in the hope of finding more film cameras.
Once a month (sometimes twice) ill head down to my local Salvation Army store to see what they have. Most of the time there isn’t anything worth while but occasionally I’ll find something. My first worth while find was a Minolta XG-1 with Rokkor 40mm f2 lens which my son now uses and it produces some nice images.
Lets get on with the find this post is really about, that would be when I came across a Yashica Mat TLR. When I first saw it I knew what type of camera it was and had a rough idea around how it worked but was a little reluctant to purchase it.


So I called an attendant around to open the cabinet to take a closer look at it. Close up the leather was peeling on almost every panel, it needed a clean and the shutter button felt a little sticky. Things I kind of expect from a camera this old that hadn’t ever been restored. I opened it up and had a look around and seemed to be in good condition, lenses seemed clean, view finder was good, shutter speeds seemed to be accurate when firing and the film advance winder did its job.
I jumped on eBay and had a quick look to see what they go for and saw they were around the $280-350 AUD for a working example. Considering it was $80 I took a gamble and bought it.
When I brought it home I gave it a quick clean and ripped off the old peeling leather and cleaned off as much of the glue residue as possible. I then jumped online and purchased my first roll of 120mm film from Walkens House of Film which was a roll of Kodak TMax 400. I figured I’d have a better chance at getting something half decent from some black and white film first. Here are some of the images from that first roll.


Once i knew that the camera worked i ordered a replacement leather set for the camera off of eBay to give it a fresh look. The pictures of the actual camera at the start of the post are it with the new leather panels.
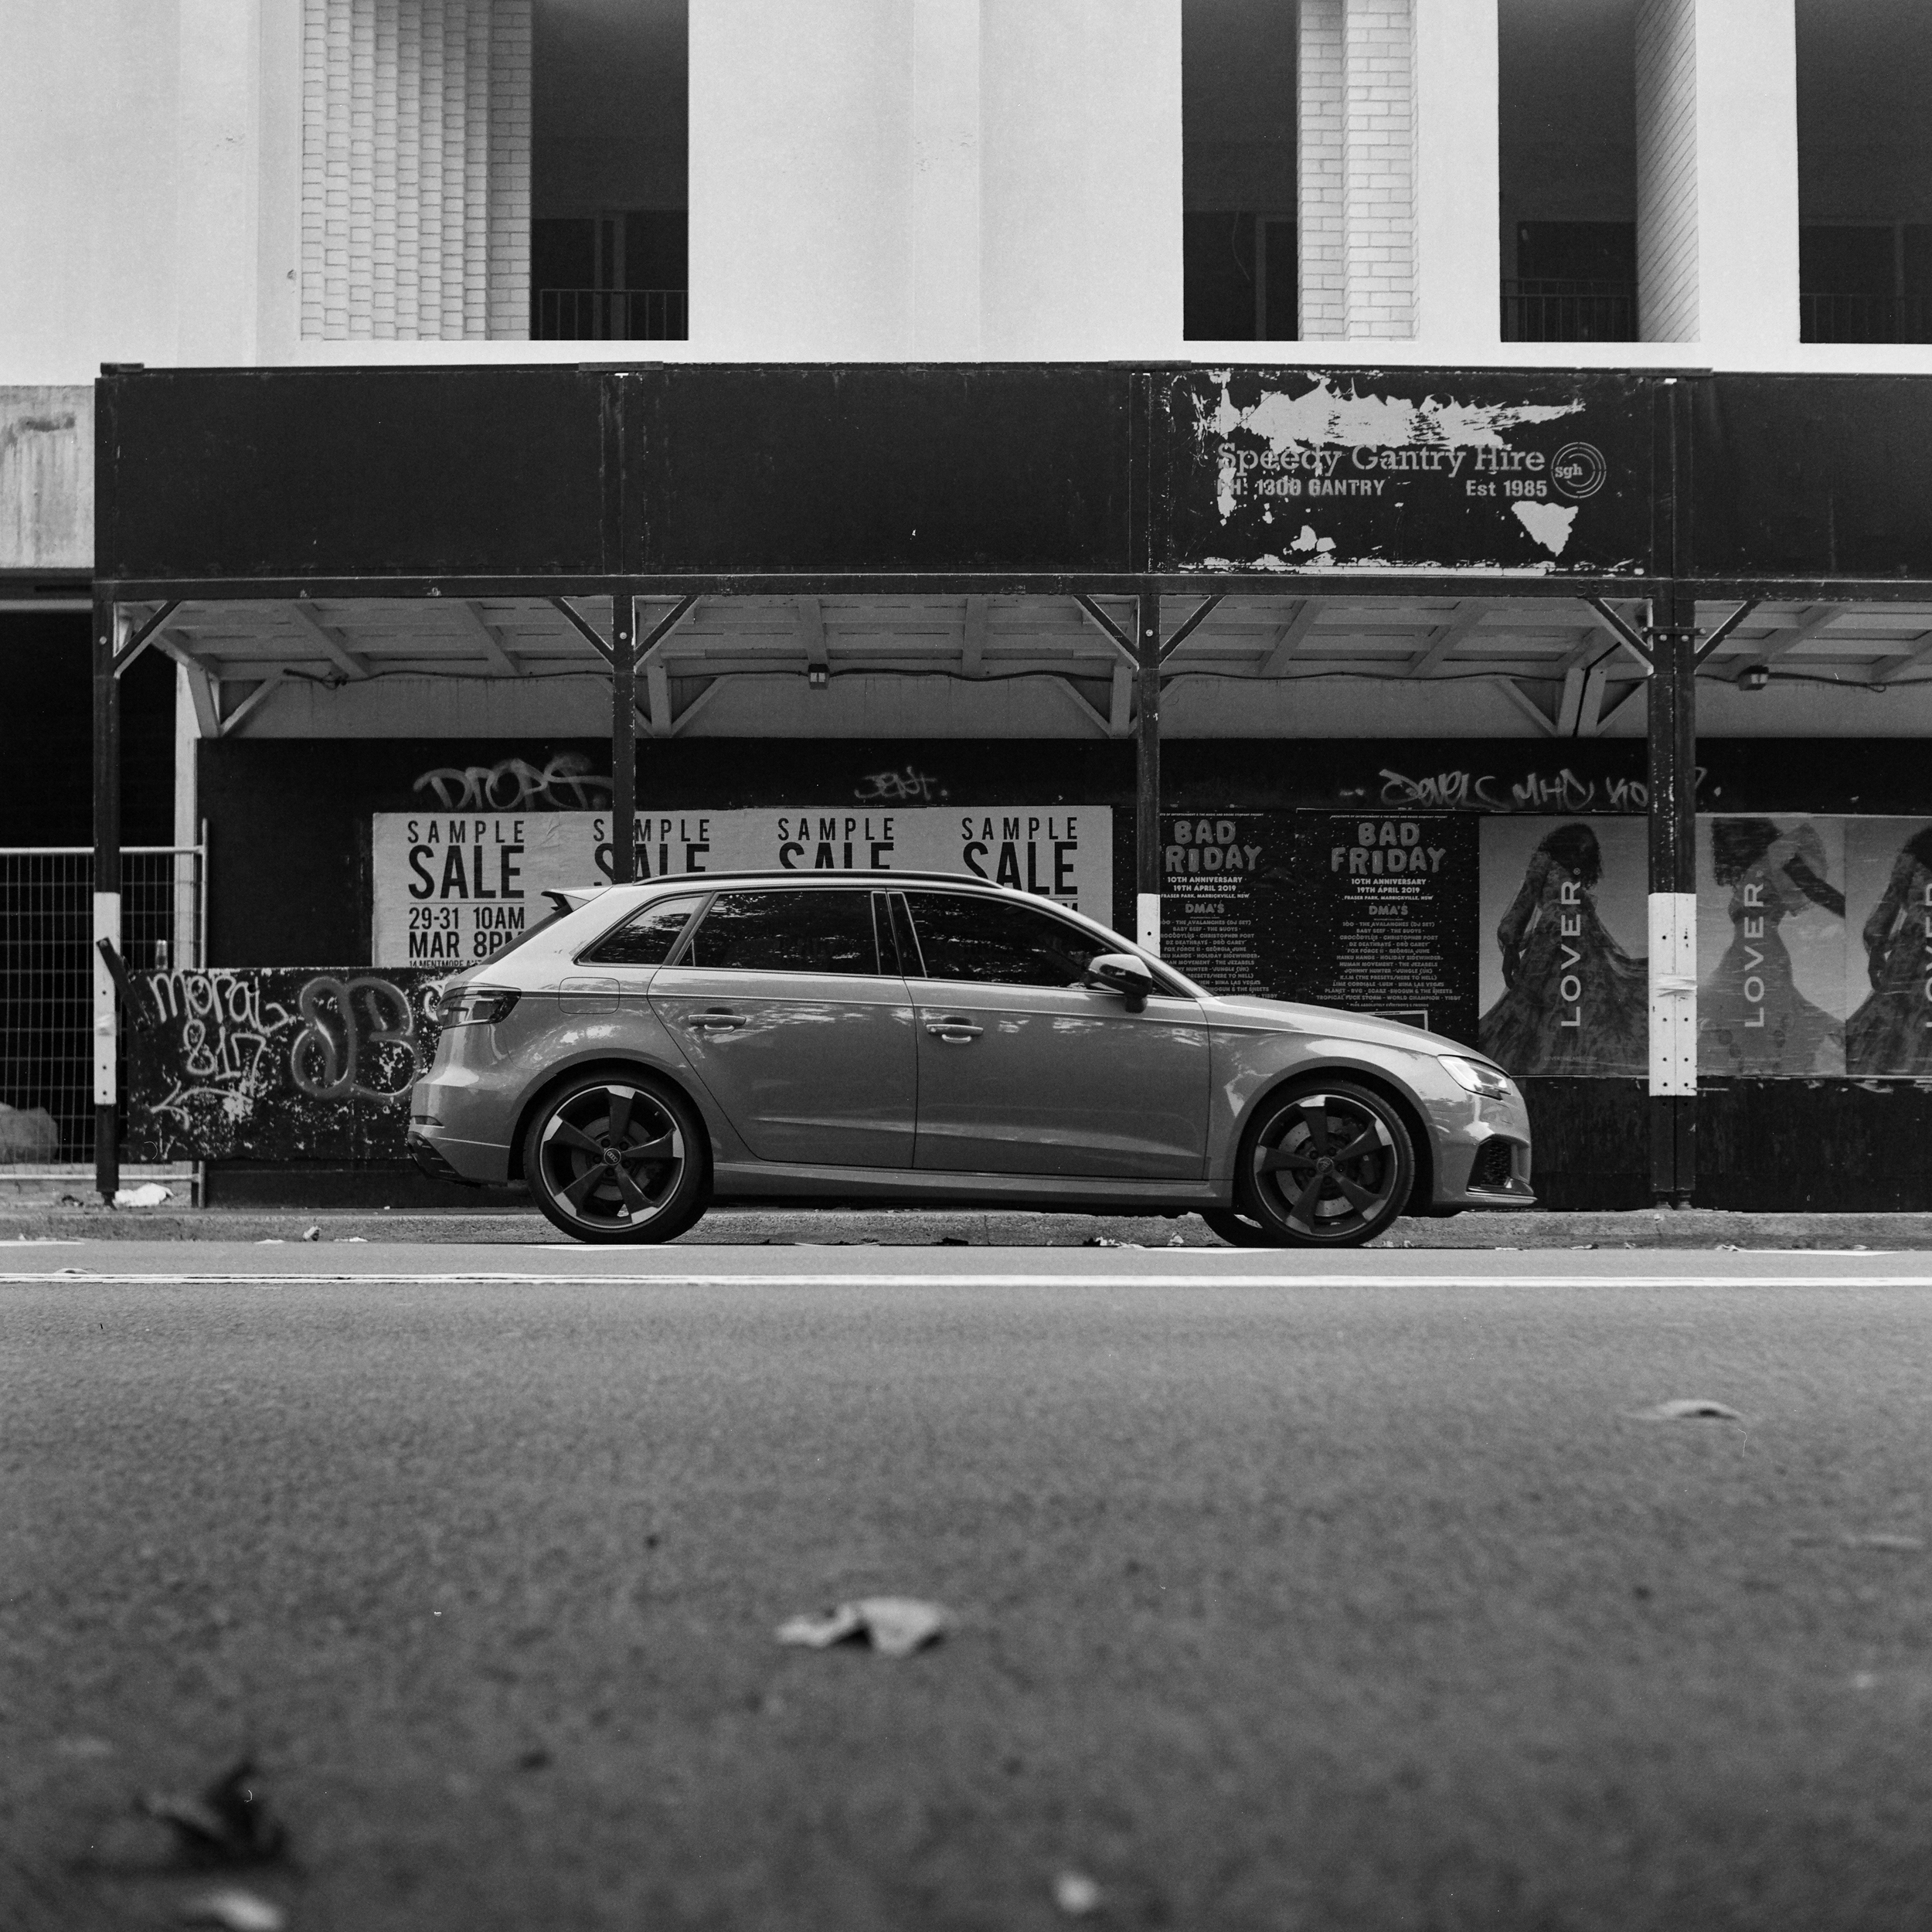
For those that don’t know much about the Yashica Mat its a 6x6 square format twin lens camera which has one lens to look through and the 2nd lens is the one that exposes the film. It also has a waist level view finder which is mirrored, so when composing and making micro adjustments your always moving the wrong way (takes some getting used to). It has two 80mm fixed lenses that range from f3.5 to f22 and a max shutter speed of 1/500, ISO is limited to 400. These Yashica TLR cameras were manufactured from 1957 up until around the 1980s, they went through different specs and names but essentially had the same layout. My particular model doesn’t come with a built in light meter so having to use my phone with an app. Having to meter with an external device and the fact that it’s a waist level view finder, your forced to slow down even more so than I would with my manual focus Contax S2b with build in light meter. This is a good segue onto what it’s like to shoot with the Yashica Mat.
I find focusing to be hard with the standard screen it comes with, I tend to focus back and forth past my focal point and gradually shorten the distance until I hit that focal point (well I think I’ve hit it). This can take me 30 seconds or so as I’m second guessing myself as to whether I’m actually on my desired focus point, it doesn’t help that the view finder isn’t the brightest out there. Once I hit focus I then compose, this definitely takes longer than it should because of the mirrored view in the view finder were moving left is actually right. I really don’t think I’ll ever get used to this to be honest.
I make it sound like it’s a nightmare to use this camera, but it’s not. Yes it’s a slower process but with practice like most things I’ll get faster at using it. I definitely think it makes getting nice results back so much more rewarding as you had to work for it.
Of course if your going to be shooting anything that requires you to be moving from scene to scene quickly and getting those shots out, this probably isn’t the camera for it.
I’ve been shooting stuff with it that’s been slow paced with no time restraints, so I’ve been enjoying learning the qwerks of the camera.
As you can imagine I have only touched the surface of medium format and look forward to getting into it a lot more, with the potential of getting another medium format camera in the future (watch this space).
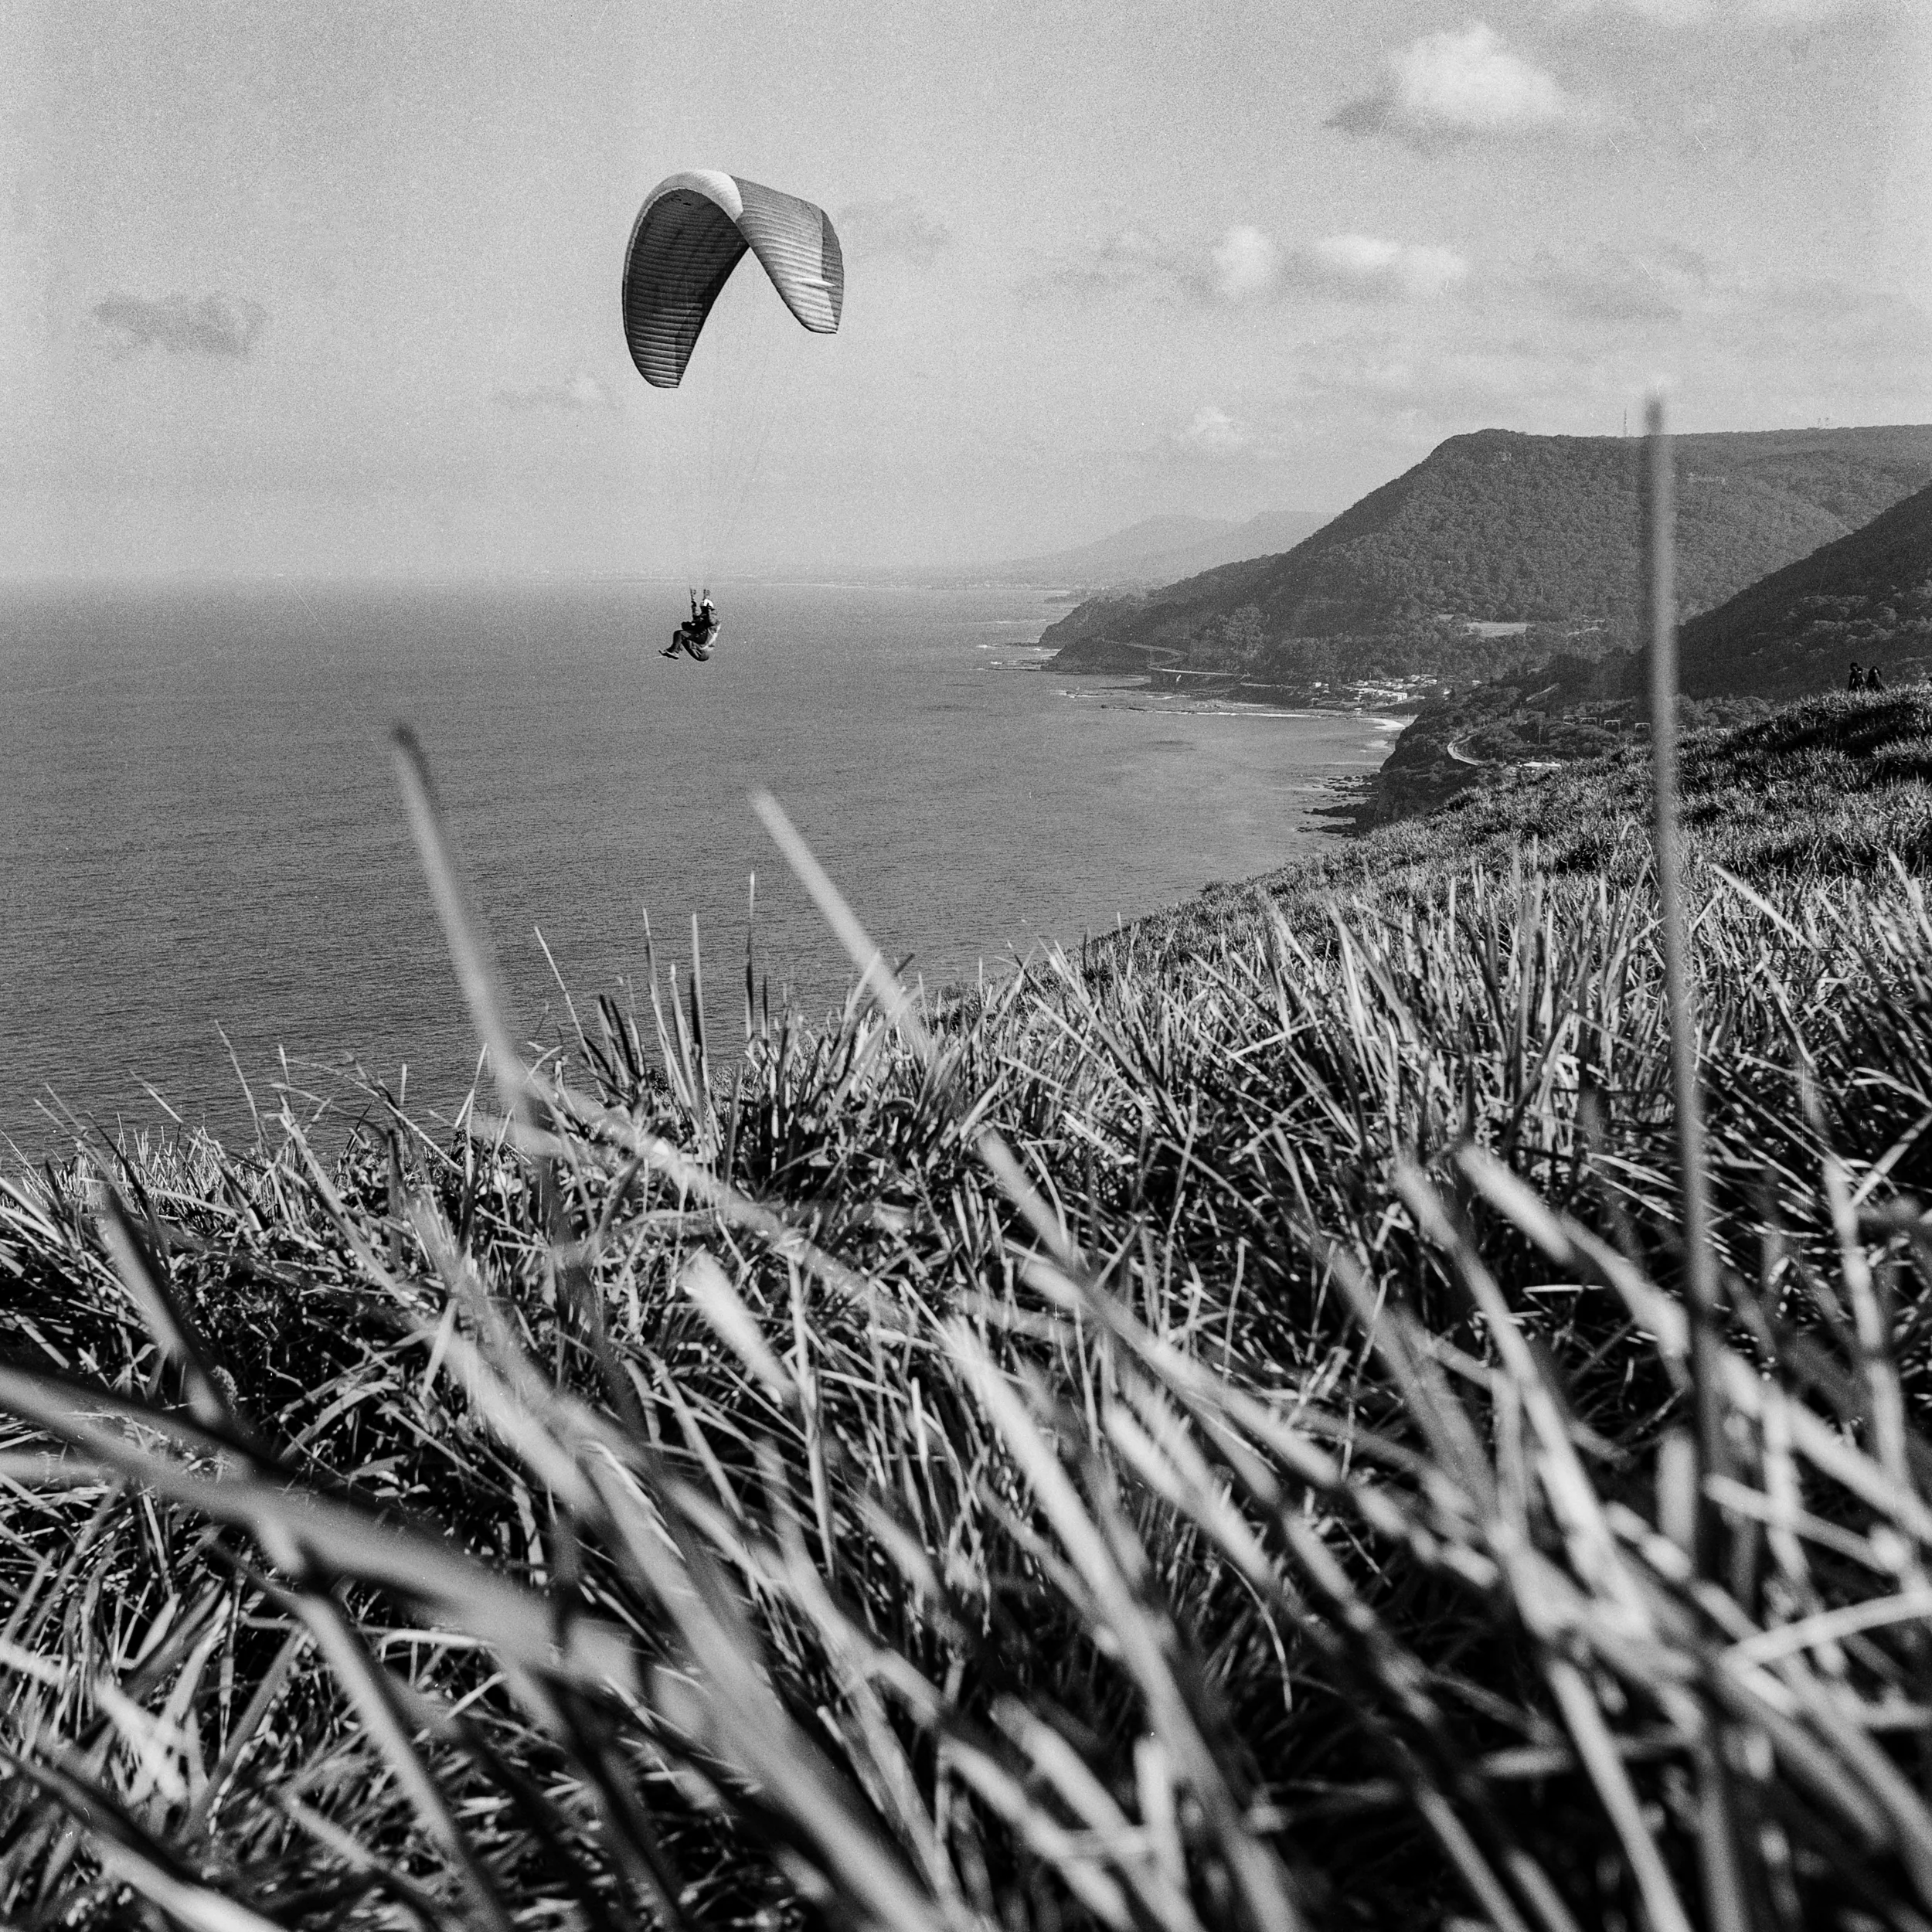
I havent put many rolls through this camera yet, maybe 3-4 but here are some of my faves so far.


Thanks for visiting.

The Analog Journey Continues
The analog world can bite hard sometimes, it lures you in and then takes hold and doesnt let go. Tales of the journey.

So i’ve been on this analog journey for around 10-11 months now and i must say its had its ups and downs. Ups are definitely the moments when you get your scans back and you have some gems. Downs were when i came across those scans that i didn’t quite nail and didn’t understand why.
Before i get onto that lets talk about the new cameras i’ve added to the list. Let me start with “gear does not make you a better photographer”, but i love talking about it. Hey i’m in I.T. and love gadgets and photography gear is one of the things i love to have, know about and talk about (feel free to skip further down if gear isn’t your thing :-P). Like many others i cant afford to upgrade my camera body to every new body thats released, so i weigh up my needs and see whether i would actually benefit from the upgrade. Film SLR’s are no different (sometimes cheaper is the only diff).
So the first SLR i bought when getting back into this analog game 10 months ago was the Fujica AX-1, which is an entry level SLR in the AX range not sporting a full manual mode. I originally went for this camera as i honestly wasn’t 100% sure whether id get back into it or not, and didn’t want to spend too much money on an SLR. It didn’t take me long after buying the Fujica that i knew i wanted to continue on this analog journey, so i started looking into a 35mm SLR body that i could invest in that i knew would last me for a long time which also had a lens range i would be happy with.
I came across this video on youtube by Kyle McDougall, he opened my eyes to some brands i hadn’t really heard too much about like Yashica and Contax. He also had this great video about the amazing range of lenses that these cameras supported.
I knew i wanted my next SLR camera body to tick the following boxes:
To have full manual functionality (with no add ons parts)
Have a max shutter speed of at least 1/2000 of a second
An internal light meter
Fully mechanical
Have a great range of lenses
Reasonably priced
What SLR body and lens range did i settle on you ask? My next purchase was the Yashica FX-3 Super 2000 with a Carl Zeiss Planar T* 50mm f1.7, i found it for a super cheap price (pun not intended). The Yashica ticked all the boxes, except for one which is why there is a 3rd and final 35mm SLR purchase. Before we get onto that camera, the Yashica allowed me to use any lens in the Carl Zeiss C/Y mount range or Yashica C/Y mount range which you can find the list for here. Im sure you’ve heard of Carl Zeiss if you’ve been in the photography game for while, they make some amazing glass, this was a range of lenses that wouldn’t disappoint. As for the body it had everything you could want in an SLR body, it was also light and as mentioned by Kyle in the video above it sits very nicely in your hand due to the nice ergonomics.


Now why did i buy a 3rd 35mm SLR, as good as the Yashica FX-3 Super 2000 is you do notice the lack of precision with it. It has a metal frame but has a plastic body, so wouldn’t handle the rain or being knocked around very well. The film advance lever doesn’t feel sturdy along with the rest of the body. I wanted something that again ticketed all the boxes in my previous requirements but also adding one extra box. I wanted something that had a little more precision to it, that had better build quality and that would potentially last me forever. The type of SLR i was thinking about was to the calibre of the Canon F1 & Nikon F3 ranges, sturdy well built and renowned for their build quality and durability.
I chose the Contax S2b, this thing is a tank. It is fully mechanical and has a max shutter speed of 1/4000 of a second, only needs battery for the light meter, has centre weighed metering and of course supports the amazing C/Y mounted Carl Zeiss lenses. Oh and its very pretty.


The Contax S2b is definitely my go to 35mm SLR, i cant see me purchasing another 35mm SLR unless its purely to add to my collection but definitely not to replace it.
As for lenses, the Carl Zeiss list of C/Y mounted lenses is very large. At the moment i have invested in the Carl Zeiss Planar T* 50mm f1.7 as mentioned above as well as the Carl Zeiss Distagon T* 35mm f2.8. The other lens id like to eventually invest in is the Carl Zeiss Distagon T* 28mm f2.8, these 3 lenses are great to travel with as they aren’t big like the extremely desirable bigger brothers Carl Zeiss Planar T* 50mm f1.4, Carl Zeiss Distagon T* 35mm f1.4 and Carl Zeiss Distagon T* 28mm f2 (maybe one day).
Thats the gear out of the way, how about how I’ve been going with it all. Initially i was into the Fuji film stock, since then i have discovered Kodak and haven’t gone back since. I think i initially tried a roll of Kodak TMax 400 which i really liked, i was reluctant to do much of anything in colour based on some early result not turning out how id liked. But again ive started shooting alot more colour and been shooting a lot of Kodak Portra 400, 800 and recently 160. I love the colours from Portra and think i’ll stick to that range. I have since shifted to Kodak Trix for black and white, I’m liking the slightly more contrasty look the TriX gives over the TMax.
As some more experienced film photographers would understand, film tends to handle highlights much better than shadows. When starting off its something you don’t really understand or know about, i understand now why a lot of photographers choose to rate film that is 800 speed at 400 or 400 speed at 200 so they can stay within the threshold the film best performs in. Knowing this from the beginning or at least knowing to overexpose shots, i think I could have saved a lot of images.
I feel i still have plenty to learn when it comes to film stock which is why I’m trying to stick to Kodak Portra and TriX to try and get consistent results across different lighting situations (i fear this will take sometime). With time I hope to become more familia with these film stocks and know what kind of results I’ll get for each shot.
Hear are some of my favourites over the past 6-7 months from both the Yashica FX-3 Super 2000 and the Contax S2b. Film stock varies with Kodak & Fujifilm.


Thanks for visiting.

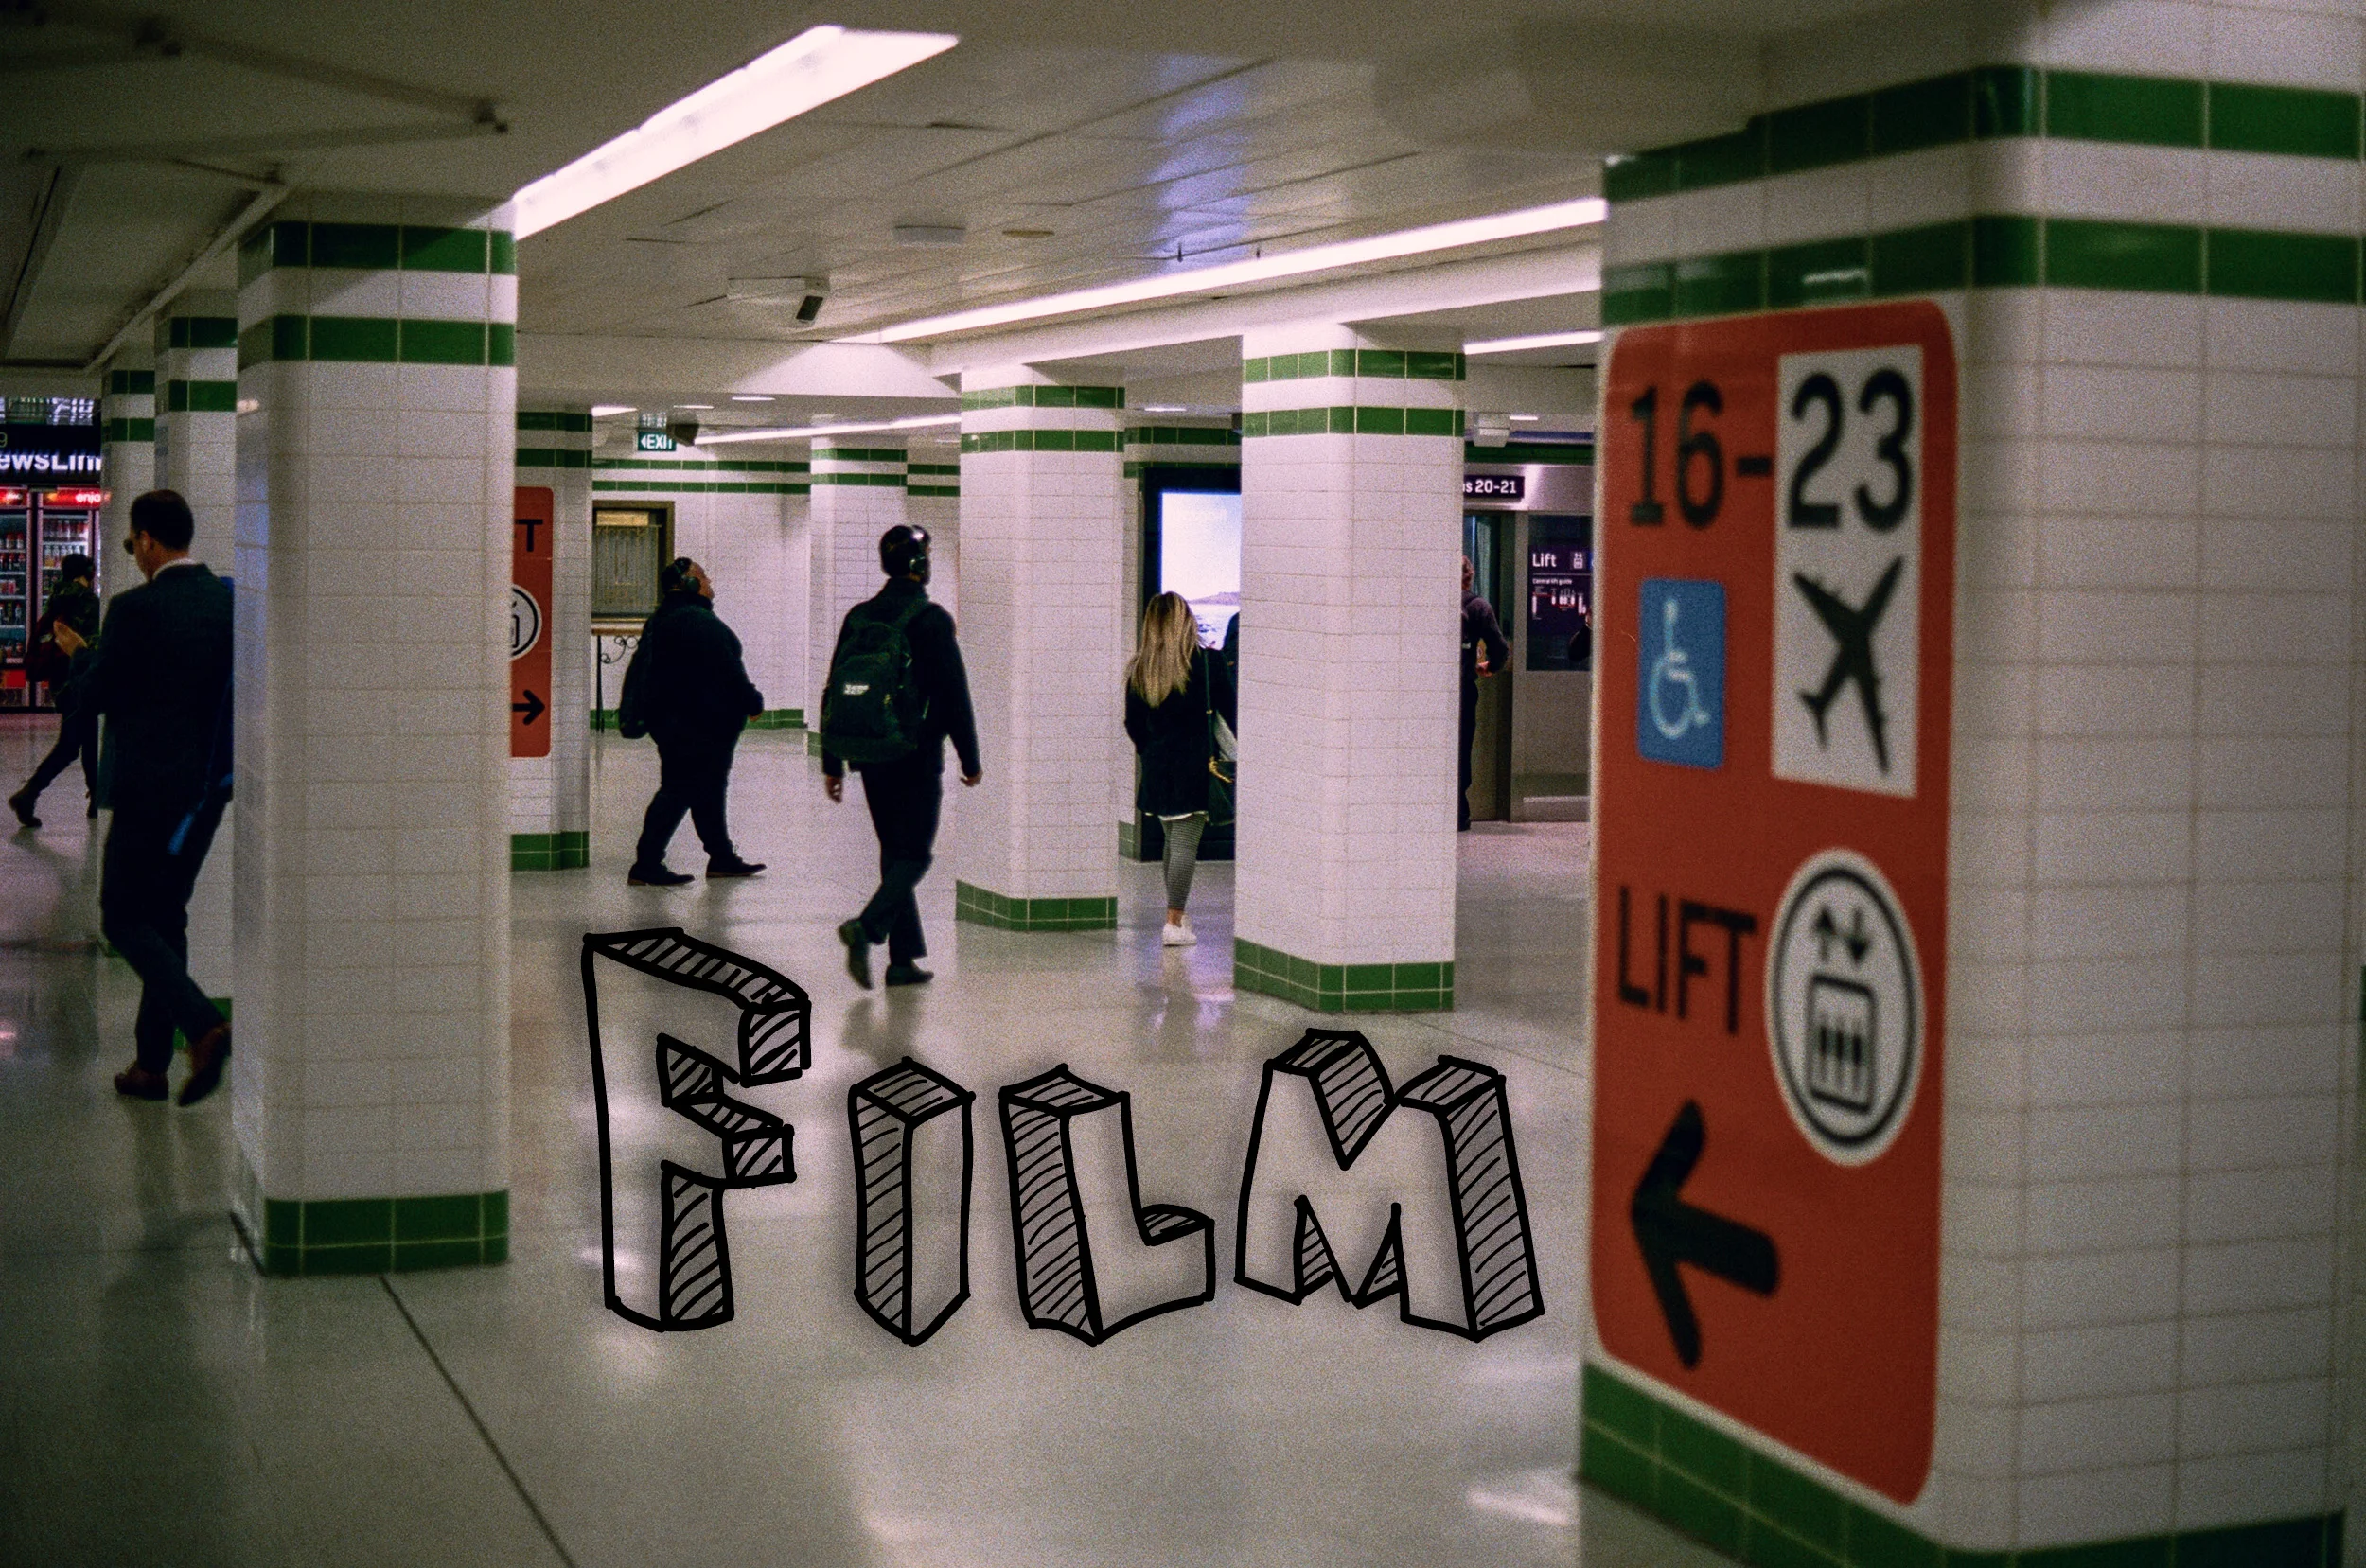
Film, Lets Give it Another Go.
Lost love, picking up a film camera for the first time in a long time.
So for a while now i’ve wanted to invest in a nice film camera and get back into what brought me into this hobby to start with years ago.
What made me finally take that step was when i saw my niece Monique, she had a film SLR around her neck. I was a little surprised when i first noticed it, but thinking about it the idea of film would be new and exciting to someone young who never grew up shooting on it.
So she had the Olympus OM-10 that she found at her great grand mothers house in a box with a bunch of other old film cameras that her great grand father used to own. That was it the spark was lit, being a Fuji guy now i thought id look at what options Fuji had in the form of 35mm SLR’s. So began my eBay search, what i thought would be a good first step is the Fujica AX-1 which is the entry level of the series with the AX-5 being the big brother of the lot. What made me buy the Fujica AX-1 in the end was the fact i came across a mint example with a 50mm f1.6.
2 weeks later and i had this awesome little AX-1 in my hands.
I bought a bunch of Fujifilm film from Walkens. Some Fujifilm Acros, Provia, Fujicolor Industrial to test it with. The first roll was a bit rough as i got used to the camera and understanding how the focus prism worked, so yes a number of shots were out of focus. This camera doesn’t have a full manual mode but to be honest i don’t think i would use it in full manual just yet, there would have been many more unusable images if i had. So i just used it in aperture priority and let the camera handle the shutter speed, good thing is that it has a light meter so you can get a good idea of exposure and whether your going to get blurry shot from slow shutter.
After my 3rd roll through the camera I’m now feeling more comfortable with it, and understanding it much better.
Its extremely refreshing going from digital where you can spray and pray that you’ve got a shot, to really slowing it down and thinking whether the shot is worth taking or not because you only have 24-36 shots in your roll. If it is then thinking about your aperture and what/how much you want in focus to confirming whether your shutter speed is high enough to get a sharp image. By then you’ve thought about your composition and maybe adjusted already. Mirrorless cameras with the EVF systems they have make photographers even lazier (but hard to go back when you have used one with EVF :-P).
Film can really be a format that can bring you out of a time when your really struggling to want to pick up your camera, more so after you’ve picked up the prints. Definitely need to have prints done, it wouldn’t complete the process otherwise. I used Digital Camera Warehouse in the Sydney CDB for all of my film development, scans and prints and really happy with the results.
So if your struggling for inspiration, checkout eBay, your local 2nd hand store or your grand parents house for a film camera that might bring that mojo back.
Check out the rest of the images in my Film Collection.
Note: Im not affiliated with any of the companies or brands mentioned, just like using them and pay for their products and services out of my own money.
Thanks for visiting.